
WooCommerce Shopping Cart Connection
This article walks through the configuration of the connection between 3PL Warehouse Manager and WooCommerce. Our pre-wired WooCommerce connection allows for the automatic transmission of orders created in WooCommerce to 3PL Warehouse Manager, as well as for the updating of order status in WooCommerce by 3PL Warehouse Manager. Additional syncing options and configuration guidelines are detailed below.
Syncing Options
Orders
This connection only loads orders that have a listed order status of "Processing" in WooCommerce. Orders in a "Pending" or "Hold" status will be put in a retry for 7 days. If the orders do not change status in this 7-day period, they will not be pulled.
For orders to properly sync, each WooCommerce product on the order must contain a SKU that matches the SKU of an item or item alias set up in 3PL Warehouse Manager. Even if line items in WooCommerce are already fulfilled, they still need a matching SKU in 3PL Warehouse Manager. If you’re not going to fulfill those lines, we recommend using the Ignore SKU function. For more information on this feature, see Ignoring SKUs.
Rather than setting up shipping methods manually in 3PL Warehouse Manager, we recommend using ship method mappings. For more information, see Managing Ship Method Mappings.
Inventory
Inventory syncing is optional. If enabled, the connection pulls available inventory numbers from 3PL Warehouse Manager and updates the available quantities in WooCommerce. Similar to order syncing, products must have SKUs configured to sync inventory numbers and these SKUs must exist in both 3PL Warehouse Manager and WooCommerce.
This connection does not support syncing inventory to product variations.
When you add inventory to WooCommerce, your inventory does not automatically update in 3PL Warehouse Manager. In order to reflect new inventory, a receipt must be generated into the system.
Tracking numbers
Tracking numbers are sent back to orders in WooCommerce from 3PL Warehouse Manager once the order has been confirmed in the system. For more information on this process, please see Update orders via 3PL Warehouse Manager below.
Tracking number post-back for this connection is supported at the order-level only. Line-item-level tracking post-back is not supported, which means that orders loaded from WooCommerce must be fully shipped. If you short ship or split a shipment, the tracking number provided on the order will post-back to WooCommerce—marking the entire order as fulfilled, not just the items that were shipped.
By default, WooCommerce does not accept tracking numbers, so once the order is confirmed in 3PL Warehouse Manager, the connection will simply move it from the "Processing" status to "Completed".
If you're interested in receiving automated tracking information for your orders in WooCommerce, you'll need to buy and install the official WooCommerce tracking extension, found here. Once installed, please let us know during setup, or contact api@extensiv.com if the connection is already set up, so that we can enable tracking postback.
Guidelines
Set up the shopping cart connection
Step 1: Fulfill the prerequisites
In order for the WooCommerce integration to be successful, the following must be completed:
- The 3PL Warehouse Manager user must be subscribed to the Ecommerce Package and have the Connections feature enabled within 3PL Warehouse Manager
- WooCommerce 2.1 or higher must be installed
- All WooCommerce products that will be handled by 3PL Warehouse Manager must have a SKU label that matches the SKU label in 3PL Warehouse Manager
The Connections feature should already be enabled by our API team prior to integration. If they are not, please contact api@extensiv.com.
Step 2: Generate WooCommerce API keys
To begin the setup configuration, you or your customer must first log in to your WooCommerce account to generate a set of WooCommerce private app keys. The process of generating the app keys is detailed here—for Step 5, you must set 'Permissions' as Read/write in order for us to mark your orders in 3PL Warehouse Manager as shipped in WooCommerce.
Once you or your customer have generated the API keys, please fill out our API Integration Survey.
After you submit the survey, you will receive a DocuSign from your Customer Success Manager within one business day. Once you complete the DocuSign, our Professional Services team will begin the cart setup process. These requests are typically completed 24–48 hours after receiving all the necessary information.
In light of changes due to COVID-19, we are temporarily increasing this turnaround time to a maximum of 72 hours. We thank you for your patience as we work through your requests.
If you have not received a DocuSign within the specified time frame or would like to know the project status, please reach out to your CSM.
Update orders via 3PL Warehouse Manager
Once 3PL Warehouse Manager has received and processed the WooCommerce orders, shipping and closing the orders will mark the order as complete in WooCommerce. If you have the Shipment Tracking plugin installed, tracking numbers will also send to WooCommerce as a part of this process.
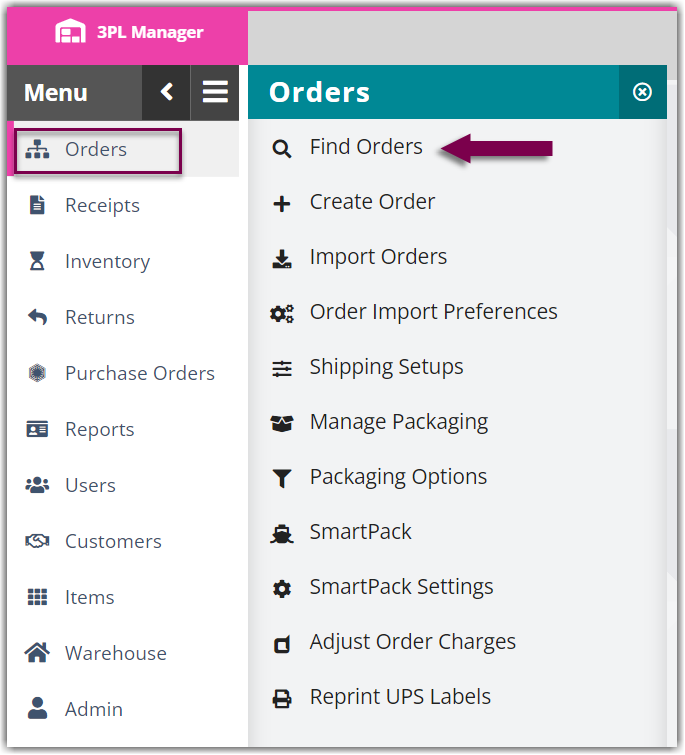
- In 3PL Warehouse Manager, navigate to Orders > Find Orders.
- Select the order(s) from the grid that you need to close and mark as shipped. Use < Ctrl > or < Shift > on your keyboard to select multiple orders.
- Hover over Manage, then click Ship and close.
- Complete the appropriate fields under 'Routing Information'.
- If needed, enter any 'Additional Charges' that may have accumulated—each charge will display in the grid. For multiple orders, be sure to specify whether you wish to 'Apply Charges' separately to each order or divide the charges across all selected orders evenly.
Please note that charges added here will be in addition to all automatic and manual charges that have already been applied to the selected orders.
- Click Ship and Close. The orders in WooCommerce will reflect the latest changes.
Set up event notifications
When WooCommerce orders are created or fail to import into the system, you can set up automated emails to notify the desired parties. To enable these event notifications, complete the following steps:
Please note that the error log may also be utilized to understand the cause of an error or rejection—see Using the Customer Error Log for further instructions.
- Navigate to Customers > Customer Notifies.

- From the drop-down menu, 'Choose a Customer' and click Select. This screen allows you to specify which actions will trigger an event notification. The applicable options for notifications are as follows:
- Orders Created by Warehouse: Triggers each time an order is created by a warehouse user
- FTP Order Import Failed: Triggers each time an order import fails
- Under the 'Email Recipients' column, enter the email addresses in the relevant field for each event you would like your customer to receive a notification for. If using multiple recipients for one event, separate them with semicolons.
- To change the default email notification for each event, click Change this cust. for that particular customer or click Change master next to an event to change the email template for all of your customers. Make your modifications, then click Save.
- Click Save.
For more information on the Customer Notifies feature, see Managing Event Notifications.