Guided Put Away
Guided Put Away is a two-step process for receiving inventory. This is when you plan to receive an inbound order to a staging area, and then proceed to put away inventory to their long-term picking location.
Warehouse and Part Set-Up
Setting up a staging bin
You need to set up a staging bin as the temporary location for the inventory.
- Navigate to Warehouse > Bins > click New.

- Select the ‘Company’, enter the ‘Warehouse’ and ‘Bin Name’. Also, select the ‘Is Process Bin’ checkbox to denote that it is used as a staging bin.
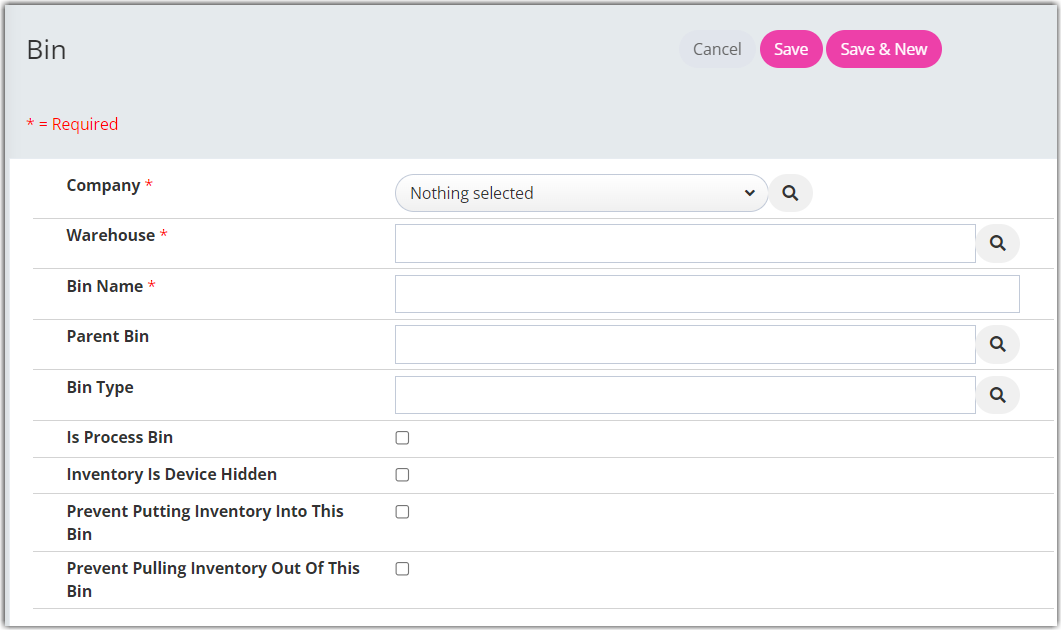
- Click Save when done.
Setting up a Put Away bin in Part record
Once the staging bin is created, you need to assign this Put Away Bin in the Part record.
The part needs to be saved with the ‘SKU’, ‘Part Description’, and ‘Vendor’.
Once saved, the option to assign a Put Away Bin appears in the part record.
- To add the putaway bin, go to the part record and click View.
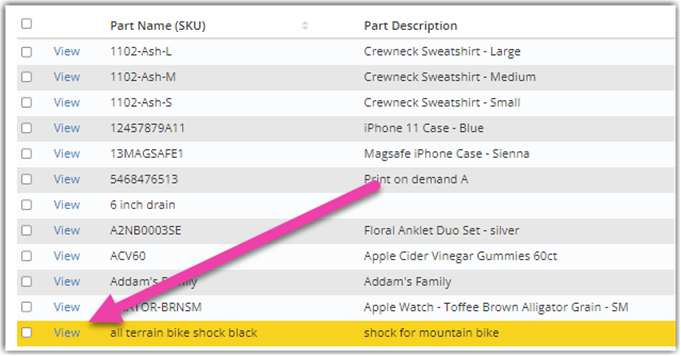
- On the part record, scroll down to see the Put Away Bins section and then click Add Bin.

- Choose a Client and Location, then select the staging bin you have created. Click Add when done.
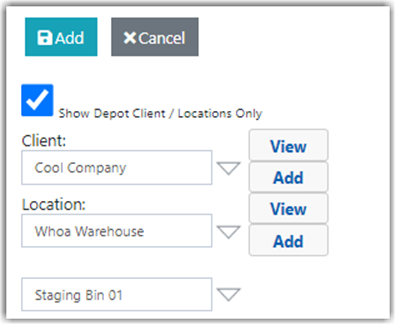
The part is now ready to use the guided put away process.
Guided Put Away in Mobile
Step One: Receive to staging bin
Once an inbound order is ready to receive into the system, you can utilize guided put away on the mobile device to complete.
- Log in to the mobile device and navigate to Shipping/Receiving > Receiving.


- Select the order to receive by scanning or entering in the ‘Doc#’ or searching by date.
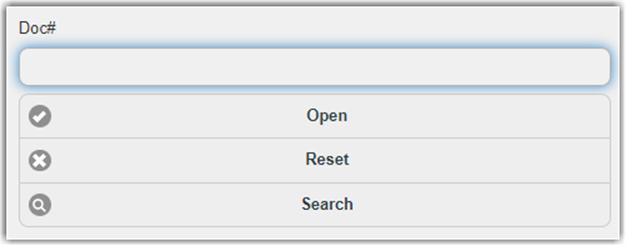
- Scan a Bin or select the staging bin.
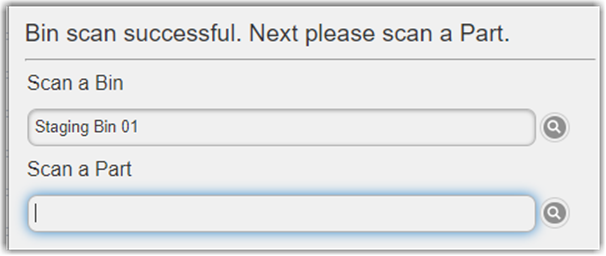
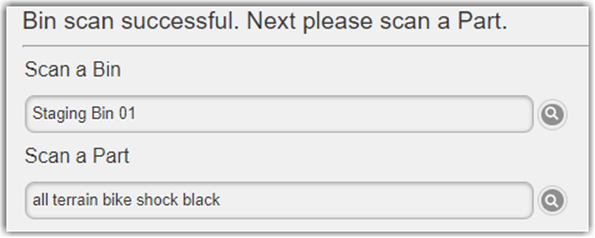
- Scan or enter the part to receive. You can also select from the part list.
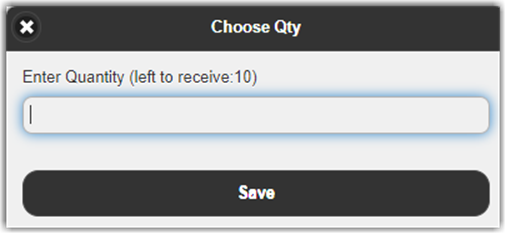
- Enter the ‘Quantity’ to receive. Then click Save.
- Click Complete when all parts have been received.

The inbound order has been received in the system but is currently in the Staging Bin.
Step Two: Bin Move to Put Away Bin
The next step is to do a “Bin Move” to put the inventory in the bin it will live in until picking.
- In the mobile device home screen, click Bin Move.

- Click Inventory Move.
If these were serialized parts, click Asset Move.

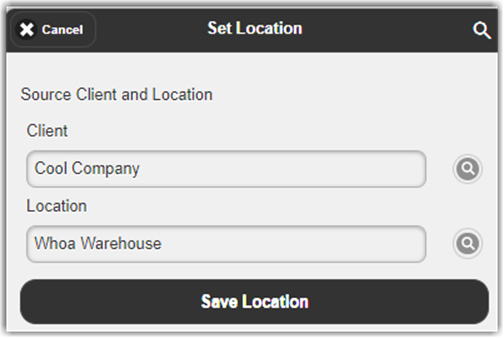
- Choose ‘Client’ and ‘Location’, then click Save Location.
- Select the part to move. (Must be done one part at a time).
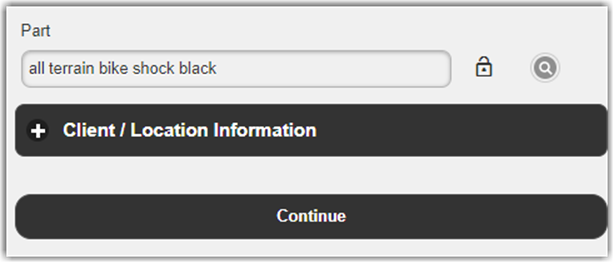
- Click Continue.
- Next, scan, enter or select the ‘From Bin’.
Note: When the magnifying glass next to the ‘From Bin’ box is selected, all bins that have the inventory of the selected part will be listed.
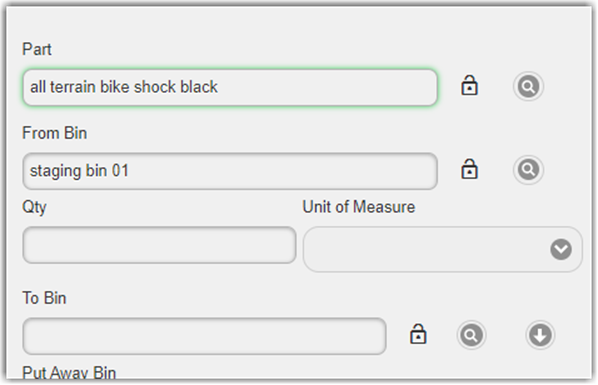
- Enter the quantity to move, (‘Unit of Measure’ if applicable), and ‘To Bin’.
- By clicking on the down arrow next to the ‘To Bin’, all bins containing inventory of this part will be listed.
- The assigned Put Away Bin will be listed . (You can choose a different bin to move to but will be prompted that that would not be the assigned put away bin)

- Enter a Reason Code if desired. (By default, there is none, but you can add one in Settings > Reason Codes).
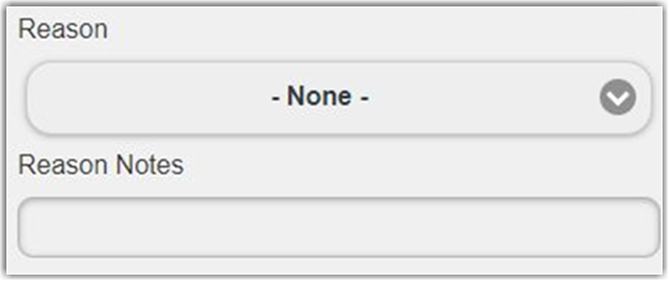
- Enter Reason Notes, if desired. (Not required).
- Click Move when done.

Success!
You have now reassigned the part from the staging bin to another location and are now ready for picking.

