Creating User Accounts in Merchant Portal
1.7 min read
|This article is about the Billing Manager app, not the Billing Wizard in 3PL Warehouse Manager. To learn about the Billing Wizard, please refer to the articles in the Billing Setup.
Overview
This article reviews the steps to create a user account in the Merchant Portal. Please note that the Merchant Portal is a standalone application and is not synchronized with your Extensiv Hub account.
Navigation
The Users page allows you to view all portal users associated with or boarded under your referrer entity, add new portal users, adjust user access capabilities, and access user profiles to edit information.
Navigate to the Users page by clicking Users under the Management category in the left-hand navigation panel.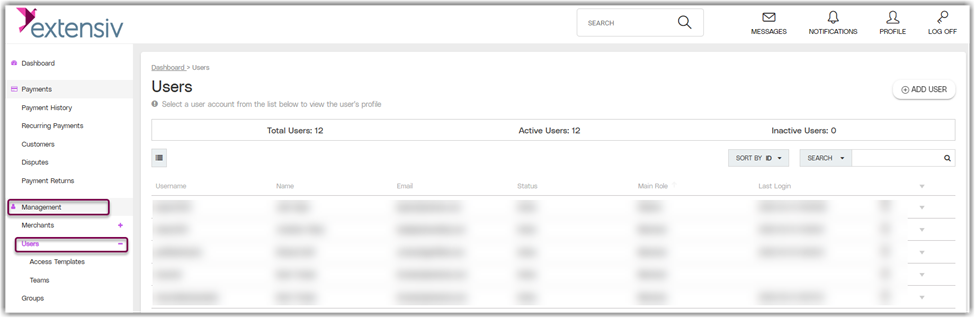
Users Information Banner
View the total number of users, and the number of active and inactive users in the Users Information Banner located at the top of the Users page.
Steps to Add New Users
Follow the steps below to add a new user:
- Click Add Users to open a lightbox.
- Select the user role. See the User Roles section of this page for descriptions of user roles.
- Enter the required information about new user.
a. Username
b. Password
c. Full Name
d. Email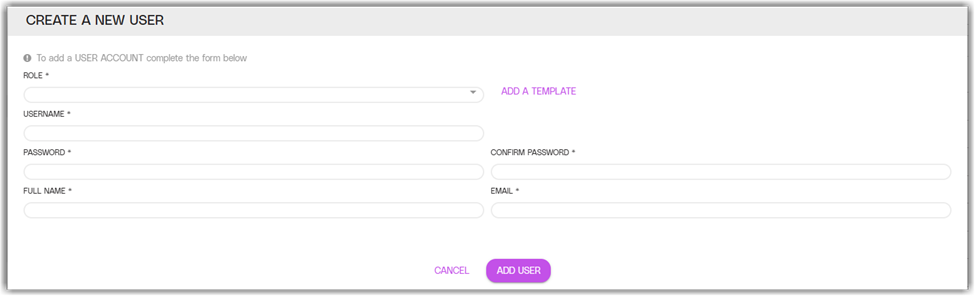
4. (Optional): To use a saved Access Template, click Template to open the Access Templates page.
5. Click Add to create a new user record or click Cancel to return to the Users page.
Do not forget to take note of the password and provide it to the user for them to log in.
User roles
The following roles are available to select when adding a new user:
| User Role Name | Description |
| Merchant Full Access | View, edit, and manage any associated merchant accounts. |
| Merchant View Only | View only the merchant account(s) they are associated with. |
Users table
Locate information about individual users in the main table on the Users page. Individual users are listed by row. The default view includes the following columns:
| Users Table Column Name | Description |
| Username | The username associated with the user. |
| Name | The first and last names of the user. |
| The email address associated with the user account. | |
| Status | The status of the user account: Active or Inactive. |
| Main Role | The main role assigned to the user: Referrer or Merchant. |
| Last Login | The date and time that the user last logged in to their account. |
| Login As | To access the users Dashboard as a parent entity and see the user’s portal view. |
| Arrow Icon | Click on the grey triangle in any row to view additional details for a specific user, or click on the grey triangle in the table header to view additional details for all entries. |
Users table actions
You can perform the following actions with the Users table:
- Load more rows to the table by clicking SHOW MORE RESULTS.
- View more details about a specific user by clicking any line in the table to expand the row.
- Edit user information by clicking the information for any user to open the User Profile page.