Understanding Charges
2.6 min read
|This article is about the Billing Manager app, not the Billing Wizard in 3PL Warehouse Manager. To learn about the Billing Wizard, please refer to the articles in the Billing Setup.
This article provides details about charges and outlines the steps for adding and updating charges, exporting charges, and generating invoices.
Charge grid
The Charges grid displays all charges generated for every customer. You can refine the view by applying filters such as warehouse, transaction type, confirmed date range, or status. Additionally, you have the option to search using an invoice number or transaction ID. 
There is also a Customer dropdown filter that allows you to select and view charges related only to a specific customer.

The grid supports any number of rows, and displays those rows in pages. You can set the page size below the grid. Page size options include 100, 500, and 1000 rows.
The Charges grid also includes a ‘Select All' feature that allows you to efficiently manage multiple entries. When the checkbox at the top of the column is selected, all visible rows on the current page (e.g., 100 results) are selected by default. A prompt then appears offering the option to 'Select all [total number]’enabling you to apply actions to all entries across multiple pages, not just those currently visible.


Get latest charges
You’ll find a date and time stamp indicating when the transaction data used to generate charges was last updated. Every 5 minutes, the system gets the latest transactional event data from the 3PL Warehouse Manager. If you need to get event data between these 5-minute intervals, click Get Latest Charges. 
Note that this process may take several minutes to complete, depending on the volume of the data, and the Billing Manager application is locked while the system is retrieving the latest charges. 
Modifying charges
- Select the charge you want to update, and it will automatically appear on the right side of the page.

- Click Edit.
- Apply the required changes to the charge.
- Click Save.
- Enter details about the change made on ‘Add Change Reason’ modal.

- Click Save.
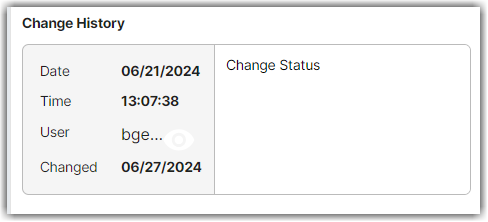
Whenever you edit a charge, a change history is kept, showing the date and time of the change, who made the change, and the reason for the change.
Adjustments
Whenever you edit a charge that affects the quantity of a certain field, an adjustment history will also be kept apart from the change history. 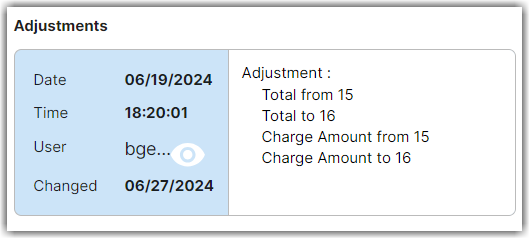
Recalculate Charges
The system will recalculate the charge based on changes to the applicable rates.
- Click the three vertical dots next to the 'Invoice Charges' dropdown. From the dropdown menu that appears, select Recalculate to update the charges accordingly.

- Select a customer from the dropdown list.
There is an option for All Customers in the dropdown list.
Extensiv recommends that you select a specific customer to limit the possibility of duplicate charges resulting from the recalculate operation.

- Select between Date Range or by Transaction ID.
- Click Recalculate.
This process runs in the background and might take several minutes to complete. Click Continue to proceed. The system will display a message stating “Charges recalculation initiated.”

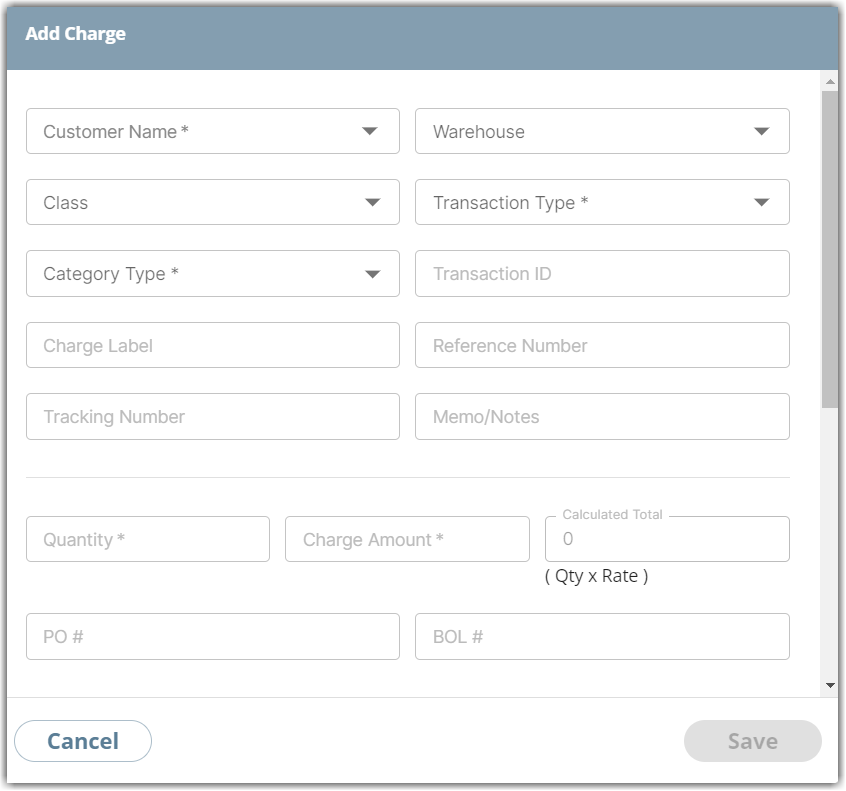
Add manual charges
- Click + Create Charge.

- Fill in the following fields before clicking Save.
- Customer Name
- Transaction Type
- Category Type
- Quantity
- Charge Amount
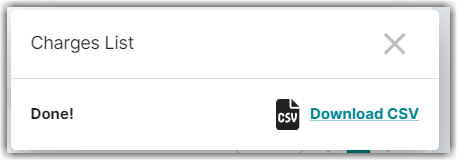
Export charges
- Export the desired charges by clicking either Export All or Export Selected after clicking the three vertical dots next to the Invoice Charges dropdown.

The Export Selected option will appear if you select a specific charge from the grid.
- Then, click on Download CSV.
Generate an invoice
21 Alphanumeric Character Limit for Invoice Numbers
An invoice number has a limit length of 21 characters, up to 11 alphabet characters and 10 numeric characters.
- Click Invoice Charges next to + Create charge.
- Select between Create invoice or Add to existing invoice.
Billing Manager automatically separates charges by Customer when generating an invoice, then applies other multi-invoice options independently for each customer.
- Select between ‘Invoice all charges’ or ‘Invoice only charges in “Ready to Invoice” status’.
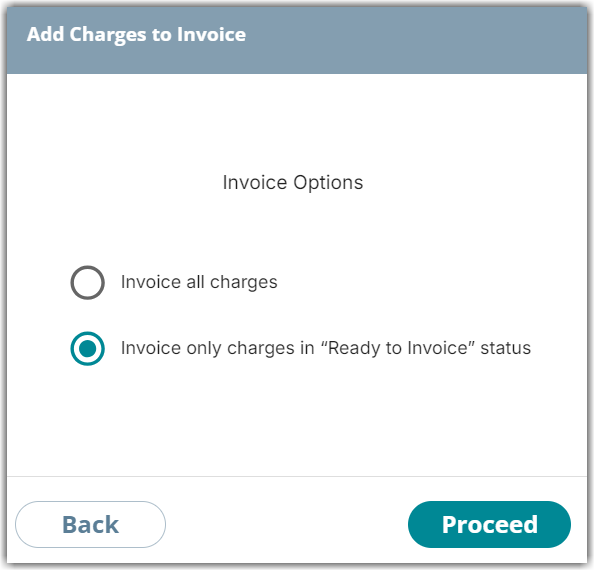
- Click Proceed.
When you choose 'All Charges Selected,' Billing Manager creates a single invoice that includes all selected charges—selecting any other options results in multiple invoices being generated.
- Transaction # - Create a separate invoice for each unique transaction number.
- Transaction Type - creates a separate invoice for each transaction type: Shipping, Receiving, Adjustments, Assemblies, Returns. Up to six invoices can be generated as a result.
- Category - creates a separate invoice for each category: Handling, Storage, Freight prepaid, Freight third-party, Special charges, and Materials.
- Warehouse - creates a separate invoice for each warehouse from which the selected charges originated.
A message appears stating that the invoice was created successfully. To learn how to view, publish, and unpublish invoices, read our article on Understanding Invoices.