Invoice Numbering Settings
This article is about the Billing Manager app, not the Billing Wizard in 3PL Warehouse Manager. To learn about the Billing Wizard, please refer to the articles in the Billing Setup.
Overview
This article provides a step-by-step guide on setting up the format of your invoice numbers.
Invoice Numbering Settings refers to the format of the invoice numbers. You can set this on an organizational level or for a specific customer.
Default Setting
The Default setting is applied to all customers at the organizational level.
- Navigate to Settings > Invoice Settings > Invoice Numbering Settings.
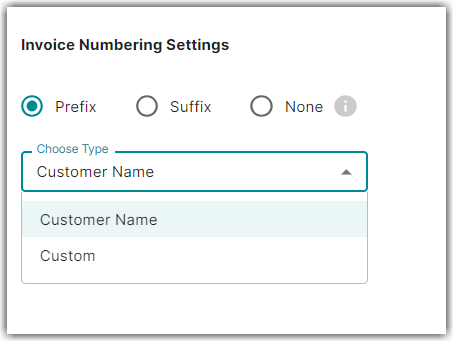
- When setting up the invoice number format, there are three options: Prefix, Suffix, and None. You can choose between Customer Name and Custom for both Prefix and Suffix. If you choose None, the system won't generate an invoice number with a prefix or suffix. Customer Name will automatically pick up the customer's name as a prefix or suffix, depending on what you selected. Custom will let you enter your preferred format for the prefix or suffix.
- After setting up the prefix or suffix, choose from one of the three primary options to generate an invoice number: Sequential Number, Transaction ID, or Reference Number.
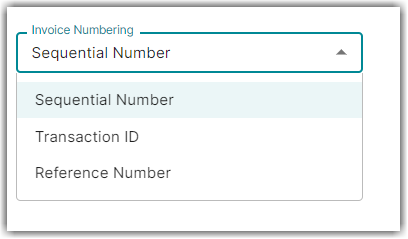
- Sequential Number: This is most commonly used. An example is “1, 2, 3, 4, 5”.
- Transaction ID: This will pick up the transaction ID for every single transaction.
- Reference Number: This will pick up the reference number for every single transaction.
Transaction ID and Reference Number only work for single transactions, and the system defaults to Sequential Number if you create an invoice with multiple transactions.
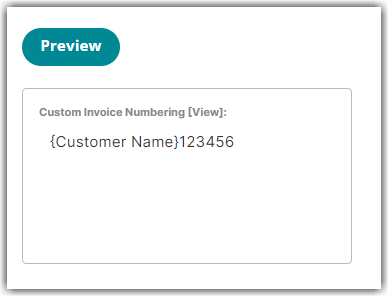
- (Optional) Preview the invoice number by clicking Preview.
- Click Save if you're satisfied with the format. To update the current settings, click Edit.
Custom Setting
This feature lets you customize invoice number generation for a specific customer, overriding the default settings. To do this, follow these steps:
- Navigate to Customers
- Select the customer. Then, click Settings
- Click Edit. Then, click Yes, Continue
- Click Invoice and Payment Settings
- Click Add Custom Override Rule. The setup process is the same as for default settings mentioned above.
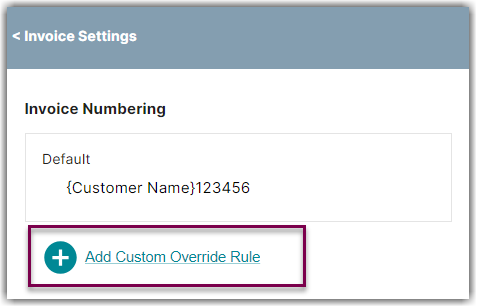
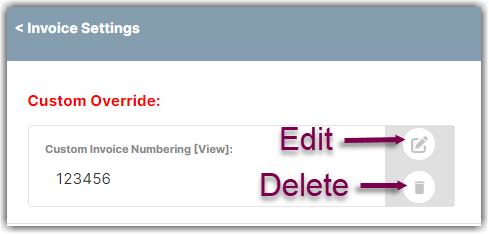
If you want to edit or delete the custom override rule, use the corresponding icon as shown below. Deleting a custom override rule will revert the system to default settings.