Creating Pick Jobs
2.1 min read
|Before you can perform a batch pick in SmartScan, a user must first create a pick job in 3PL Warehouse Manager from the Find Orders page. This article reviews how to create and modify a pick job for one or more orders.
To create a pick job, you must have the following permission assigned to your user role: Orders Module > Manage Orders > Manage Mobile Pick Jobs.
Please note that creating a pick job is only necessary for batch picks—i.e., when performing multi-order picks or pick-to-bin. Single order pick jobs are supported but not necessary for picking.
Single customer pick jobs
Single customer pick jobs are the default setting for 3PL Warehouse Manager. They limit pick jobs to include only one customer. You can enable cross-customer pick jobs to enable the system to create pick jobs that include multiple customers.
Order(s) must meet the following criteria to be eligible for a pick job:
- Fully allocated with line items
- In a Complete status
- Not already included in a pick job
- For the same customer and warehouse
Once the order(s) meet these requirements, use the following guidelines to create a pick job.
Cross-customer pick jobs
The ability to enable cross-customer pick jobs allows you to create and process pick jobs that include orders from more than one customer. This can be helpful if your warehouse uses the same SKUs for multiple customers.
Order(s) must meet the following criteria to be eligible for a pick job:
- Fully allocated with line items
- In a Complete status
- Not already included in a pick job
- For the same warehouse
Once the order(s) meet these requirements, use the following guidelines to create a pick job.
Enable cross-customer pick jobs
To allow pick jobs that include orders from multiple customers, enable a warehouse-level setting.
- Go to Warehouse > Manage Warehouse.
- Select the Customizations tab.
- Select the Enable cross-customer pick jobs checkbox.
- Click Save.
Once enabled, the system supports pick jobs that include more than one customer.
Create a pick job
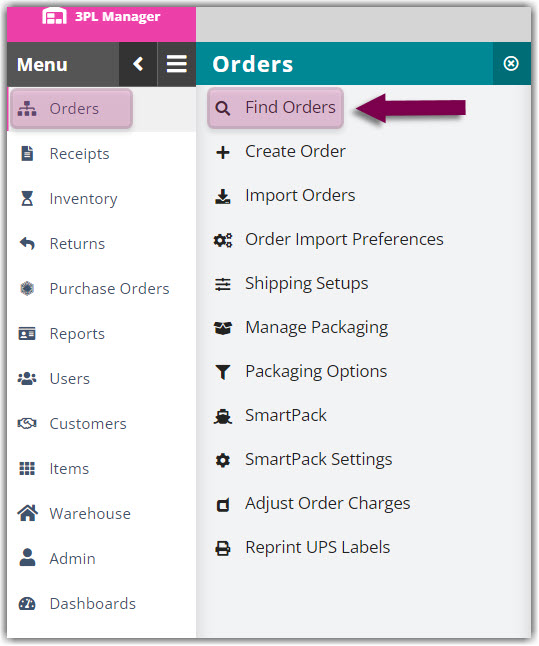
- In 3PL Warehouse Manager, navigate to Orders > Find Orders.
- If needed, use the search filters in the left pane to refine the results displayed in the grid.
- Select all the relevant orders you wish to include in the pick job, using < Ctrl > or < Shift > on your keyboard to multi-select.
- Hover over Manage, then click Create pick job to open the Create Pick Job dialog box.
If an option is grayed out, hovering over it populates a message at the top of the page that explains why it is unavailable for selection.
- Optional: From the drop-down menu, select a 'Priority'. 1 denotes the highest priority, while not specifying a priority prioritizes the job based on the time the pick job was created.
-
Optional: Select a specific 'Owner' to complete the pick job, then enter any necessary 'Instructions' the picker may need for the job.
- Click Save Changes and Exit. The specified owner can now proceed to pick the order(s) using SmartScan.
Modify a pick job
Once a pick job is created, you have two options for modifying the pick job if it has not already been picked:
- Remove one or more orders from a pick job
- Delete the pick job altogether
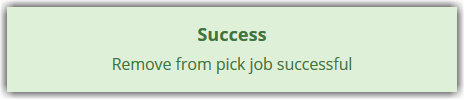
To perform either of these actions, select the appropriate order(s) from the Find Orders grid, then click Manage > Remove from pick job or Delete pick job.
A message appears to inform you if the action was successful or unsuccessful.
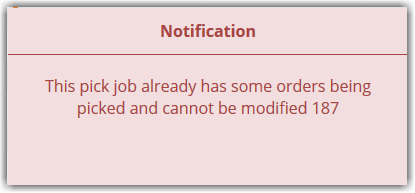
If an order has already been picked, you can open the job within SmartScan's Pick module to make adjustments as needed. If any changes are made to the order at this time, the system resets the Pick Done Date.