Receiving with SmartScan
3.2 min read
|SmartScan's Receipts module allows you to create new receipts, edit existing receipts, and receive items against an ASN. This article reviews the standard receiving process in SmartScan.
To access the Receipts module in SmartScan, you must have the following permission assigned to your user role: Mobile Scanner > Mobile Receipts.
SmartScan logic
Before you start receiving with SmartScan, it's important to understand the customer settings and general SmartScan logic that impact your workflow for standard receipts and when receiving against an ASN.
When specifying a movable unit (MU) for a received item, SmartScan assigns the MU type and dimensions defined in the item's setup (as shown below) by default and uses the following logic for each line item thereafter:

- If you select 'No Movable Unit', SmartScan automatically selects this option for each subsequent line item.
- If you select 'System-Assigned', SmartScan references the item's MU setup for the subsequent line items.
- If the MU quantity in the item setup is more than the specified line item quantity, SmartScan remembers that system-assigned value and automatically populates it for the next line item which has a full quantity that can be placed on the MU.
- If the MU setup is null or equal to the quantity on the pallet, SmartScan assumes you are receiving full pallets and selects a new system-assigned value for the next line item.
Below are the relevant customer settings for receiving with SmartScan:
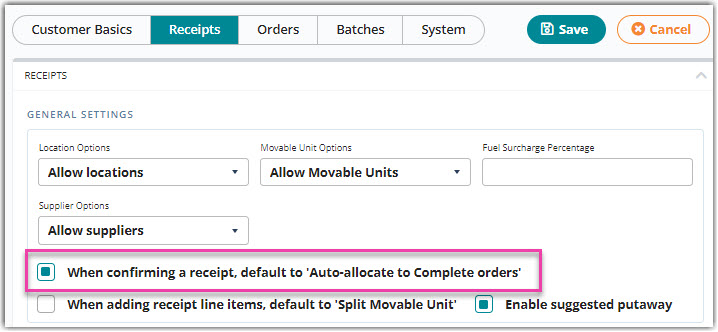
- If "Auto-allocate to Complete orders" is enabled by default in the customer's setup, the received inventory will be automatically allocated to orders that are in a Complete status and awaiting the relevant inventory.
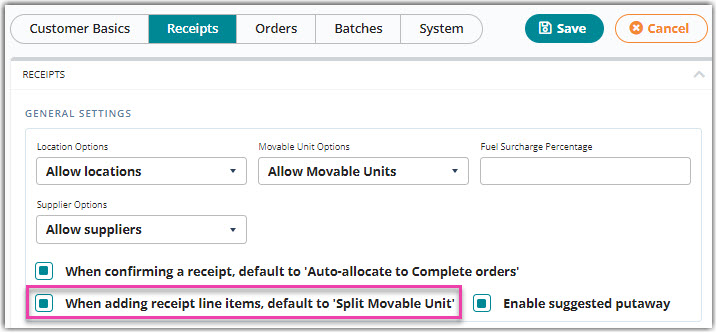
- If you are receiving multiple movable units (MUs) under one line item and the "Split Movable Unit" functionality is enabled by default in the customer's setup, SmartScan automatically splits each MU into individual line items based on the item's setup. If this customer setting is not enabled, you can choose to 'Split MU' at the time of receiving.
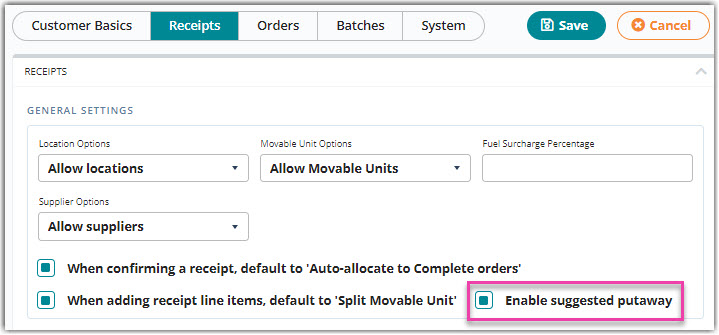
- If you want SmartScan to suggest putaway locations when receiving items, you must enable suggested putaway in the customer's setup. Once enabled, the 'Location' field displays a Search icon that populates a list of suggested locations for selection.
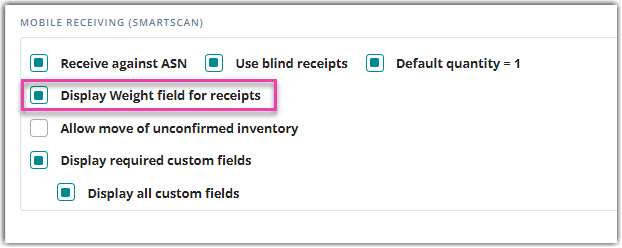
- If you want to capture an item's weight, you must enable this field in the customer's setup.
Find receipts
Once you understand which customer settings impact the receiving process in SmartScan, you can proceed to the Manage Receipts grid to find receipts.
- Log in to SmartScan, and ensure the appropriate warehouse is selected.
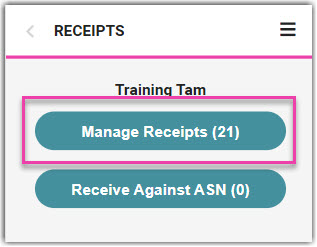
- Tap the Receipts module, then select Manage Receipts. Note that the number displayed reflects the total amount of Open and Complete receipts for customers who are not using Receive Against ASN (RAASN) within the selected warehouse.
- Enter the name of a relevant 'Customer' to open the Manage Receipts grid. The grid populates all Open and Complete receipts and returns for the specified customer—the oldest transactions populating first.
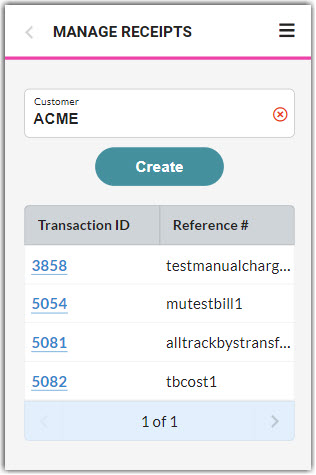
- If the customer has more than four receipts that are currently Open or Complete, you can view the number of available pages below the grid and tap the arrows to navigate to the next or previous page of receipts.
- In addition to navigating between pages to find a receipt, you can also scan or enter the relevant transaction ID or reference number to open the receipt.
Manage receipts
Once you find a receipt, you can select it from the grid to open and manage it. If you select the transaction ID from the grid, this opens the Receipt Info dialog (as shown below) where you can view additional details and access the following options:
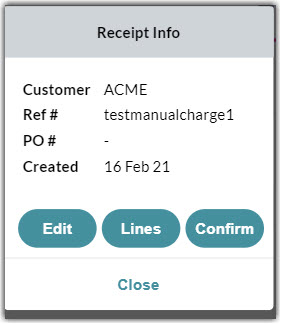
- Tap Edit to edit the general information, including the Reference Number, Trailer, Seal, PO Number, Door, or Notes. Once saved, SmartScan opens the receipt so you can edit or confirm the receipt as needed.
- Tap Lines to open the receipt and add/edit line items, update putaway location(s), and confirm the receipt.
- You can also choose to scan or enter a transaction or reference number, or select the relevant grid row (not the transaction ID), to quickly open this view of the receipt.
- Select the layer icon above the grid to create a "roll-up" view of receipt line items to facilitate the capture of inbound serial numbers. This roll-up view combines identical line items (same SKU/qualifier/track-by's other than serial number) into a single row in the grid.

- This lets you collect the identical data once, then leverage a new serial number capture modal to quickly capture all serial numbers. Once collected, the system writes the captured serial numbers out to the individual line items represented by the roll-up view.
- Note: Once you specify a movable unit (MU) for a line item, it populates as a gray grid row above the appropriate line items.
- If you need to edit the MU type or dimensions, tap the Edit icon in the gray MU grid row, then save the appropriate changes.
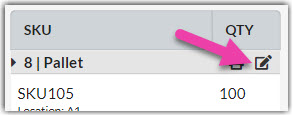
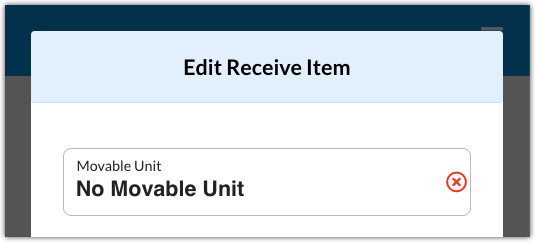
- If you need to remove the MU, open each SKU assigned to that MU, then select No Movable Unit in the 'Movable Unit' field.
- If you need to edit the MU type or dimensions, tap the Edit icon in the gray MU grid row, then save the appropriate changes.
- Tap Confirm to accept all associated charges and confirm the receipt.
- To view the total charge amount, you must have the following permission assigned to your user role: Receipts Module > Receipt Charges > Manage Charges. The customer must also have predefined manual charges configured for the Charges page to display.
- To confirm the receipt and move it to a Closed status, you must have the following permission assigned to your user role: Receipts Module > Confirm Receipts. If you do not have access to the 'Confirm' button, another warehouse user must close the receipt. Simply tap Save to save the charges and return to the list of receipts.