Managing 'MarkFor' Lists
Overview
'MarkFor' lists are used in 3PL Warehouse Manager as filters for orders that are created through a pre-wired integration and allows you to "flag" or "mark" orders as a designated group.
For example, if each day of the week you ship to the same destinations for a customer, you could create five lists, one for each day of the week. Each of these fields will then appear as an optional field on all orders created for this customer via an EDI or API connection.
This article reviews how to add, edit, and merge your 'MarkFor' lists.
Guidelines
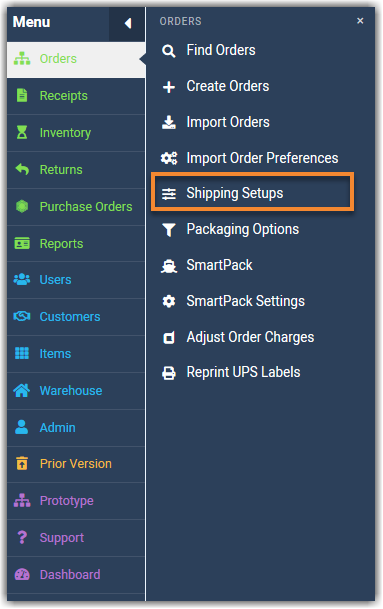
Navigate to Orders > Shipping Setups.
Click Manage 'MarkFor' Lists.
Select a customer from the drop-down menu. Each 'MarkFor' list for the specified customer will display in the grid. The 'MarkFor' lists that display are available for quick selection while creating or editing an order. ???
Continue reading below for instructions on how to add a new 'MarkFor' list or manage an existing list.
Add a new 'MarkFor' list
To create a new 'MarkFor' list in the system, click Add. Enter a 'Description' for the list, select the 'MarkForID' from the column on the right, then select the bottom arrow (screenshot). Repeat for each ID you wish to add to the list.
Once the list is complete, click Save. The new 'MarkFor' list will display in the grid.
Manage an existing 'MarkFor' list
There are three options of managing an existing 'MarkFor' list: edit, delete, and report.
- To edit a 'MarkFor' list, select it from the grid, then click Edit. Make your changes, then click Save.
- To delete an existing 'MarkFor' list, select it from the grid, then click Delete. Click OK to confirm.
- To generate a report for a 'MarkFor' list, select it from the grid, then click Report. A MarkForListContents report will display. You can choose to Export the data to your device and click Close to return to the previous page.
