There are a few ways to manage returns in Extensiv Warehouse Manager, which can also be referred to as Return Merchandise Authorizations (RMAs).
In order of most automated to least, see the options below:
Create a sister document for a Completed order to create an inbound return.
Import receiving orders into Warehouse Manager for all inbound returns.
Create a manual receiving order in the system for a return.
Sister Document Creation
To create a sister document,
Set up the appropriate transaction codes by going to Settings > Transaction Codes.
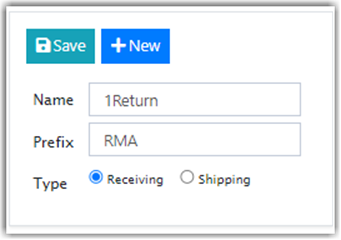
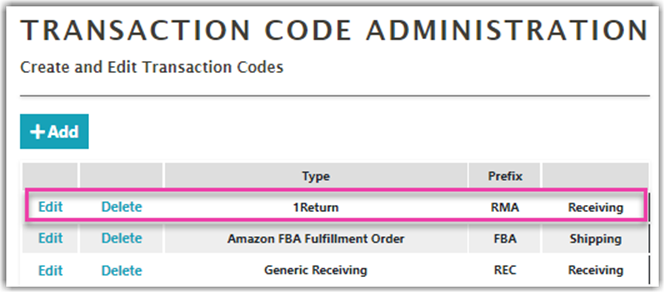
In Transaction Code Administration, add the transaction code(s) that you would like to use by default for sister documents for returns. The system will default to the first (alphanumeric) type listed for receiving transaction codes. In the example below, you will see that RMA will be the prefix used for Returns, 1Return is the first Receiving code listed.
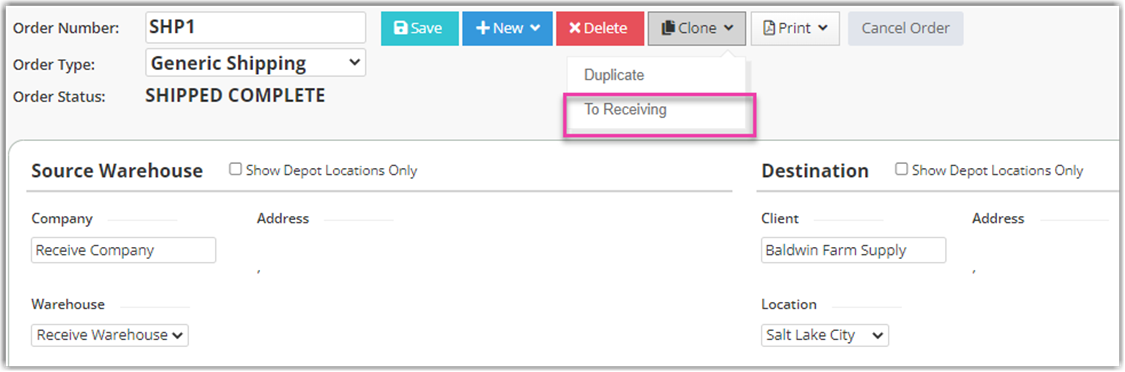
Navigate to Orders then search for a Shipped Complete order. To search for a Shipped Complete order, go to any view and type in Shipped Complete in Status Name.
Open the view that you have selected and click Clone and choose To Receiving.
This will create a Sister Document of the order. Click on that Sister Document Link to the right of the screen.
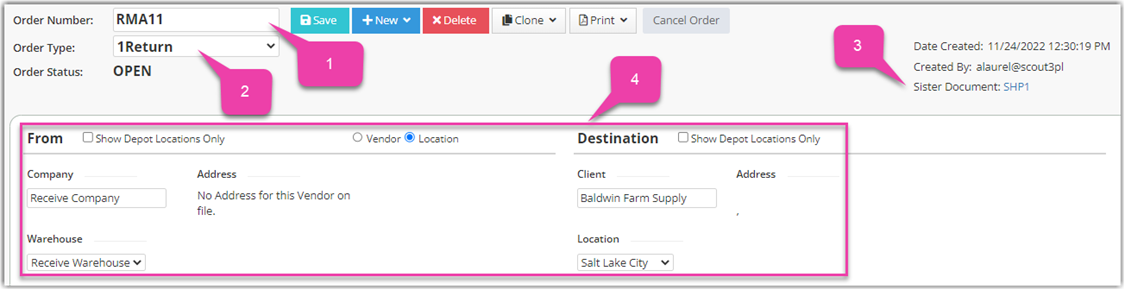
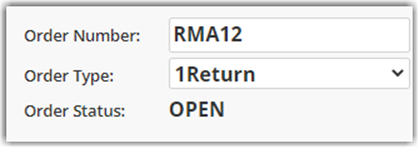
When clicked, you will now see the following on the new order:
New Order Number with the prefix RMA.
Order Type is the 1Return we created in Transaction Codes.
The Sister Document is listed as the original order number.
The From/To locations have swapped from the original order.
This order is now OPEN and can be viewed in Receiving orders:
Import Receiving Orders (pofull SNAP job)
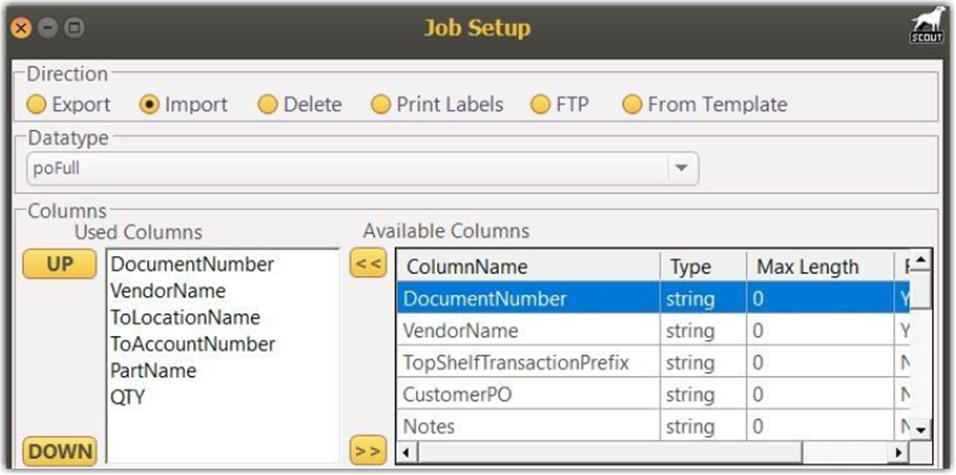
Returns can also be managed by uploading the RMA orders via SNAP using a poFull import.
Click Browse and select the .csv file you will be importing.
Open the file and click OK. The job has now been added.
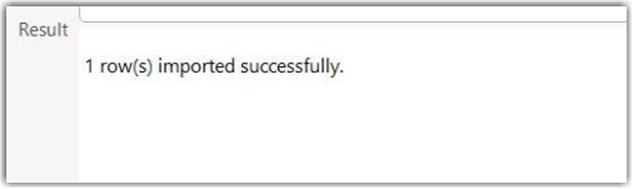
In the SNAP tool, select the job that was created, and click Run.
Results will be listed in the Result box. Success or failures will be shown here.This PO has now been imported and is available to view in Orders > Receiving Orders.
Sister Documents will not be used in this process, therefore the original outbound order and the new inbound order will not be connected. POfull SNAP Import Automation
Creating POfull SNAP Import Automation
If you have many customer returns, a simple method for tracking RMAs is via a spreadsheet. This spreadsheet can be managed by manyand uploaded on a specific schedule to Warehouse Manager. The upload can be automated via the SNAP Scheduler.
To create a POfull SNAP import automation,
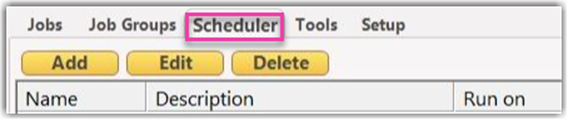
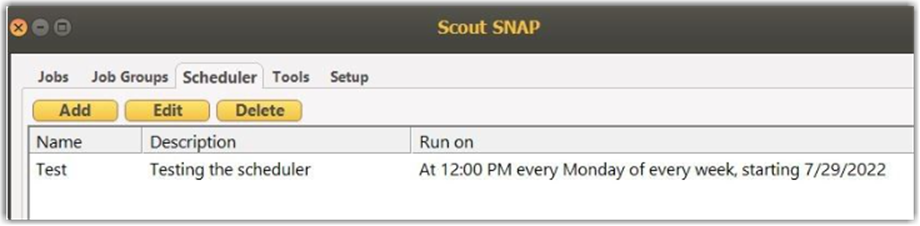
Navigate to SNAP > Scheduler.
Click Add and choose the SNAP job that you want to set up an automation for.
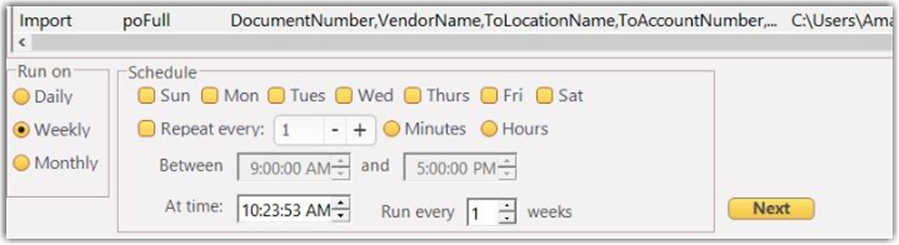
The scheduler can be set to run Daily, Weekly or Monthly.
Enter the desired schedule and click Next.
The About section will pop up, with Name and Description for the scheduler.
Click Done. The scheduled job can then be viewed in the Scheduler Tab in SNAP.
This Scheduled Job can be edited or deleted as needed on this screen.
Creating a Manual Receiving Order
Another way to manage a return in Warehouse Manager is to create a manual receiving order.
To do this,
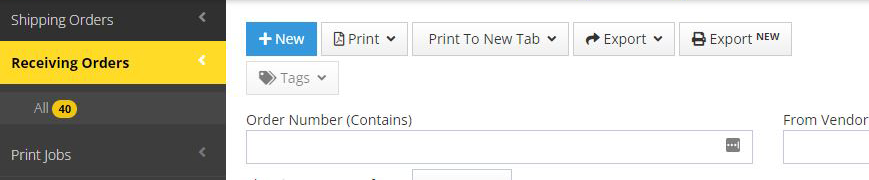
Navigate to Orders > Receiving Orders > New.
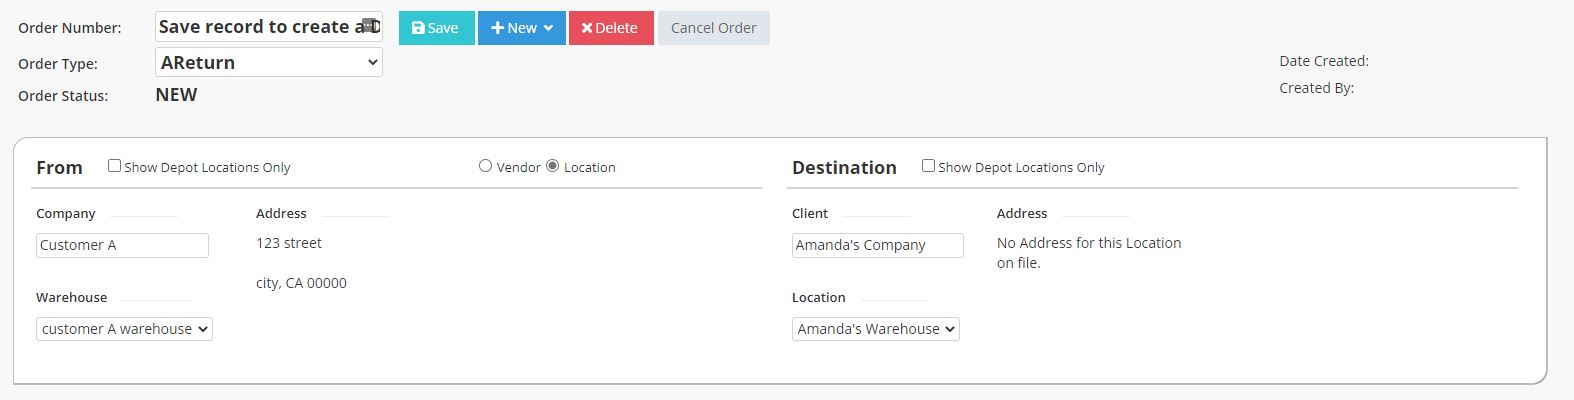
You can create an Order Number, or the system will generate one for you upon saving the document.
Choose Order Type.
Choose Location or Company and enter the details.
Enter the information for the From and Destination sections.
Click Save (part lines cannot be added until this record is saved first). If there is no entered Order Number, the system will generate an Order Number.
Add part name, part description & qty of the item(s) being returned.
Save the order using the Save button.
This receiving order for returns has now been created and can be viewed in Receiving Orders.
Sister Documents will not be used in this process, therefore the original outbound order and the new inbound order will not be connected.
Executing a Return
Now that a receiving order, or inbound transaction, has been created for the Return/RMA, you should treat the orders as any other inbound transaction. It is recommended that you keep Returns and Purchase Orders separate during the Receiving process to ensure the proper inspections are completed. We recommend creating an internal Standard Operating Procedure (SOP) for your Returns Management to include both the electronic process in the Warehouse Manager and the physical process.