Creating a Sales Order in the Unlimited Console
1.0 min read
|Sales orders can be created and imported from an integration, created in the Orders module, or imported via the SNAP tool.
Creating a new sales order in the Orders Module
- Navigate to Orders > Shipping Orders.

- Click New to proceed in the order entry page.
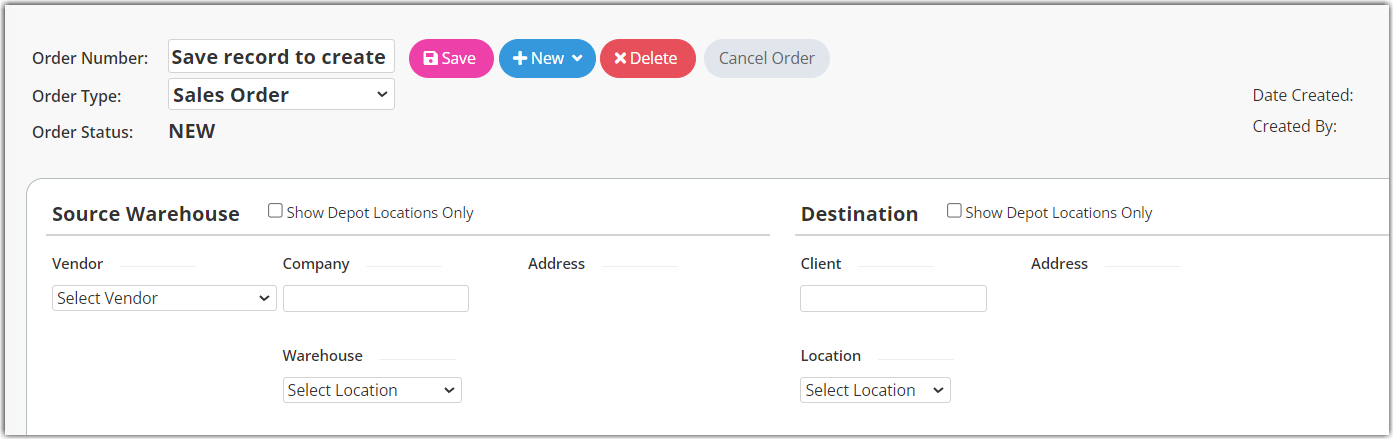
- Enter an ‘Order Number’. If you leave it blank and save it later, the system will generate an order number for you.
- Select an ‘Order Type’. Commonly used are Amazon FBA, Generic Shipping or Sales Order – which may vary depending on your transactions. These can also be edited in Settings > Transaction Codes.
- Enter ‘Source Warehouse’ information. This is where the location of the item(s) will be coming from. You can select a Vendor or use Default as the Vendor. You can also add Vendors through Contacts > Vendors.
- Enter Destination information. This is where you specify the ‘Client’ that has ordered from you and where you should ship the items to. You can add them through Contacts > Clients.
- Click Save when done.
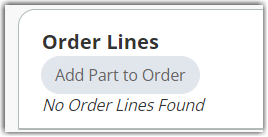
You have successfully created an order. Parts can now be added to the order through the Order Line section.
To add the Order Lines
- On the Order Lines section, click Add Part to Order.
- Click the space under Part Name.
- A new row will appear for you to enter the part details.

- Enter a ‘Part Name’. When you start typing upon this field, the system will automatically generate a list of parts that matches whatever you are typing.
- Next, click the field below ‘Part Description’. It will generate the description based on the ‘Part Name’.
- Enter the QTY (Quantity).
- Repeat steps 1-6 until you have added all the parts in your order.
- Click Save when done.
When done, the order is now ready for picking and shipping in mobile.