Entering Purchase Orders Manually
1.9 min read
|This article outlines the guidelines for manually entering a single purchase order into 3PL Warehouse Manager. For prerequisites and general information on purchase orders, see Creating Purchase Orders.
in 3PL Warehouse Manager, the Purchase Order function is primarily a reporting feature designed to help you track how much inventory has been received for any given PO number across multiple receipts (inbound shipments).
POs are typically entered into the system manually when you receive one at a time or a large number of SKUs are not involved.
Guidelines
Navigate to Purchase Orders > Create Purchase Order.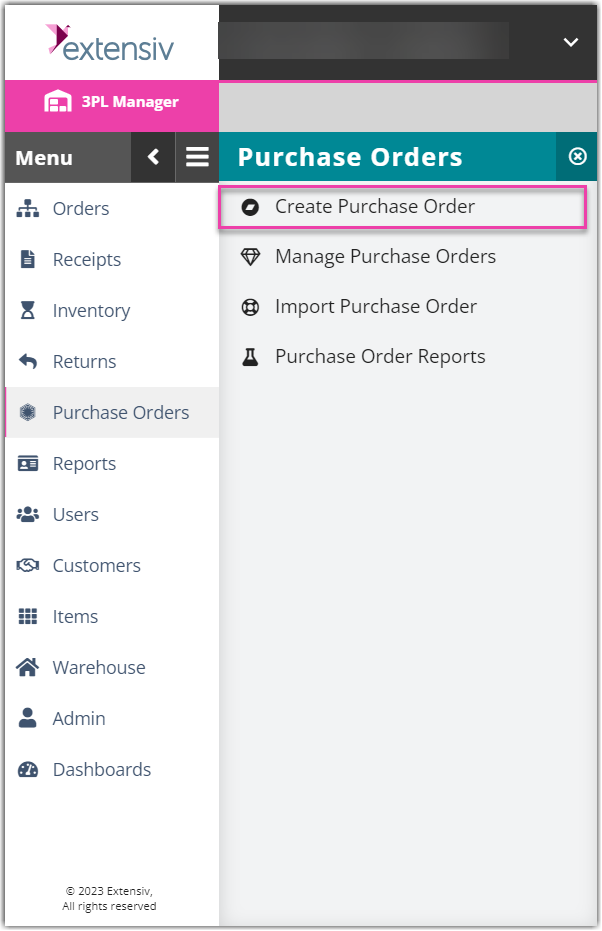
Select a customer from the drop-down menu, enter a unique 'P.O #'—this can be any number but is typically provided by your customer's purchasing agent—then click Save. The "PO Header" dialog will appear.
PO Header
The PO Header consists of two sections: the Purchase Order Header and the Supplier.
Purchase Order Header
The fields under the 'Purchase Order Header' section display at the top of the header portion of a PO and are not required to be saved. The 'Issue Date' is the creation date, while the 'Notes' field allows you to enter notes for the supplier handling the PO.
Supplier
The fields defined in the 'Supplier' section display on the main portion of a PO's header and specify where the PO is coming from. Once a PO is created, the supplier's contact information is found under Customers > Manage Suppliers.
To choose a previously used supplier, click List... to select an existing supplier from the grid. Once selected, click Select and the 'Supplier' fields will populate with the supplier's contact information. To edit a populated field, click Modify.
To use a new supplier, manually fill out each field as necessary. Fields with a red asterisk (*) are required. Once created, this supplier will appear under Customers > Manage Suppliers.
Once all necessary information is entered, click Save.
Line Items
Once you've filled out the header section of the PO, you must enter a line item for each SKU that is expected to arrive.
- Select a 'Default Ship-to Facility' from the drop-down menu, then enter the 'Default Expected Date'. The next time you manually create a PO for this customer, these fields will populate to these defaults.
- To add a line item, click Add and the "Line Item" dialog will appear. Select an 'SKU' from the drop-down menu, then enter a 'Quantity'. All other fields are optional.
The 'Ship-To Facility' and 'Expected Date' fields will auto-populate from the previous page but can be modified.
- Click Save, and the line item will appear in the grid.
- Repeat Steps 2–3 for each unique SKU on the PO.
To edit or delete a line item, select an 'Action' in the appropriate row of the grid.
- Once all line items are added, click Manage and then tick Close the Purchase Order box. This process also completes the PO.
You will be redirected to a screen that allows you to update/edit the newly created PO, print the PO or progress report, close the PO, or select a different PO to edit.
Once a purchase order is created, you can access all open POs under Purchase Orders > Manage Purchase Orders. You can also receive against the PO by specifying the relevant PO number on a receipt.