How to Configure Zebra WiFi Printer
The following article outlines how to set up your Zebra WiFi enabled printer such as a GX420t or QLN420 plus.
- Before getting started: Download and install Zebra Setup utilities from the web or the CD that came with your printer. The Zebra setup utilities program is used to configure settings on the printer via USB.
- Plug the printer into your PC via the provided USB cable. Your Windows PC should automatically start installing the printer. You should see your printer in the printers window in Zebra Setup Utilities.
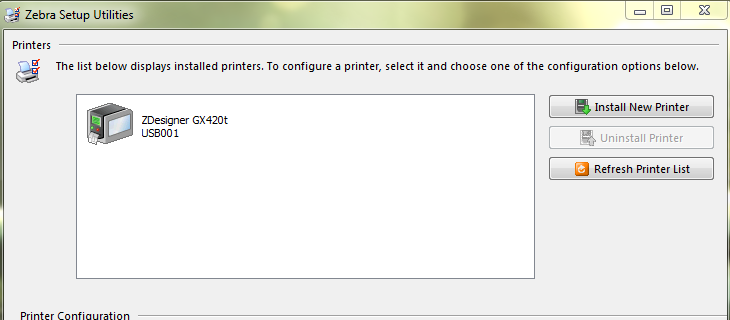
- Next, highlight the printer in the upper window, and press the 'Configure Printer Connectivity' button


- Select 'Wireless' from the Connectivity Type window

- Next, you will be prompted to select either DHCP or Static IP address.
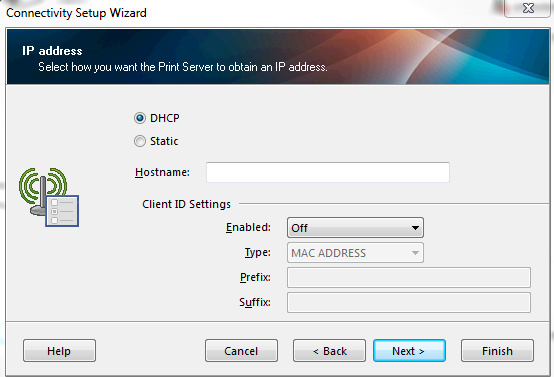
- DHCP - This means an IP address will automatically be assigned by your network to the device.
-
Static - Select this option if you want to assign a specific IP address to the printer. You will also need your Subnet Mask and Default Gateway information.
Hostname and the Client ID settings can typically be left blank. Click Next when you've made your selection.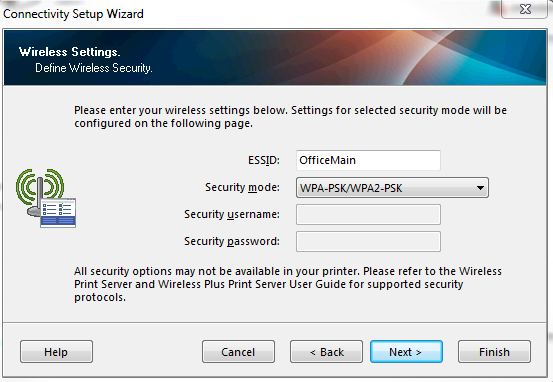
- Now you will enter in your ESSID and Security Mode. The ESSID is the WiFi network name that is broadcast, much like when picking a WiFi network from your smartphone.
- The ESSID must be typed exactly, including caps and special characters
-
Security Mode - The most common security mode is WPA-PSK/WPA2-PSK. Speak to your network admin if you are unsure about this setting.
- Select String and enter your PSK name (WiFi Password)
 Make sure the password is entered exactly.
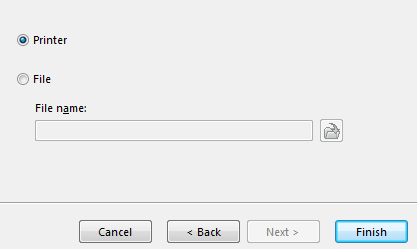
- Now click Next until the Next button is grayed out. Make sure the 'Printer' selection is active and click Finish. This will send the configuration to your printer.
- Now, when you look at the printer you should see an IP address.
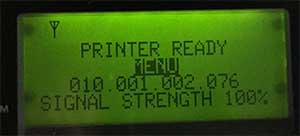
If you are still not getting an IP address after completing these steps, review your network configuration and repeat the above steps. You may need to speak to your network administrator to get the correct configuration settings for your specific network.
