Receiving in Mobile
1.6 min read
|All receiving transactions will be completed on the mobile device (mobile.scoutsft.com)
To receive in mobile,
- Login to https://mobile.scoutsft.com/.
- Navigate to Shipping/Receiving > Receiving.


- Scan the Receiving Order barcode into the Receiving Order Number field.

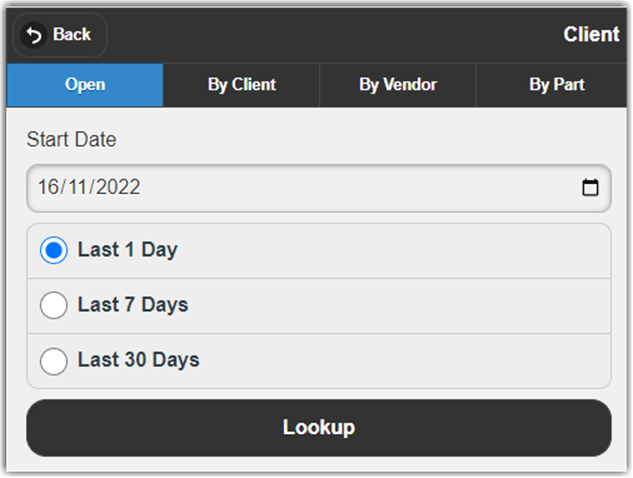
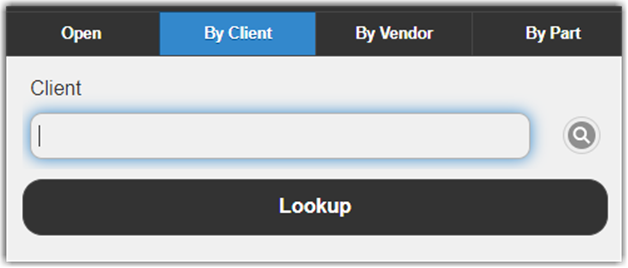
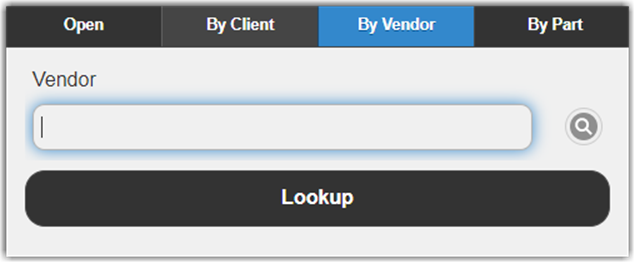
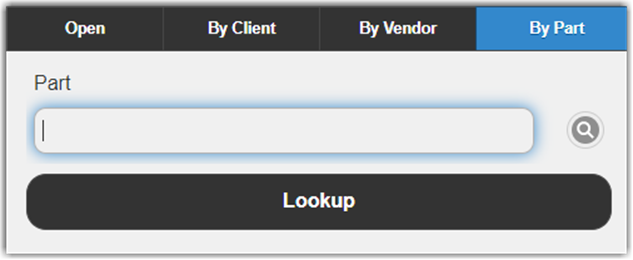
- You can also use the Search functionality to look up the receiving order. Search functionality allows you to search by Open status, Client, Vendor, or Part.
- Scan the bin where the inventory will be physically placed (whether temporarily or for long-term storage). You can also use the Search icon to look for an existing bin.
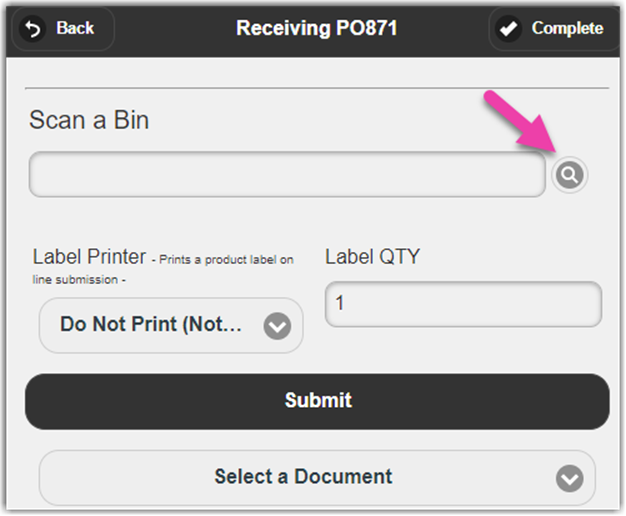
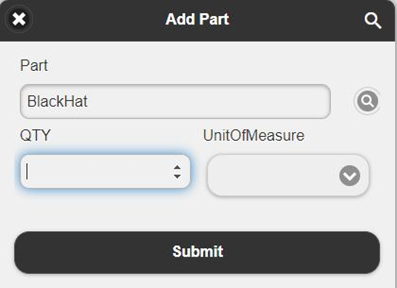
- Next, Scan a Part to be received, or click Part List to expand and select from the Part List.

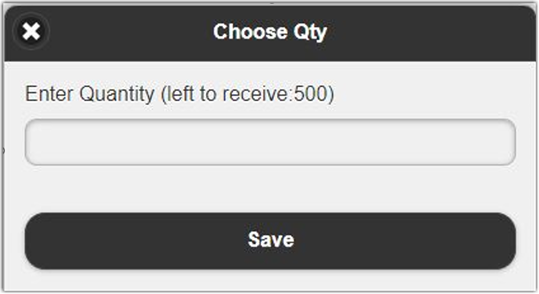
- Enter QTY (Quantity) to receive.
- Continue with each part in the order.
- Click the Complete in the top right-hand corner. Order will automatically close and return to the Receiving menu.

Discrepancies
To account for discrepancies,
- If the receiving process is complete, but all items have not been received on the PO, click Complete.
- When the discrepancy window opens, select the appropriate kind of discrepancy. The options include Back Ordered, Damaged, or Wrong Item(s). These are used to notate why there is a discrepancy between what was ordered and what was received. A reason code is not required.
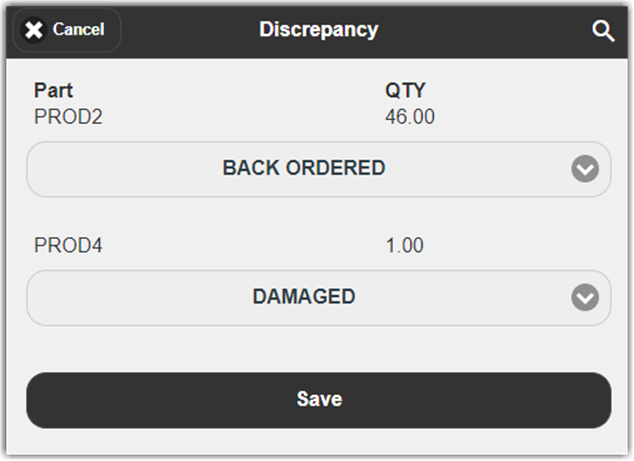
The discrepancy codes can be customized in Settings > Reason Codes. For more information, please see our help article for Reason Codes.
- Click Save to close and complete the receiving process.
Adding Parts on the Fly
To add parts,
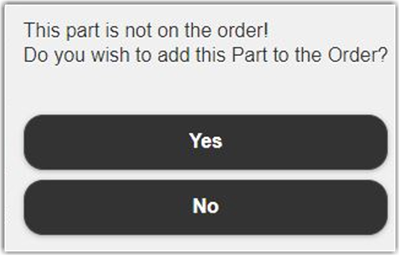
- If a part was not on the Receiving Order, you can scan the part and the mobile device will ask if you want to add the part, then click Yes to confirm.
- You will be asked to enter the expected QTY (Quantity) on the Receiving Order.
- Once added, you can continue with the standard receiving process. When the Receiving process is complete, you will be promoted to accept the discrepancy as shown above, and choose a reason code, if desired, but not required.
Receiving Assets
To receive assets through scanning the part being received,
- Enter or Scan the Serial Number.
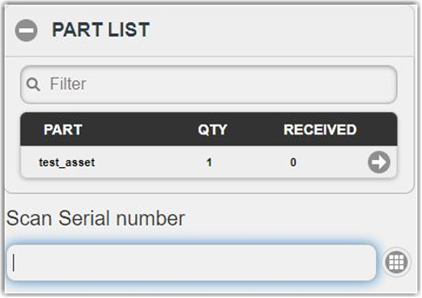
- Repeat for each part on the receiving order.
- Click Complete when done.
- You can only receive one asset at a time.
- Serial numbers can be uploaded in bulk via SNAP but must be a continuous run of serial numbers. Example: SERIAL_1, SERIAL_2, SERIAL_3, and so on.
- If the Remove Prefix/Suffix was used in the Part Record, the scan will take away the prefix/suffix.
Receiving Lots
To receive lots through scanning the part being received,
- Enter or Scan Lot Number
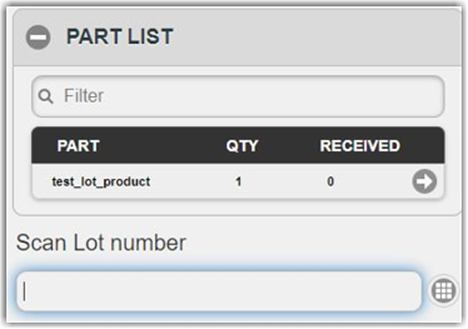
- Enter the QTY (quantity).
- Repeat for each part on the receiving order.
- Click Complete when done.
You can receive 1 lot code at a time. Lot Numbers can be uploaded in bulk via SNAP.