 Warehouse Management

Updated on September 11th, 2025
-
Warehouse Management
- Getting Started
- Admin Console
- Shipping
- Order Picking & Packing
- Receiving
- Customer Portal
- Cycle Counting
- Kit Building
- Managing Users
- Barcode Scanner
- Import/Export
-
Integrations
- Brightpearl
- Shipstation
-
Order Manager
- Warehouse Manager Order Manager Integration Details
- Installing Warehouse Manager Order Manager Integration
- Integrating Warehouse Manager and Order Manager
- Understanding Order Sync in Warehouse Manager and Order Manager integration
- Understanding the Inventory Sync between Warehouse Manager and Order Manager
- ShippingEasy
- Barcoding
- Wave Picking
- Bin Move
- Mobile Receiving and Picking
-
Settings
- Overview
- API Settings
- Bin Types
- Document Files
- Document Templates
- Event Actions
- Label Config
- Label Printers
- Message Recipients
- My Account
- Order Settings
- Pick Path
- PO Payment Settings
- Reason Codes
- Shipping Accounts
- Shipping Types
- Tags
- Transaction Codes
- User Groups
- Work Order Statuses
- Work Order Types
- Popular Articles
- Reporting
Step 2: Setting Up Your Business
Once you have set up your user account, it's now time to set up your business so you can begin using all of Extensiv Warehouse Manager's features.
Setting Up Your Company
- Once you are logged in, click the Warehouse button in the top navigation bar.

- Next, click the Companies tab in the left sidebar.

- Click the +New button.

- Enter the company name, an account number (if you don't have an account number you can use the company name again) and an email associated with your company, then click Save.

Setting Up Your Warehouse
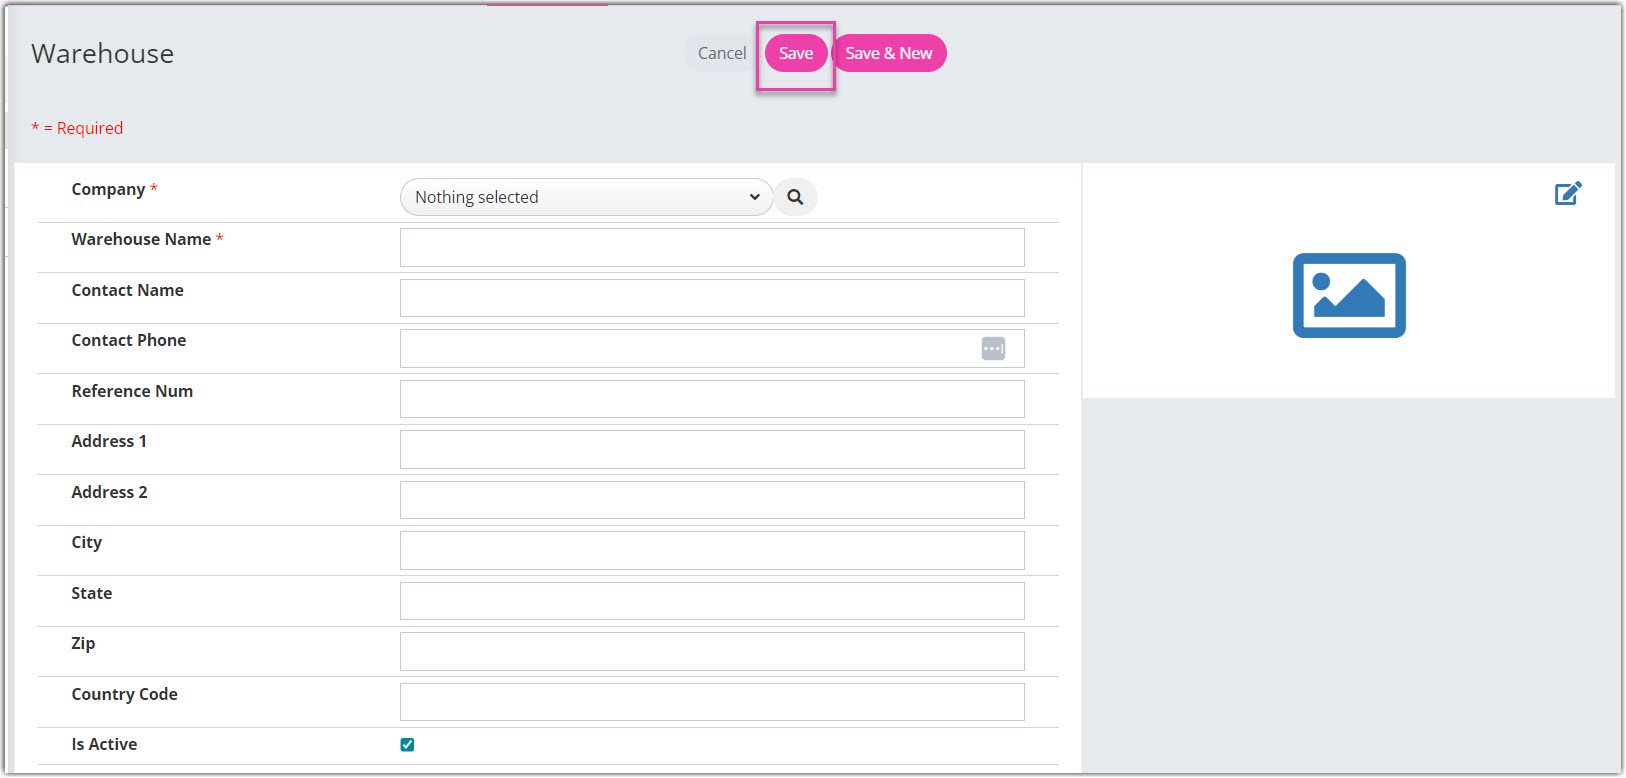
- Go to Warehouse > Warehouses > click +NEW.

- Fill out the form and click Save.

Setting Up a Bin
A bin is a location in the warehouse where inventory is stored—it can be a shelf, a room, or any other location within your warehouse.
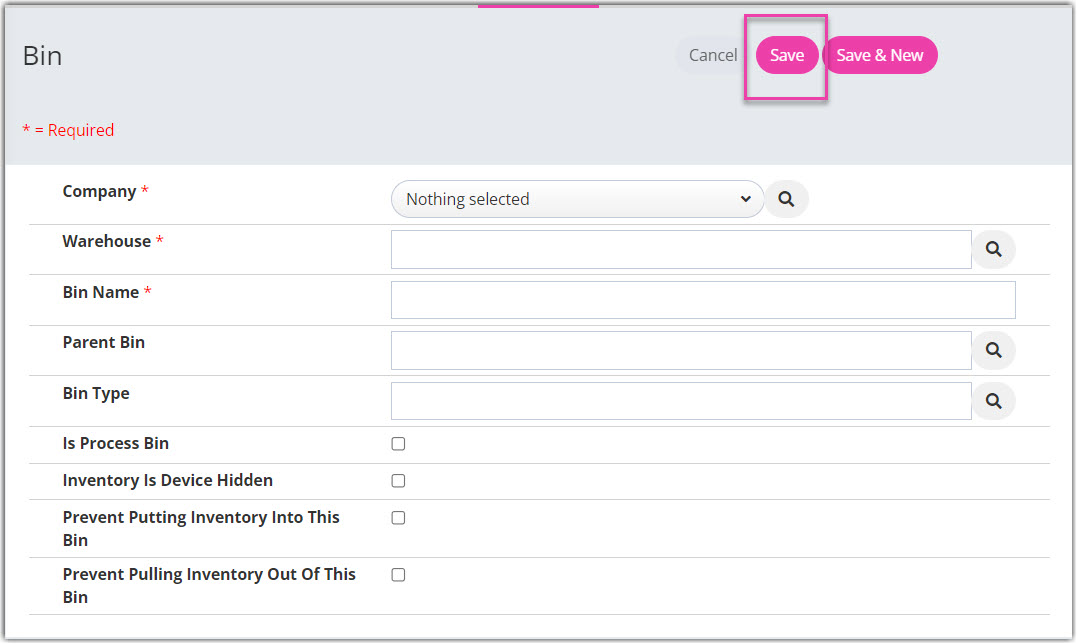
- Click on the Bins tab in the left sidebar, then click the +New button.

- Once the Bins page pops up, fill out the form and then click Save.

If your warehouse has been using a numbering or organizational system prior to purchasing Warehouse Manager, that information can be imported into the system from an Excel spreadsheet (download a sample template) using our SNAP tool. Please see Download SNAP for instructions on how to import your data.