Using Client Parts
Using Client Parts
The Client Parts option is used to assign specific Parts / SKU's to a client. This will limit their visibility to inventory related only to these SKU's in the customer portal. It will also only allow the user to add the Client Parts to Shipping and Receiving Orders.
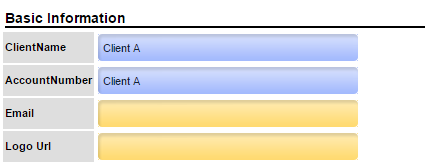
1. First, you will create a Client and Location for the customer you wish to assign Client Parts to. Navigate to Create > Clients from the top navbar in the admin console. Enter a client name and account number. Click Save.


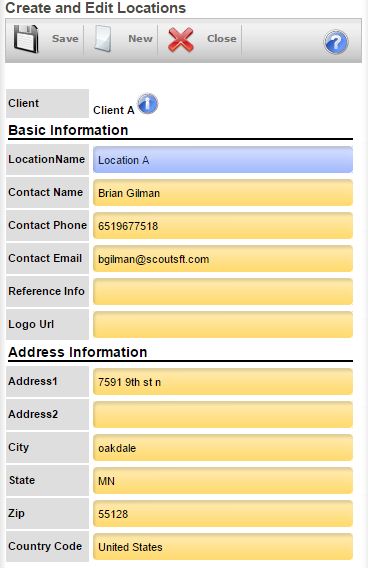
2. Next, Click the Locations button to create a location for this client. Click Add to add a location. Fill out the Location information as needed


3. At the bottom of the Location creation screen, make sure to check the Active and Is Depot checkboxes. Click Save at the top of the screen to complete the location creation.


4. Now that we have the Client and Location created for your customer, now you will need to lock the user into this client/location. Navigate to Admin > Users and edit (or create) the user to be locked into this location. Keep in mind, this Client / Location will not hold inventory but will only be used to separate what inventory the Customer Portal user can see. See the Setting up Customer Portal User topic for details on how to lock a user into a client/location.
5. Navigate back to the Client page (Search > Clients). Under the previously created client record, you will see Client Parts and Client Vendors. Click the Add button under Client Parts section to add parts to this client. Scroll through and add the parts as needed. The parts selected here will be the only parts the Customer Portal user will have visibility over. Additionally, the Customer Portal user will only be able to use these parts on Shipping / Receiving Orders created in the portal.


6. The same concept applies to Client Vendor'. You can specify which vendors are accessible to the Portal user by adding Client Vendors to their client record in Warehouse Manager. This will limit the vendor options when creating a Receiving Order in the portal.
