Creating an Inner Case Pick Rate Using Standard Tiering
1.0 min read
|This article is about the Billing Manager app, not the Billing Wizard in 3PL Warehouse Manager. To learn about the Billing Wizard, please refer to the articles in the Billing Setup.
This article provides a step-by-step guide on how to create an inner case pick fee and charge using a standard tiering rate. For further guidance, you can watch the instructional video here.
Start by learning about Standard Tiering
For a deeper understanding of tiered rates, please refer to our article on Understanding Standard vs Volume Tiering.
- Navigate to Rates > Rate List.

- Click + Create Rate in the upper right corner.

- Select the following options as shown below on the Create New Rate window. Then, click Continue.
Automated rate> Simple Rate > Tiered Rate

- Provide basic details such as Rate Name, Rate Description, and Charge Label.
- Select Shipping for the Transaction Type and Handling for the Charge Category. Then, click Continue.

- Select the following for each field in the Charge Method section. Then, click Next.
Charge Type: Flat
Counting Unit: Secondary Units
Calculate By: Count Less Other UOMsCount Less Other UOMs Pre-Condition
For a deeper understanding of the Count Less Other UOMs method of calculation, please refer to our article on Count Less Other UOMs Pre-Conditions.
To discern the difference between Count and Count Less Other UOMs, consult our article on Understanding Count vs Count Less Other UOMs.

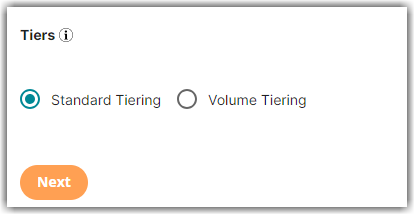
- Select Standard Tiering in the Tiers section,
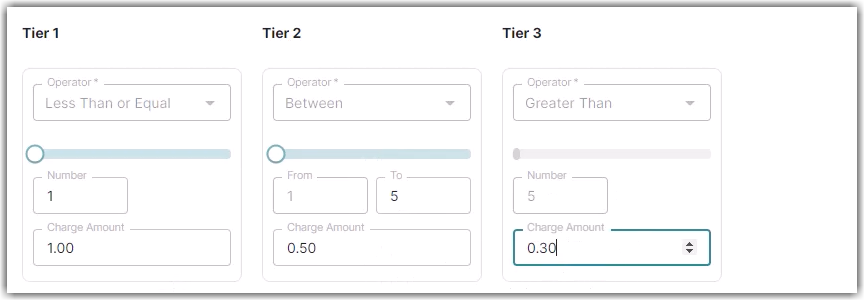
- Set the desired values for each tier. You can click the + button to add the third tier.
- Click Skip on the Rate-Level Rule section. There is no need to add a minimum rate for this scenario.
- Click Yes, Save to save this rate.
- Select Yes or No as desired to add to a rate sheet.