Step by Step - Guided Order pick on Device
Step by Step - Guided Order Pick on Device
The guided version of order pick in Extensiv Warehouse Manager will direct the user bin by bin to pick the products needed for each order. By default, the device will create an alphabetical path based on the bin name. You can also set a custom pick path if you'd like something other than an alphabetical Pick Path.
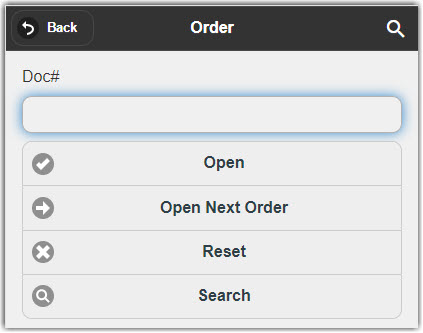
1. Navigate on the device to Shipping/Receiving and click the Order Pick menu option.


2. Enter the order number (doc number)
You can scan or type the order number in the textbox. Other options on this page:
- Next Order - This will open the oldest order with a status of ‘Open’
- Search Icon - Lookup orders by date, customer or part
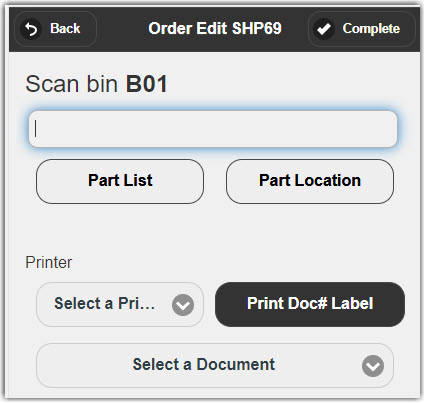
3. The first input the device asks for is a bin name. Ideally, you would scan the bin barcode located on the bin. You can also type into this textbox.

The screen also shows the Part Description of the next part found in that bin. Other options on this page are:
- Print Doc # - This will print the order # barcode to a Zebra Printer set up in Warehouse Manager
- Add Line - Add a new line to the order
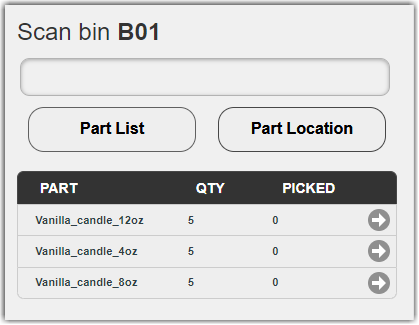
- Pick List - This brings up a list of all parts on the order, allowing you to select a different part
- Part Loc - Select another bin location for the current part
4. Next, Scan the part number displayed above the text box.
5. Enter the QTY to be picked. Note the QTY displayed in the parenthesis is the QTY needed for the order, or the QTY available in that bin

There is an option that can be enabled that will have the user scan the part to equal QTY 1 of that product. This setting is called 'Pick Item with Part Scan' and can be enabled by your Extensiv support rep. This option is system-wide, so consider the QTY of products that you typically have on orders. Scanning 1000 times can be cumbersome to the user. Also, this option is only applicable to non-serial and non-lot products (items).
6. If all of the lines have been picked, the user will receive the message ‘Order Pick Complete’
If no QTY is available for any of the lines on the order, the guided order pick will skip those lines.
The order will be marked as 'Incomplete'. Check stock on the products in the order
7. No Stock Button (optional). If the Warehouse Manager has an inventory of a product, it will send the user to the bin to pick it up. If a user goes to that location and does not find any inventory, they can use the 'No Stock' button.
Pressing the No Stock button will flag that part in that bin as being unpickable and send the user to the next part on the order. Until the 'Not Found Commit' function is used, the part in this bin will be skipped over until the 'No Stock' flag is cleared.
To view parts marked as 'No Stock' in your system, open the 'Inventory Reviews Needed' report in Warehouse Manager under 'Reports > Inventory > Inventory Reviews Needed'
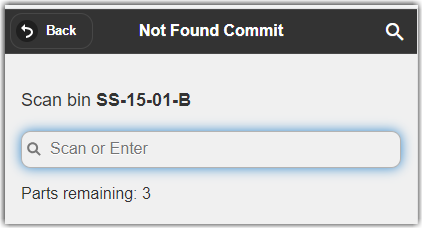
8. To clear the products marked as No Stock, navigate on the device to ‘Inventory > Not Found Commit’


If there are parts currently marked as No Stock, the device will send the user to the first bin for not-found products. Scan or type the bin name into the field:

Next, the device will ask ‘Is there any stock of parts?’
- Clicking Yes to this prompt will simply clear the 'No Stock' flag and return the part to a pickable status
- Clicking No to this prompt will zero out the inventory of that part in the bin
