Reassign a Listing SKU to Another Product
If you need to reassign an existing listing SKU because you want to use it for another product or you accidentally assigned the listing SKU to the wrong product, follow these steps to reassign the listing SKU to another product.
- Log in to Extensiv Network Manager. Navigate to Order Routing page.
- Go to the Products module.
- Click into the master SKU where the listing SKU currently exists.
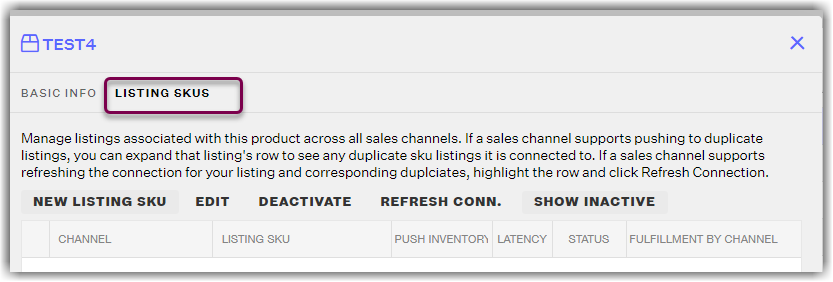
- Click on the Listing SKUs tab.

- Click into the row for the listing SKU that needs to be reassigned and click on the Edit button.
- In the Edit Listing SKU window, edit the listing SKU so that it no longer matches the original listing SKU and click the Save button. Editing the listing SKU will allow you to reassign the original listing SKU to another product. For example, if the listing SKU is TestProduct, you can change it to TestProduct.error so you can reassign the original listing SKU TestProduct to another product.
- In the Listing SKUs tab, click on the "Deactivate" button if this is not an active listing SKU and click the Save button.

- In the Products module, locate the product that you want to reassign the original listing SKU to and click into the master SKU.
- Click on the Listing SKUs tab.
- Click on the New Listing SKU button.
- In the Add Listing window, add the original listing SKU and click the Save button. Then click the Save button on the Listing SKUs tab.
