Transferring Inventory
1.0 min read
|A customer-to-customer (C2C) transfer allows you to move inventory from one customer to another. If you wish to transfer more than one received item, the items must have the same Customer, SKU, and Lot Number—use < Ctrl > or < Shift > on your keyboard to multi-select as needed.
This article reviews how to perform a C2C transfer.
To transfer inventory, you must have the following permission assigned to your user role: Inventory Module > Transfer Inventory > Customer Transfers.
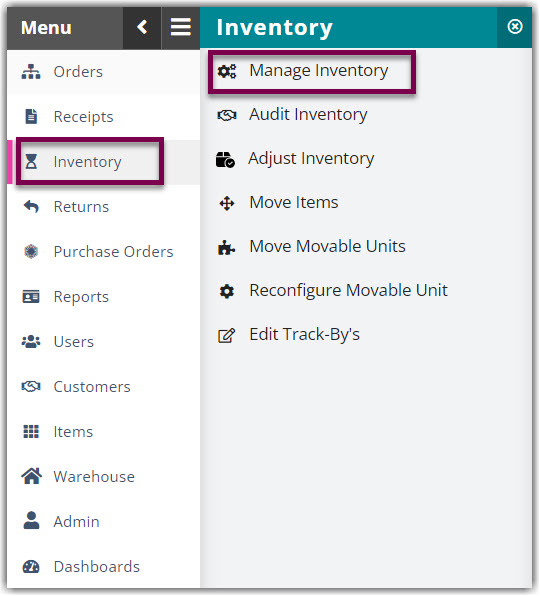
- Navigate to Inventory > Manage Inventory in 3PL Warehouse Manager, then select the Warehouse from which you want to transfer inventory.

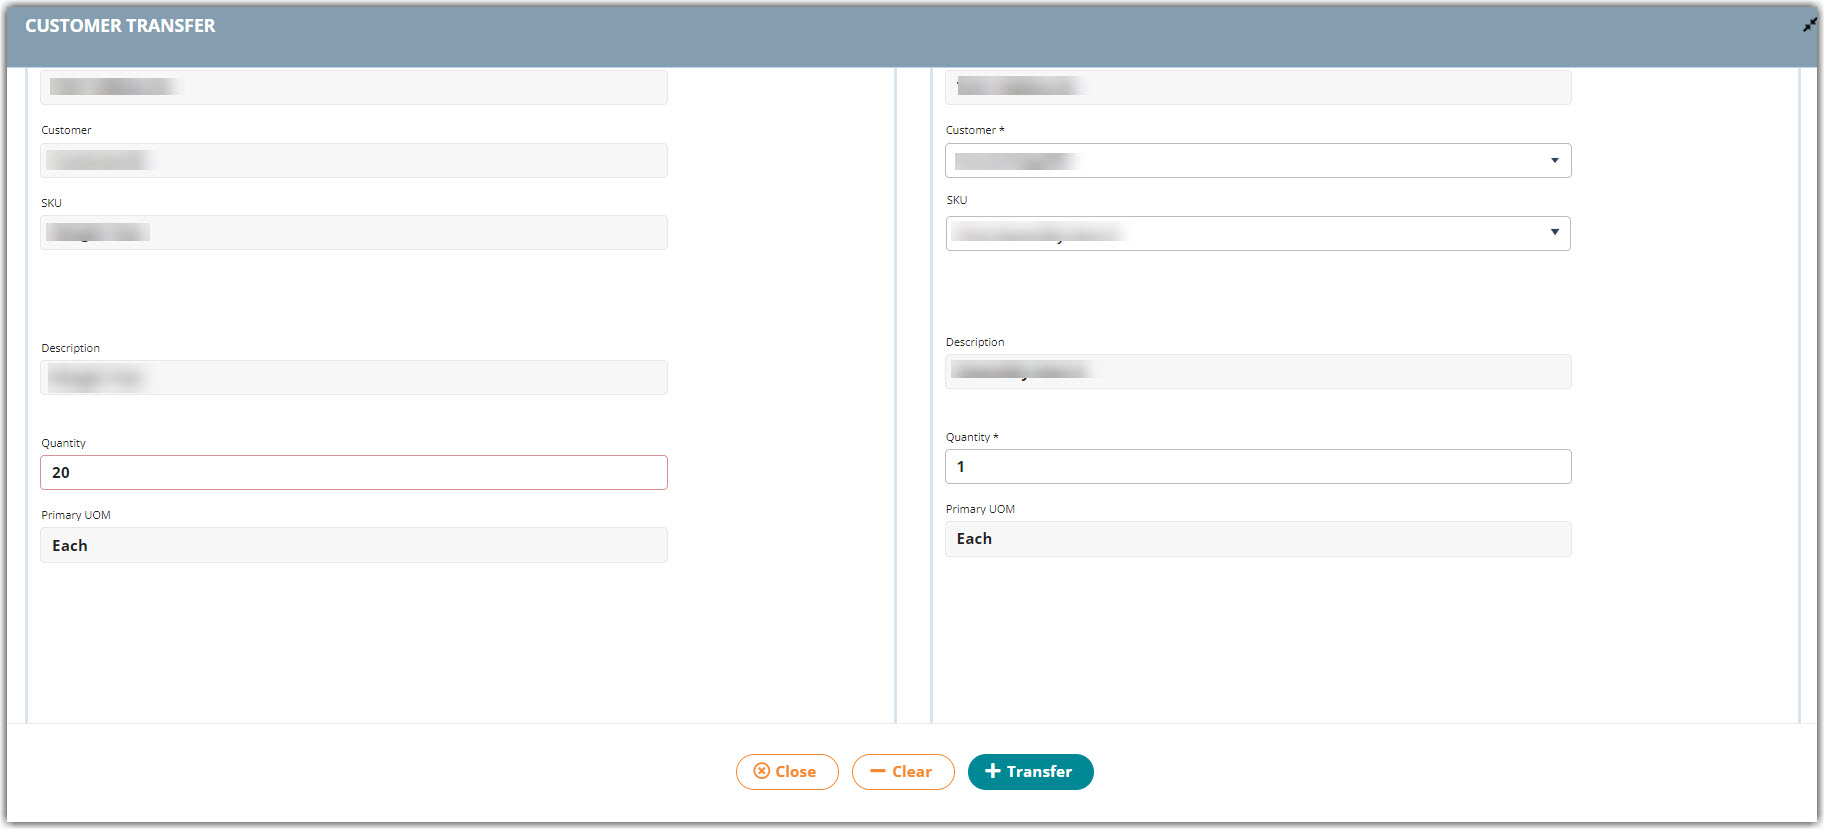
- Select the received item you'd like to transfer from the grid, then click Transfer > Customer Transfer to open the Customer Transfer dialog.

- If needed, under 'Transfer Source' modify the Quantity you wish to transfer.
- Under 'Transfer Destination', select the customer you wish to transfer the selected inventory. Note that SKU quantity and MU labels must be completed as needed; they may differ from the original inventory line item.
- Select the SKU, enter the Quantity, and then update the track-by and location information as needed.

- Click Transfer to transfer the inventory to the specified customer. A confirmation message will display.
You can view transfer activity that has taken place within your warehouse with the Transfer Activity report under Reports > Transactions > Transfer Activity.
To configure an auto-billing charge for C2C transfers, navigate to Customers > Billing Wizard > Per Transaction Billing Setup > TransferIn / TransferOut > Update and create an auto-billing charge for each customer as needed. Once created, C2C transfer charges populate on the Manage Invoices page as adjustments.

