• Help Center
  • 3PL Warehouse Manager
  • Inventory Management
  • Item Control
  • Inventory Management
    • Item Creation
        • Creating Items
        • Understanding Units of Measure
        • Entering Basic Item Details
        • Defining Units of Measure
        • Creating Item Assemblies
        • Configuring Item-Level Recurring Storage Charges
        • Configuring Item-Level Storage and Handling Charges
    • Inventory Management
        • Using the Manage Inventory Page
        • Understanding Allocation Logic
        • Making Adjustments
        • Transferring Inventory
        • Editing Track-By Values
        • Getting Started with Directed Putaway
        • Understanding Directed Putaway Logic
        • Understanding Replenishments
        • Counting Inventory
        • Performing Inventory Audits
    • Movable Units
        • Understanding Movable Units
        • Enabling Movable Units for Customers
        • Defining Movable Unit Types
        • Specifying an Item's Movable Unit Type
        • Receiving Movable Units
        • Moving Movable Units
        • Reconfiguring Movable Units
    • Item Control
        • Managing Assembly Transactions
        • Moving Items
        • Batch-Updating Items
        • Managing Item Aliases
        • Managing Commodities
        • Managing Classifications
        • Managing Pricing
        • Managing Item Images
        • Managing Storage Rates
        • Uploading Import Templates
        • Understanding Item Alias

Moving Items

The Move Items page allows you to move items from one warehouse location to another. This article reviews how to move items with 3PL Warehouse Manager.

If you utilize scanning operations in your facility, we highly recommend moving items via SmartScan instead—see Moving Inventory with SmartScan to learn more.


To move items in 3PL Warehouse Manager, you must have the following permission assigned to your user role: Inventory Module > Modify Inventory Configuration.


Using this function completely moves items off of a movable unit. If you want to instead move full pallet quantities between locations, please see Moving Movable Units instead.


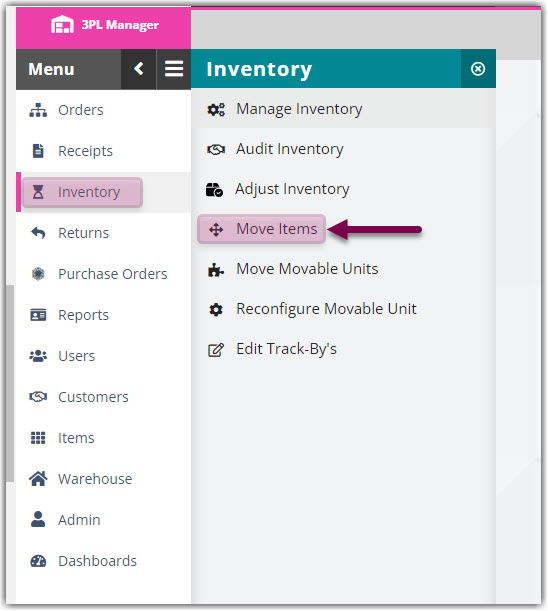
  1. In 3PL Warehouse Manager, navigate to Inventory > Move Items.

2. Specify a customer, warehouse, and SKU from the respective drop-down menus. These are the only required fields—fill out the others as needed, then click Select to populate relevant results in the grid.

3. Select the item(s) that you wish to move, using < Ctrl > or < Shift > to multi-select.

4. Enter the 'Qty to move', then select the 'New location' from the drop-down menu. If utilizing secondary UOM, you must enter both a primary and secondary quantity.

5. Click Move to move the item(s) and refresh the grid.


transporting relocating

Was this article helpful?

Yes
No
Share additional feedback about this article

Related Articles

  • Creating End of Day Requests (Manifesting)
  • Managing Retailers
  • Getting Started with GS1 Barcodes
  • Using Outbound Serialization

Not finding the help you need?

Contact Support
Solutions
  • Solutions for Brands
  • Solutions for 3PLs
  • Solutions for 4PLs
  • Solutions for B2B
Products
  • Extensiv 3PL Warehouse Manager
  • Extensiv Warehouse Manager
  • Extensiv Order Manager
  • Extensiv Integration Manager
  • Extensiv Network Manager
Products
  • Customer Success
  • Implementation
  • Consulting
Ecosystem
  • Fulfillment Marketplace
  • Integrations
  • Partners
  • Become a Partner
Resources
  • Resource Library
  • Blog
  • Market Insights
  • What is a 3PL?
  • What is a 4PL?
  • What is a WMS?
  • Why a Cloud-based WMS?
  • Glossary
Help
  • Help Center
  • API Documentation
  • Extensiv Univerisity
  • Community
  • System Status
  • Extensiv Logo
  • 100 N Pacific Coast Hwy, Suite 1100, El Segundo, CA 90245
  • |
  • Contact Us:
  • 83-EXTENSIV 888.375.2368 (main)
  • |
  • 310.844.7570 (local)
  • Copyright © 2023 Extensiv
  • |
  • All rights reserved.
  • Privacy Policy
  • |
  • Terms of Service
  • Follow Us:
Expand