Capturing Images in SmartScan
If you need to attach images to a receipt, such as driver documents or photos of received inventory, you can capture your images and attach the files to the transaction directly from SmartScan's Receipts module. This article reviews how to capture images and attach the corresponding files in SmartScan.
To attach files to receipts, you must have "Attach Files" enabled for your account under Admin > Settings. In addition, camera support requires the following device configuration:
- Android version that supports Chrome 55 or later
- Modern web browser, including Chrome, Edge, Opera, Safari, WebView Android, Samsung Internet, and Enterprise Browser 3.0.6 or later (Firefox support coming soon)
Guidelines
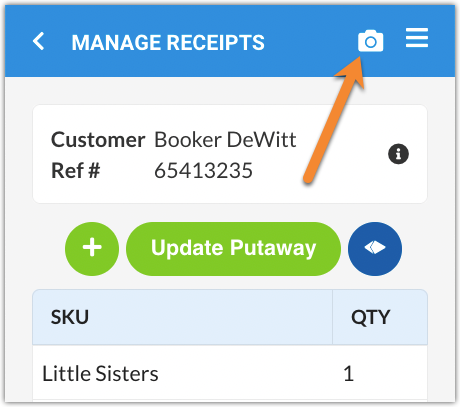
The option to capture images in SmartScan appears once you open a receipt or ASN from the Receipts module in the form of a camera icon.
- To capture an image, select the camera icon.

- When your browser requests permission to your device's camera, tap Allow.
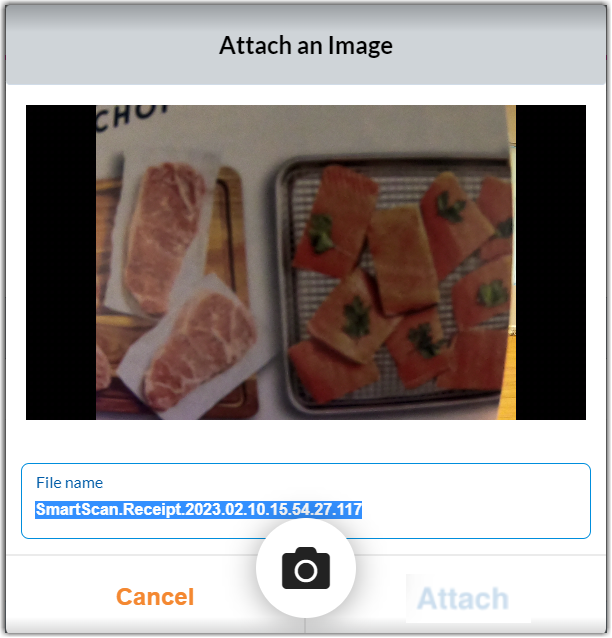
- Once allowed, the Attach an Image dialog opens. Position your camera as needed, then tap the green camera button to capture the image.

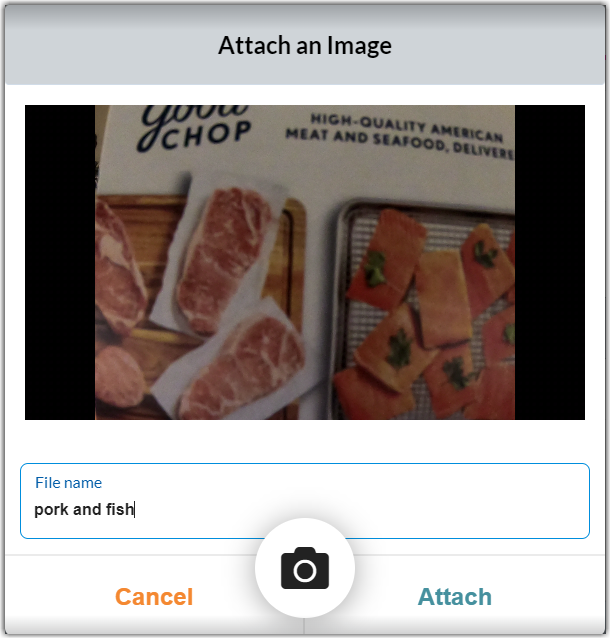
- Once captured, the camera button turns orange and SmartScan allows you to review the image and you can rename that image.

- To attach the image to the receipt, tap Attach. Once attached, the file is available to view and download on the Find Receipts page in 3PL Warehouse Manager. (To access these files in the WMS, you must have the following permission assigned to your user role: Orders Module > Attach Files.)
- To recapture the image, tap the orange camera button.
- To cancel the image capture, tap Cancel to close the dialog and return to the line item grid.
- Repeat Steps 3 and 4 for each image you need to capture and attach to the receipt.
