3PL Warehouse Manager

Updated on July 6th, 2023

  • Extensiv Hub
    Popular Articles Getting Started Using Hub Technical Issues & FAQs Extensiv's Ideas Portal
  • 3PL Warehouse Manager
    Receiving Operations Inventory Management Shipping Operations System Configuration Scanning Operations Integrations Content Best Practice Resources Release Notes Popular Articles Troubleshooting Guides
  • Warehouse Management
    Getting Started Admin Console Shipping Order Picking & Packing Receiving Customer Portal Cycle Counting Kit Building Managing Users Barcode Scanner Import/Export Integrations Barcoding Wave Picking Bin Move Mobile Receiving and Picking Settings Popular Articles Reporting
  • Order Management
    Dashboard Orders Inventory Purchase Orders Shipments Customers Products Analytics Settings API API Integrations Accessing and Navigating Order Manager Error Messages Order Manager Popular Articles Accounting Integrations
  • Integration Management
    Getting Started with Integration Manager General Support Troubleshooting Extras & Addons API Documentation Popular Articles Order Sources Order Destinations
  • FAQs
  • Network Manager
    Getting Started Order Routing Management Technical Issues Shopping Carts Settings Settings, Products, and Orders
  • Billing Manager
    Getting Started Using Billing Manager
  • Release Notes
    Extensiv Sandbox Extensiv Extensiv Hub 3PL Warehouse Manager Integration Management Warehouse Management Order Management Billing Manager
  • Fulfillment Marketplace
    Getting Started
  • Sandbox
    Getting Started
+ More
  • Help Center
  • 3PL Warehouse Manager
  • Inventory Management
  • Item Control
  • Inventory Management
    • Item Creation
        • Creating Items
        • Understanding Units of Measure
        • Entering Basic Item Details
        • Defining Units of Measure
        • Creating Item Assemblies
        • Configuring Item-Level Recurring Storage Charges
        • Configuring Item-Level Storage and Handling Charges
    • Inventory Management
        • Using the Manage Inventory Page
        • Understanding Allocation Logic
        • Making Adjustments
        • Transferring Inventory
        • Editing Track-By Values
        • Getting Started with Directed Putaway
        • Understanding Directed Putaway Logic
        • Understanding Replenishments
        • Counting Inventory
        • Performing Item-Based Audits
    • Movable Units
        • Understanding Movable Units
        • Enabling Movable Units for Customers
        • Defining Movable Unit Types
        • Specifying an Item's Movable Unit Type
        • Receiving Movable Units
        • Moving Movable Units
        • Reconfiguring Movable Units
    • Item Control
        • Managing Assembly Transactions
        • Moving Items
        • Batch-Updating Items
        • Managing Item Aliases
        • Managing Commodities
        • Managing Classifications
        • Managing Pricing
        • Managing Item Images
        • Managing Storage Rates
        • Uploading Import Templates
        • Understanding Item Alias

Uploading Import Templates

Overview

This article shows how to upload order values using Import Templates in Hub for 3PL Warehouse Manager.  
The Import Template function lets you mass import SKUs (Stock Keeping Units) and other related data into 3PL Warehouse Manager.

About the Import Template

This template is an MS Excel file for you to simply fill in the field columns with the corresponding SKU data, upload the completed file, and let the import function seamlessly import items. You can download the file here.


Entering Data on the Import Template

To start, go to the SKU Data worksheet. 

Here are several areas of the worksheet for you to be aware of:
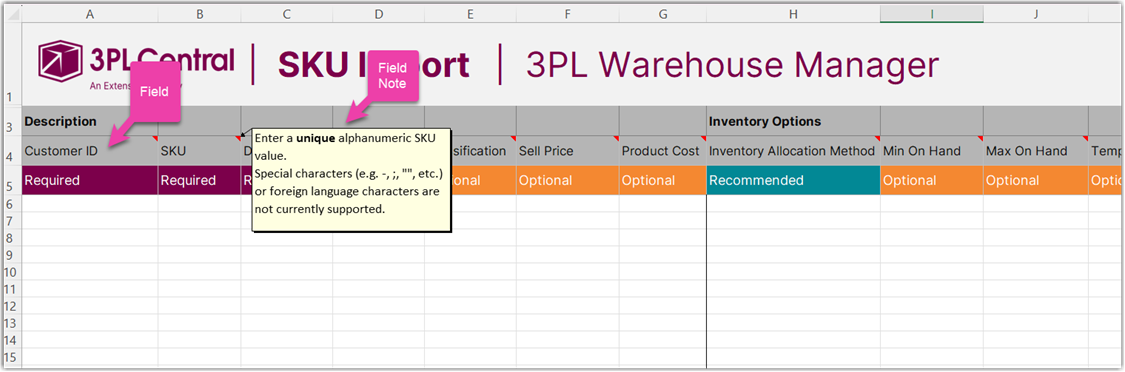
Fields

The name of the field that describes the kind of data you should put into.

Field Notes

Each field has a note describing what data is expected for that field and any special formatting requirements for that data (e.g. alphanumeric, no special characters). If you come across a field where users have different terminology than you are used to, these notes should be helpful in describing what's needed. 

Field Requirements 

Each column is designated as either: 

  • Required – These fields are necessary to complete a successful ‘items import’.
  • Recommended – Completing these fields is optional but might be required based on your customer's item requirements. We recommend filling as many fields as you need 3PL Warehouse Manager to track. 
  • Optional – You can leave them blank without having an effect during the import process.


Import Failures

We understand that mass import processes can sometimes be tedious and prone to import errors. That's why we've taken measures to help prevent potential errors upfront.  For example, we've included several "intelligent" fields to allow successful variations of the same answer such as ignoring case sensitivities and allowing variable entries wherever possible, such as "False," "FALSE," "false," "F," or "f." 

However, if your file still includes any data that could result in an error (e.g. unaccepted formats, empty required fields, etc.), the system will go ahead with the import process and find those errors and let you know where and what those are. We will then give you an opportunity to either fix those errors right then or download an error report to handle later and continue importing the other SKUs in your list.


Uploading the Import Template

1.    In 3PL Warehouse Manager, click your Profile Name located at the top-right of the application and then click Data Import.

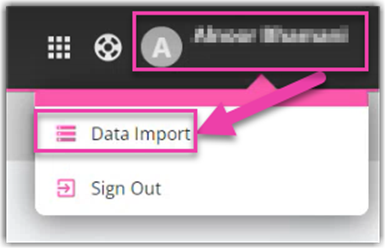
2.    The Platform Data Importer screen will show.

3.    If you have already downloaded the Import Template file and entered details, just click Upload completed template file and choose the file and click Open. 

If you do not have the template yet, you can download the template from this screen by clicking SKU Import – 3PL Warehouse Manager.xlsx. You look at the Entering Data on the Import Template section of this article for guidance on the template.

4.    Click Save.

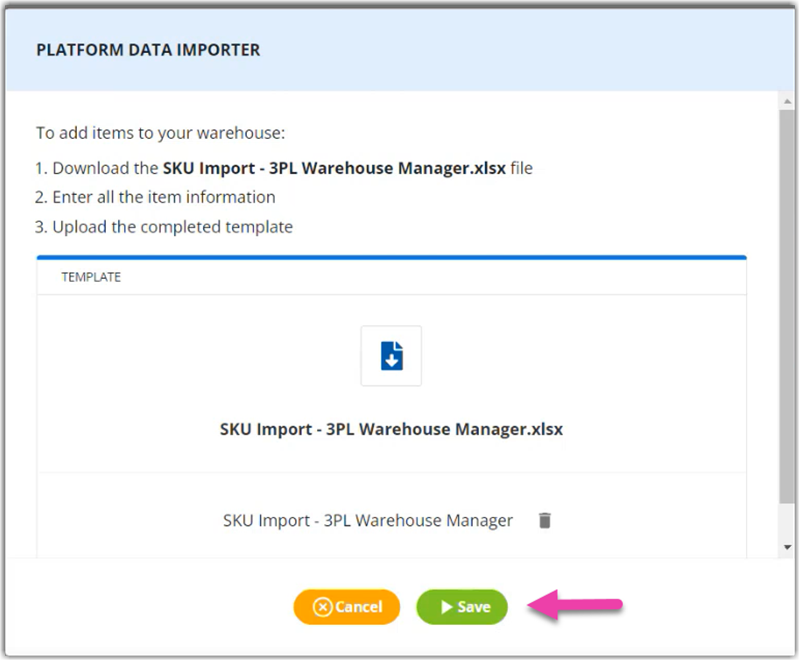
5.    Then, the app will validate the document.

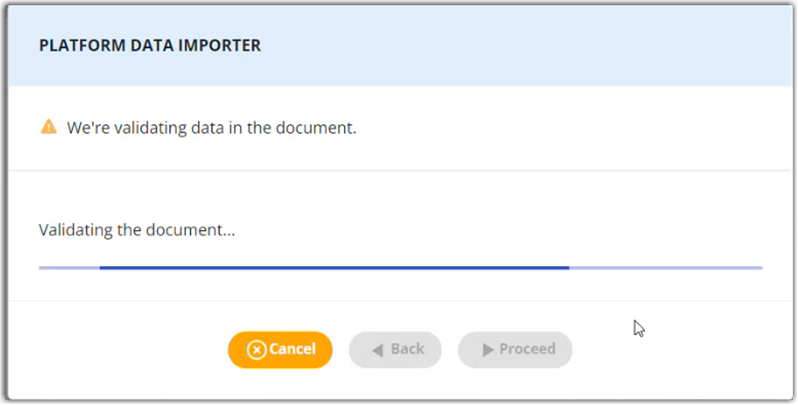
6.    If there are errors, you will be prompted on the number of errors in your template. Click Fix now to go to the error list.

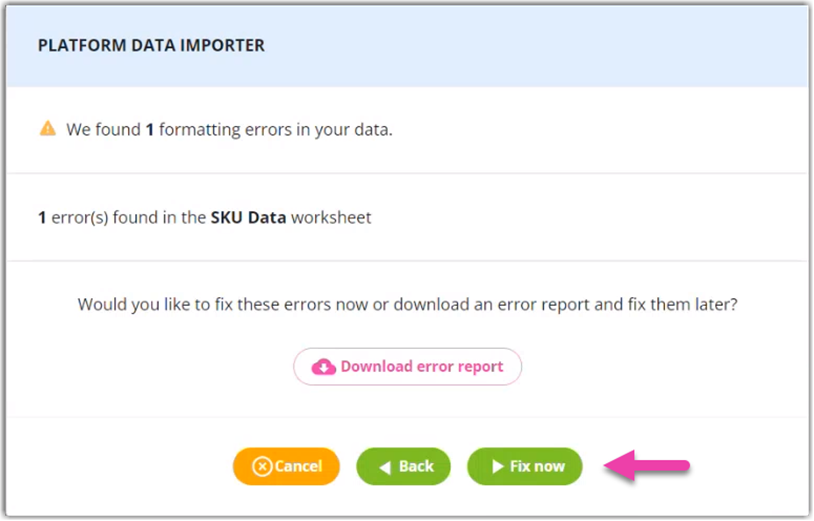
7.    You will also know which line(s) you’ve made an error with and list samples of acceptable values. Go to the New Value field and enter the corrected one.

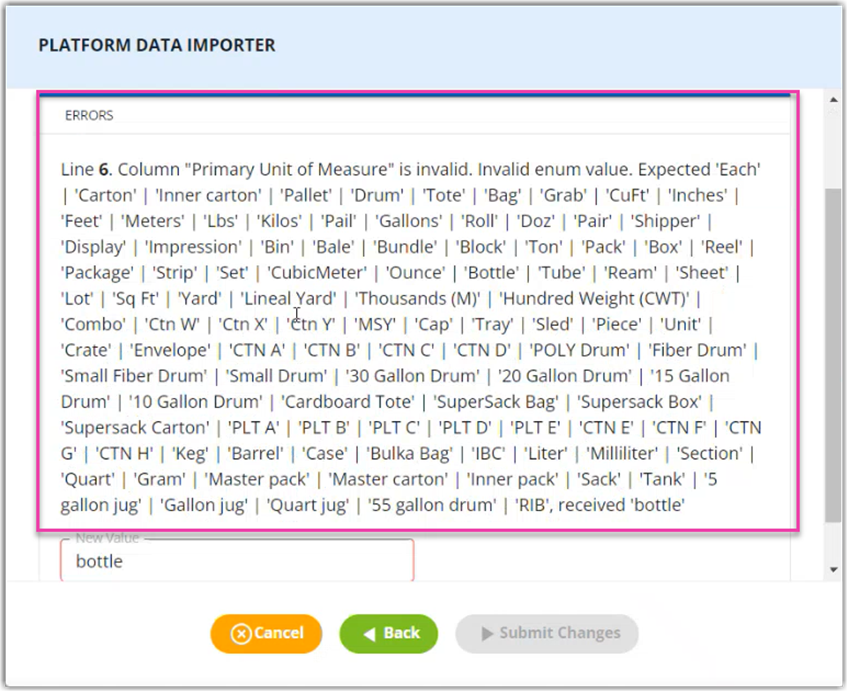
8.    When you have changed the New Value field, click Submit Changes.

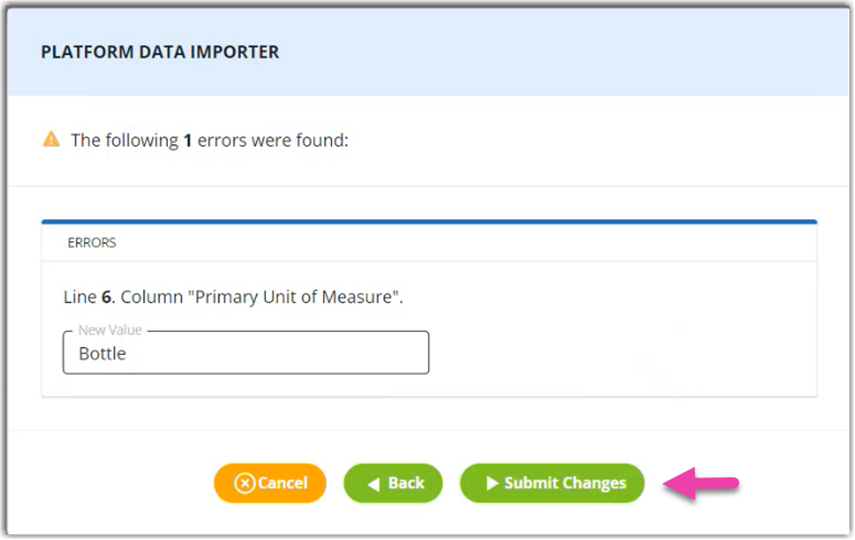
9.    When the Import Template has no error values, it will now proceed to the Data import preview and click Start Import.

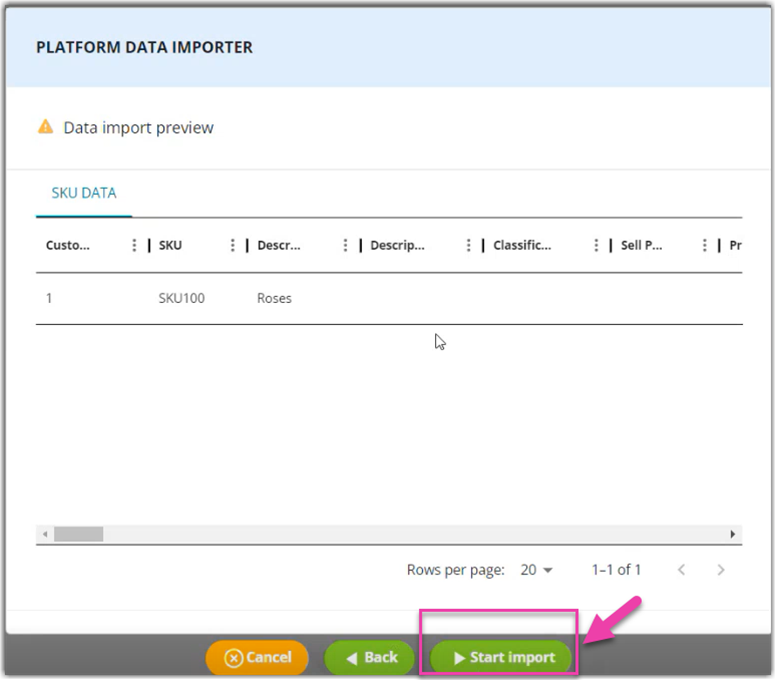
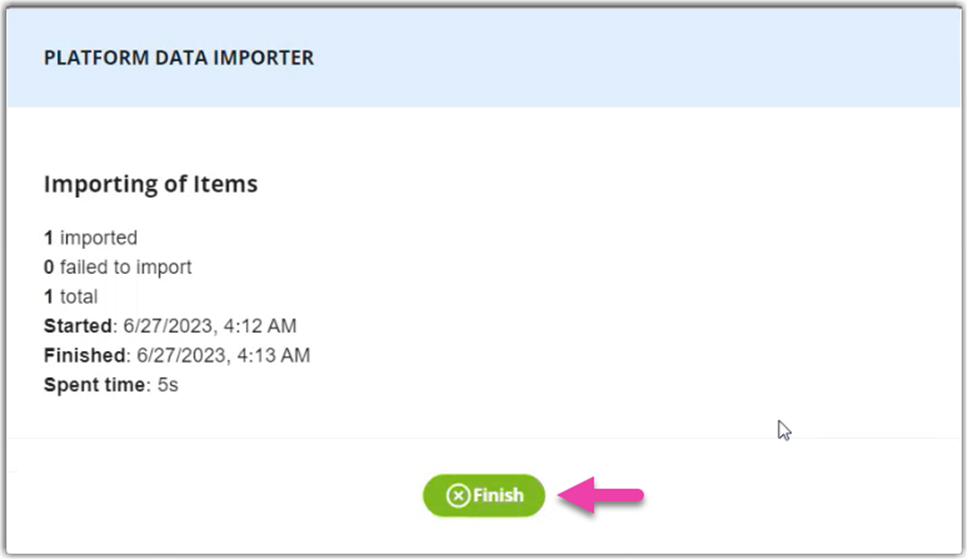
10.    You will be then prompted when the import is successful and click Finish.


importing uploading

Was this article helpful?

Yes
No
Share additional feedback about this article

Related Articles

  • Managing Assembly Transactions
  • Managing Classifications
  • Managing Storage Rates
  • Managing Commodities

Not finding the help you need?

Contact Support
Solutions
  • Solutions for Brands
  • Solutions for 3PLs
  • Solutions for 4PLs
  • Solutions for B2B
Products
  • Extensiv 3PL Warehouse Manager
  • Extensiv Warehouse Manager
  • Extensiv Order Manager
  • Extensiv Integration Manager
  • Extensiv Network Manager
Products
  • Customer Success
  • Implementation
  • Consulting
Ecosystem
  • Fulfillment Marketplace
  • Integrations
  • Partners
  • Become a Partner
Resources
  • Resource Library
  • Blog
  • Market Insights
  • What is a 3PL?
  • What is a 4PL?
  • What is a WMS?
  • Why a Cloud-based WMS?
  • Glossary
Help
  • Help Center
  • API Documentation
  • Extensiv Univerisity
  • Community
  • System Status
  • Extensiv Logo
  • 100 N Pacific Coast Hwy, Suite 1100, El Segundo, CA 90245
  • |
  • Contact Us:
  • 83-EXTENSIV 888.375.2368 (main)
  • |
  • 310.844.7570 (local)
  • Copyright © 2023 Extensiv
  • |
  • All rights reserved.
  • Privacy Policy
  • |
  • Terms of Service
  • Follow Us:
Expand