Management Reports
4.0 min read
|This article reviews each report specific to warehouse management and how to generate these reports.
To learn which permissions are required to access any of the reports reviewed below, please see Understanding Reports.
Navigate to Reports > Management, then proceed to the relevant guidelines below.
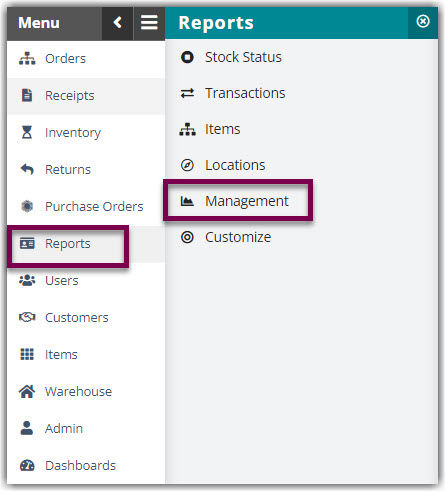
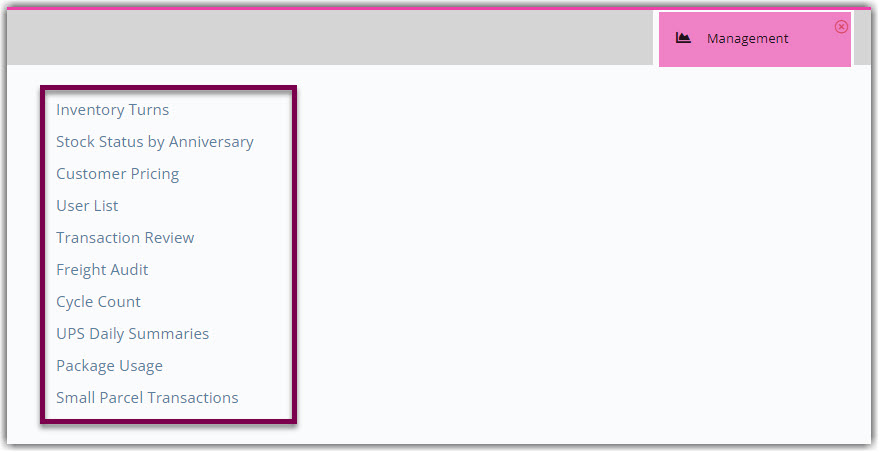
Inventory Turns
The Inventory Turns Report shows the number of times the inventory has turned within a given time period. While there are several different options for generating this report, the steps below review the process for generating a Turns Report.
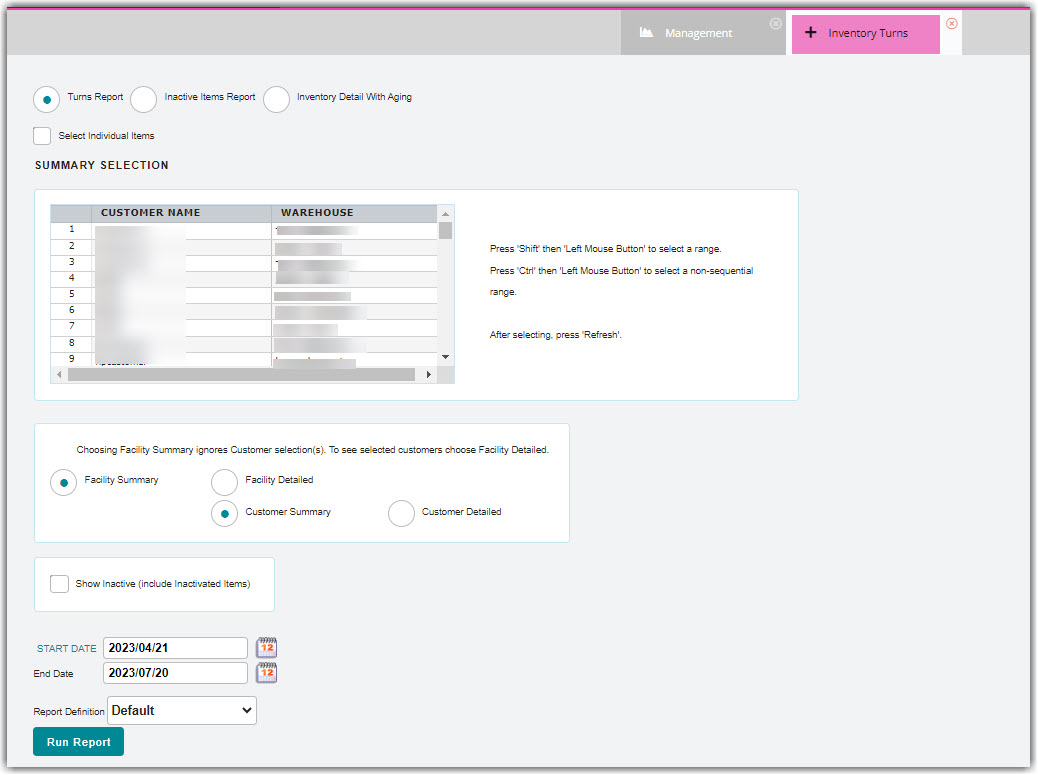
- Click Inventory Turns.
- Specify whether you want to generate a Turns Report, Inactive Items Report, or Inventory Detail with Aging report. The fields you need to enter vary with each option.
- Select the relevant Customer Name and Warehouse from the grid. To select multiple customers, use < Ctrl > on your keyboard to multi-select.
- Specify whether you want to generate a Facility Summary, Facility Detailed, Customer Summary, or Customer Detailed.
Please note that choosing Facility Summary ignores any Customer selection(s). To see selected customers, choose Facility Detailed.
- Specify if you want to 'Show Inactive' items.
- Enter a relevant Start Date and End Date, then click Run Report.
The Turns Report generates with the following columns:
- Facility: Name of warehouse
- Customer: Name of customer
- SKU: Primary identifier of an item
- Qualifier: Relevant item qualifier
- Turns: Number of times the inventory turned during the dates selected
- Volume: Number of packaging units shipped out
- Ave Inv. Lvl: Average number of packaging units available during the dates selected
- Begin Inv: Number of packaging units available for allocation on the Start Date
- Ending Inv: Number of packaging units available for allocation on the End Date
The Inactive Items Report generates with the following unique columns:
- Inv. Balance: Current inventory level
- Last Shipment: Details of the last order that deducted inventory from the warehouse
- Last Receiver: Details of the last receipt that added inventory to the warehouse
The Inventory Detail with Aging generates with the following unique columns:
- Part/SKU: Primary identifier of an item
- Item: Description of an item
- On_Hand: Number of primary units currently in the warehouse
- Available: Number of primary units available for allocation
- Allocated: Number of primary units currently allocated to Open and Complete orders
- Aging: Number of days the SKU has been in the warehouse
Stock Status by Anniversary
The Stock Status by Anniversary Report shows the stock status of receipts according to an interval period or date range.
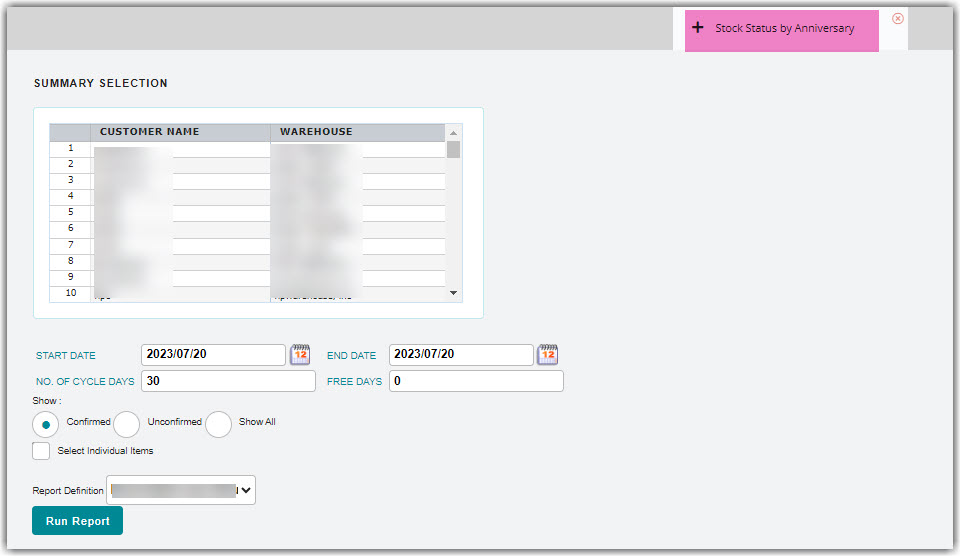
- Click Stock Status by Anniversary.
- Select the relevant Customer Name and Warehouse from the grid. To select multiple customers, use < Ctrl > on your keyboard to multi-select.
- Select a Start Date and End Date.
- Enter the Number of Cycle Days and Free Days.
- Specify whether you want to show items that are Confirmed, Unconfirmed, or Show All.
- To display each SKU individually, specify to 'Select Individual Items'.
- Click Run Report.
The report generates with the following columns:
- Evt Date: Date report was generated
- Rcv Date: Date items were received
- SKU: Primary identifier of an item
- Description: Description of an item
- Inv Qty: Number of primary units available for allocation
- Inv UOM: Primary unit of measure
- Dim Qty: Number of packaging units available for allocation
- Dim UOM: Packaging unit of measure
- Var Qty: Number of secondary units available for allocation
- Var UOM: Secondary unit of measure
- Lbs/Kgs: Total default weight of primary units measured in Imperial or Metric
- Cu Ft: Total default volume of primary units measured in cubic feet
- Location: Current warehouse location
- Days Since Receipt: Number of days since the SKU was last received
Customer Pricing
The Customer Pricing Report shows the current pricing being used in the Billing Wizard.
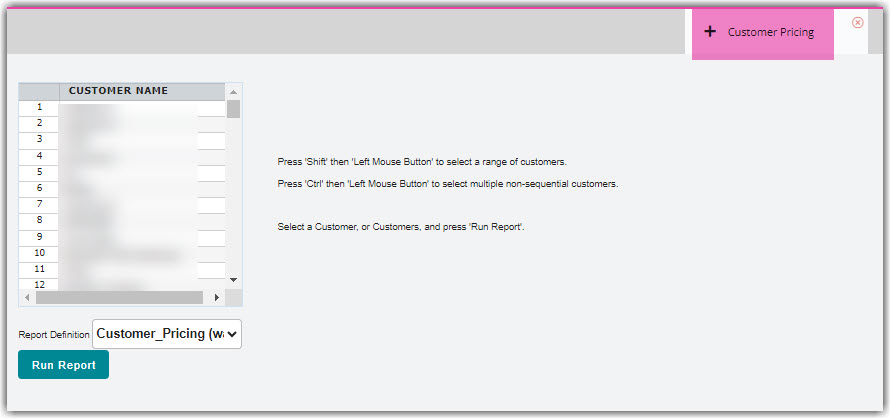
- Click Customer Pricing.
- Select the relevant Customer Name from the grid. To select multiple customers, use < Ctrl > on your keyboard to multi-select.
- Click Run Report.
The report generates with the following columns:
- Transaction: Type of transaction the billing event was triggered by
- Billing Field: Category of the charge set up in the per transaction billing setup
- Unit Description: Billing unit
- Charge Per Unit: Amount charged per unit description
- Charge Label: Name of the charge entered for the billing unit
- Notes: Billing notes recorded on billing event
User List
The User List Report shows a list of both Warehouse and Customer Users, as well as their current security levels.
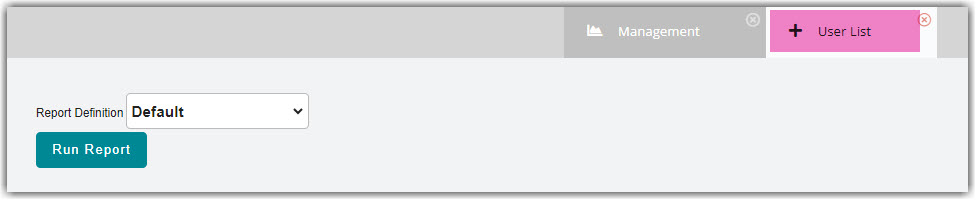
Click User List, then Run Report. The report lists the User's Name, Login name, and Role for both your company’s users and your customers’ users.
Transaction Review
The Transaction Review Report reviews the history of a specific transaction.
- Click Transaction Review.
- Enter a transaction identifier: Transaction # or Reference #.
- Click Run Report.
The report generates with the following columns:
- Altered Date: Date transaction was modified
- Login: Name of user who modified transaction
- Column Name: Field that was modified
- Before Value: Original value before the modification was made
- After Value: New value of modified field
Freight Audit
The Freight Audit Report allows you to review freight history by customer to determine whether charges were correctly applied to prepaid freight.
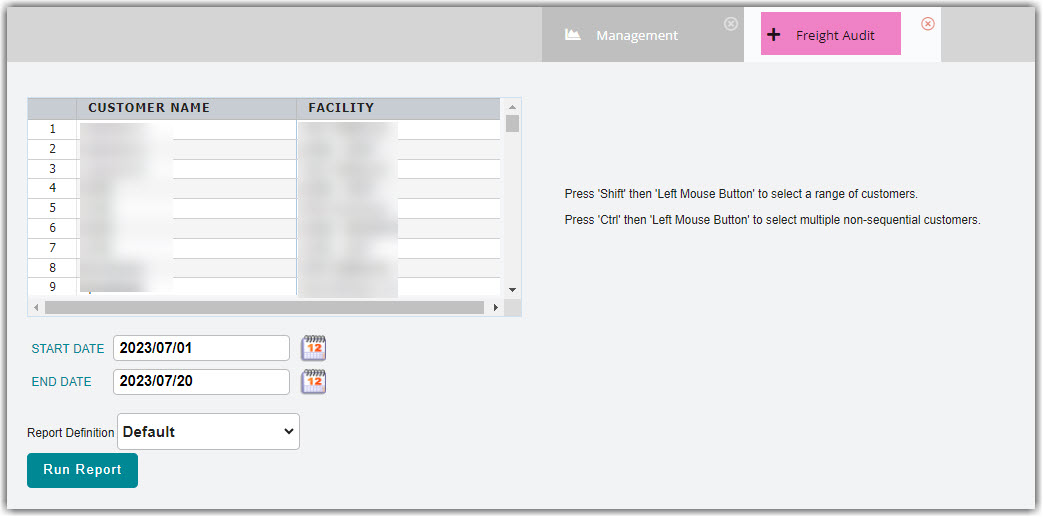
- Click Freight Audit.
- Select the relevant Customer Name and Facility from the grid. To select multiple customers, use < Ctrl > on your keyboard to multi-select.
- Select a relevant Start Date and End Date.
- Click Run Report.
Cycle Count
The Cycle Count Report shows the items to be cycle counted within a specific time period.
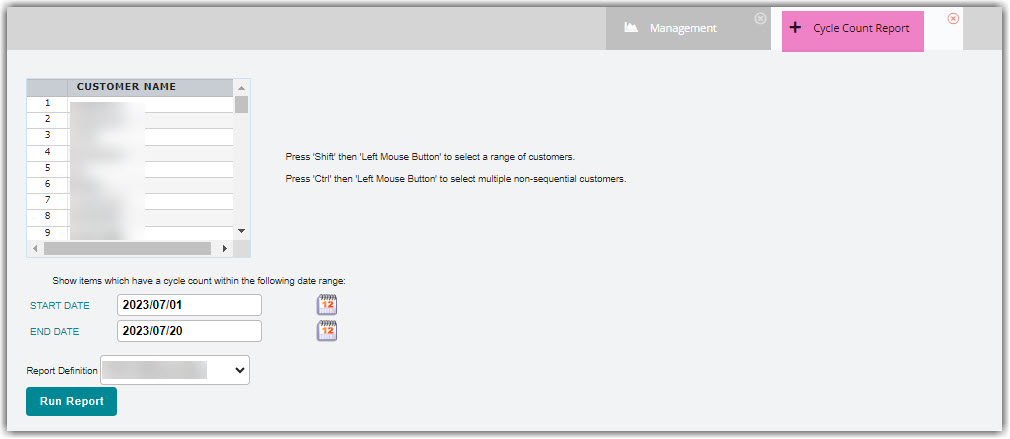
- Click Cycle Count.
- Select the relevant Customer Name from the grid. To select multiple customers, use < Ctrl > on your keyboard to multi-select.
- Select a relevant Start Date and End Date.
- Click Run Report.
The report generates with the following columns:
- Customer Name: Name of customer
- SKU: Primary identifier of an item
- Description: Description of item
- Creation Date: Date item was created
- Cycle Count: Number of days between recommended physical inventory counts for a SKU
- Date of Next Count: Recommended date of next cycle count
UPS Daily Summaries
The UPS Daily Summaries Report shows a daily summary of UPS transactions.
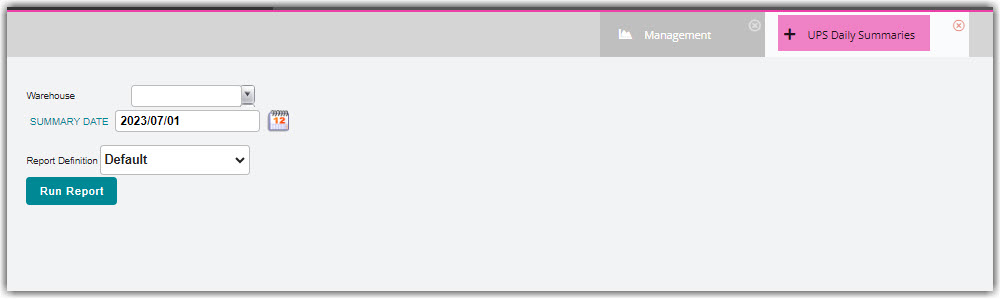
- Click UPS Daily Summaries.
- Select a relevant Warehouse and Summary Date.
- Click Run Report.
Package Usage
The Package Usage Report shows the packages used for orders within a specified timeframe.
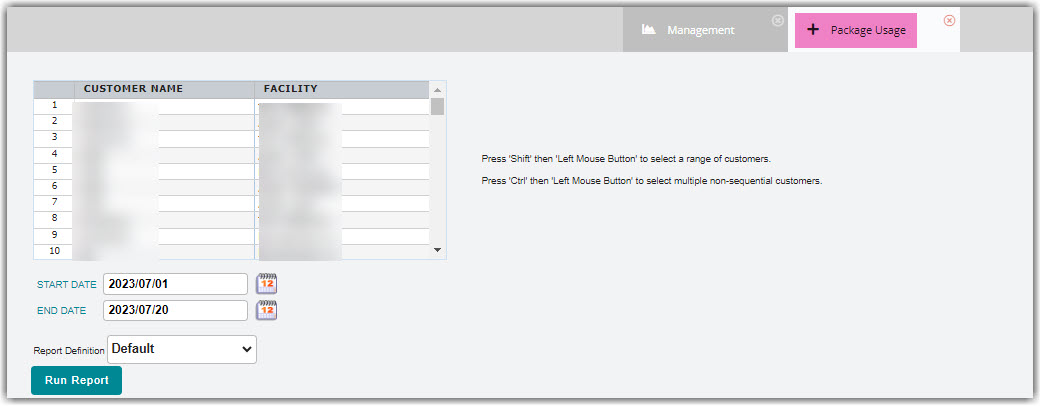
- Click Package Usage.
- Select the relevant Customer Name and Facility from the grid. To select multiple customers, use < Ctrl > on your keyboard to multi-select.
- Select a relevant Start Date and End Date.
- Click Run Report.
The report generates with the following columns:
- Reference #: Reference number recorded on the transaction
- Trans#: Relevant transaction number
- ShipDate: Date transaction was shipped and closed
- Customer: Name of customer
- ShipTo: Name of ship-to contact recorded on the transaction
- Code: Relevant ship-to contact code
- Description: Description of an item
- Length: Length of package
- Width: Width of package
- Height: Height of package
- Weight: Weight of package
Small Parcel Transactions
The Small Parcel Transactions Report allows you to view monthly small parcel activity.
Click Small Parcel Transactions, then click Run Report. The report will list each customer's total costs in small parcel activity.
