Managing User Roles
2.8 min read
|A role is a defined group of permissions within 3PL Warehouse Manager. Since you know your operations best, we give you full control to determine which permissions each role may need to effectively support your unique business needs.
When creating a role, it is important to think critically about what tasks you expect those with the role to be able to execute to ensure the necessary permissions are included. Roles can be edited whenever the need arises, and users can only be assigned one role at any given time.
This article reviews how to create new user roles and manage existing user roles.
To create and manage user roles, you must have the following permission assigned to your role: Roles Module > Manage Roles.
Guidelines
There are two different types of roles: Warehouse and Customer. Warehouse roles are assigned to your warehouse users, whereas Customer roles are assigned to your customers. You may have multiple different roles set up for both types of users.
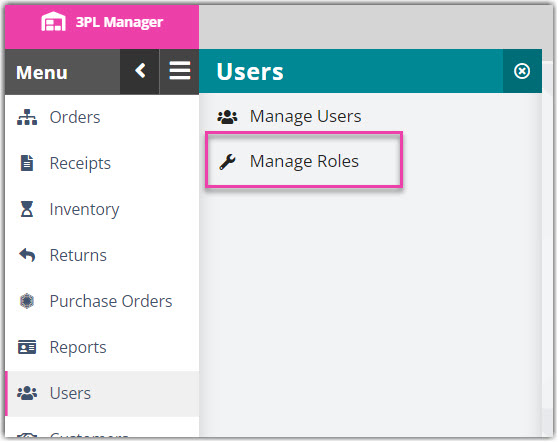
Navigate to Users > Manage Roles.
Create a new user role
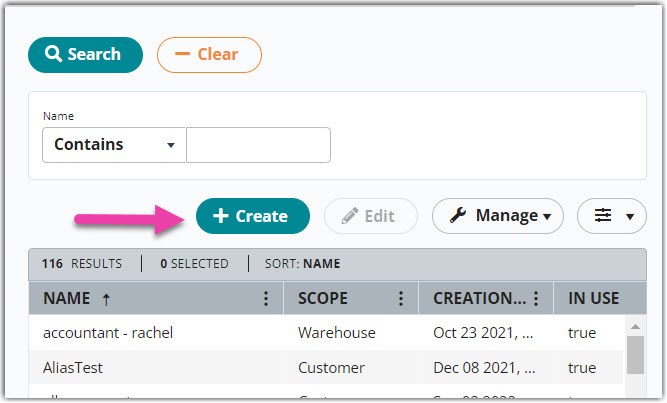
Several template roles display in the grid to help get you started. The purpose of these template roles are to help you get started on understanding the different types of roles your warehouse may need to assign.
Step 1: Define the role
To define a role, you can choose between two options.
- Start from scratch.
- To hand-pick each individual permission, click + Create.
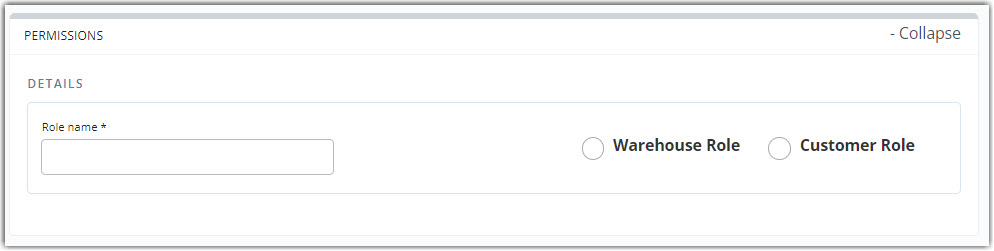
- Enter a descriptive title for this new 'Role name', then select whether this is a 'Warehouse Role' or 'Customer Role'.
- Continue to Step 2: Select permissions to grant below.
- To hand-pick each individual permission, click + Create.
- Build off of a template role, defined by Classic View access roles.
- For more information on Classic View access roles, see our Classic View Access Roles file.
- It may help to peruse through each template role to get an idea of what makes sense for the user role you have in mind, then you can choose to build off of the default permission set.
- If you choose this method, select a role from the grid and do one of two things:
- Select Manage > Copy Role to create an entirely new role based on the template role's default permission set. (This is recommended if you'd like to keep the template roles to reference later. This option keeps the original role as is and allows you to create a new role to build off of.)
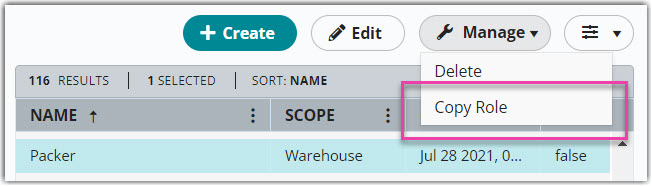
- Choose to Edit that template role's default permission set. (This keeps the name and type of role as is and allows you to edit our recommended permissions. Note that you cannot edit Customer template roles.)
- Once you make a selection, proceed to the next step below.
- Select Manage > Copy Role to create an entirely new role based on the template role's default permission set. (This is recommended if you'd like to keep the template roles to reference later. This option keeps the original role as is and allows you to create a new role to build off of.)
Step 2: Select permissions to grant
When selecting permissions to grant the user role, you have complete flexibility in customizing the permission set. Here are a few tips to consider while building your role's permission set:
- You can click + Expand All to view every nested permission there is, or you can go through and only select the toggles relevant to this particular role.

- Use the 'Filter' field to search for specific permission.
- Hover over permission to read its description in the far-right pane.
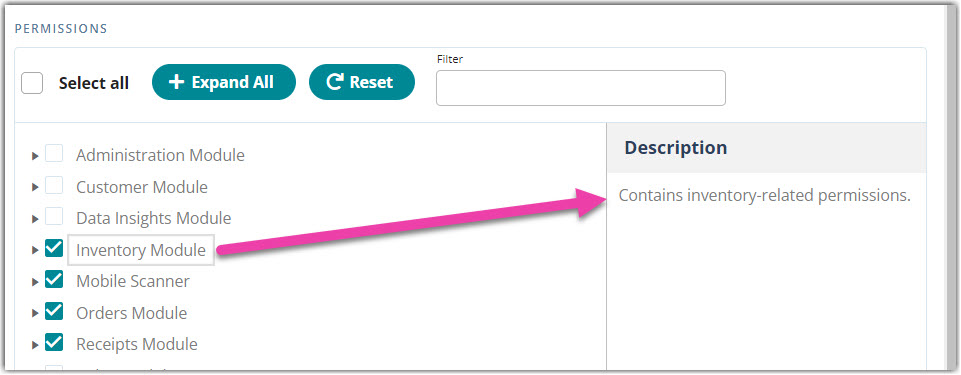
Understand what each box represents:
- A permission set with an arrow means there are nested permissions.

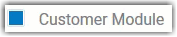
- All nested permissions in the top-level module's set are selected if the box displays a solid blue square.
- Tick the Data Insights Module checkbox to select all permissions.

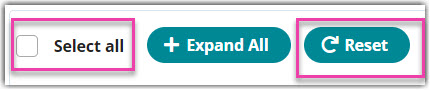
- Click Select All to select or unselect all permissions. Click Reset to revert to the permissions set you started with.
-
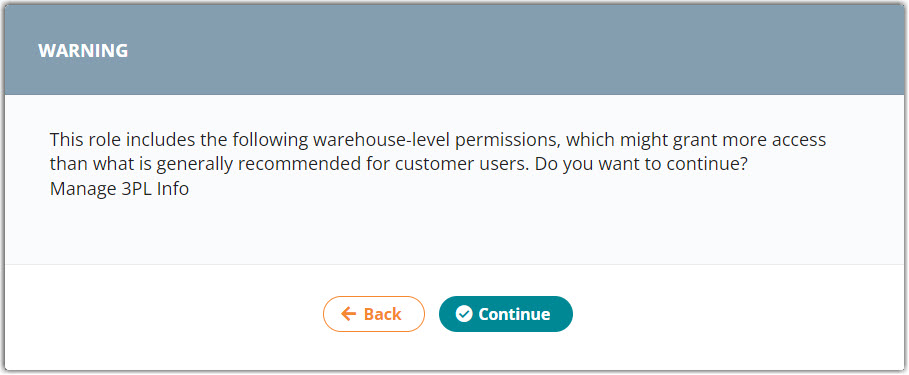
Note: When creating a Customer role, all permissions we consider to be "warehouse-level" are notated in red. If you try to save a Customer role that contains warehouse-level permission, a warning message asks you to confirm your selected permissions for the role.
Step 3: Save the role
Once you've selected each permission you'd like this role to be granted, click Save at the top of the page. The role populates in the Manage Roles grid, and you can now assign the role to a user under Users > Manage Users.
It is best to verify the accuracy of each customer's given role before giving the user full access. Log in to verify user access, then provide the customer their credentials in a secure manner.
Repeat the above three steps for each new role you wish to create.
Manage an existing user role
You can edit an existing user role at any time and delete a role if it is not currently assigned to a user.
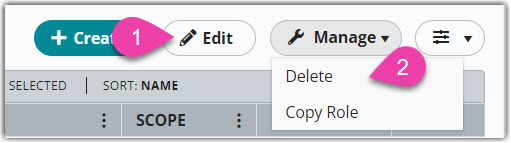
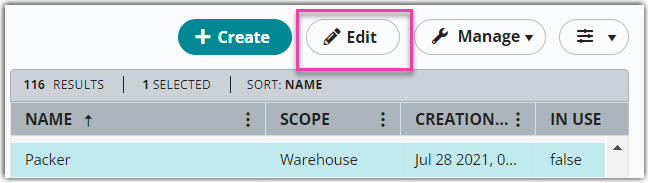
- To make edits, select a role from the grid, then click Edit. Make your changes, then click Save.
- To delete a user role, select the role from the grid, then click Manage > Delete.
Only User Roles that are not assigned to a User can be deleted. Once deleted, this results in permanent deletion, and the user role cannot be restored
