Creating Locations
3.1 min read
|Before you can begin receiving and moving inventory in your warehouse, you must first set up locations in your warehouse. This article reviews how to create a location in 3PL Warehouse Manager and assumes the physical locations are already properly set up and barcoded in your facility.
To create or manage locations, you must have the following permission assigned to your user role: Warehouse Module > Manage Locations.
Guidelines
You can create locations in 3PL Warehouse Manager via import file or manual entry. Both methods are reviewed below.
Locations must be unique (no duplicates). Once created, it's important to note that you cannot delete a location after it becomes associated with a SKU. If you want to remove a location as an option within the system, you must remove all inventory from the location and then deactivate it on the Manage Locations page via Manage > Deactivate.
Import new locations
If you have multiple locations to create or you already have a spreadsheet that contains the location information, we recommend adding these locations into the system via import file.
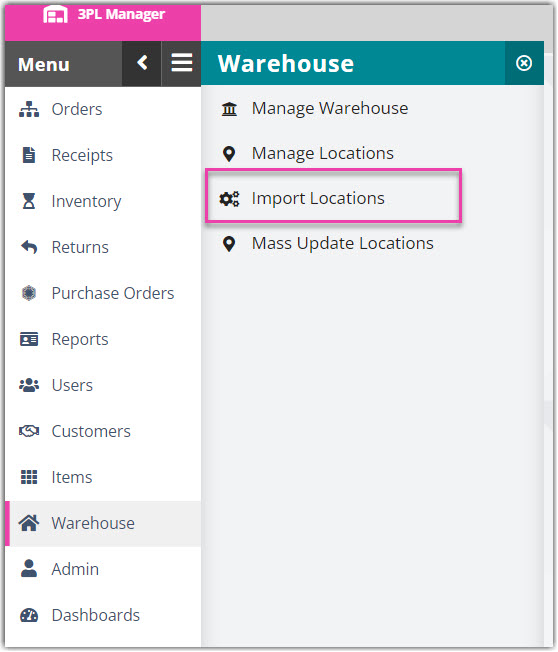
- Follow the instructions on the Location Import Template, then navigate to Warehouse > Import Locations and select a Warehouse from the drop-down menu.
- Click Browse, double-click the import file, then click Import Loc's. A preview of the location data is displayed in the 'Locations To Be Created' grid and the bottom two text boxes.
- Once you verify for accuracy, click Create Loc's to finalize the import. If successful, you can view each location on the Manage Locations page.
Enter new locations
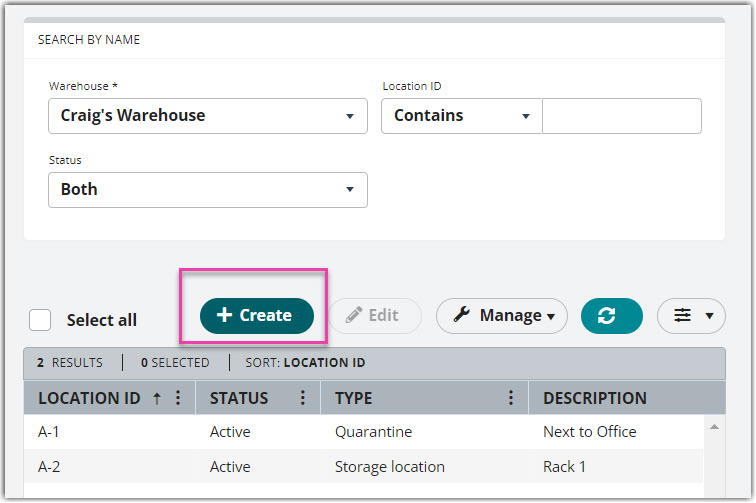
To manually create a new location, navigate to Warehouse > Manage Locations, select a Warehouse from the drop-down menu, then click Create.
Once selected, the location record populates in the right pane. Each field option is reviewed below. Once you have entered all the necessary information, click Save.
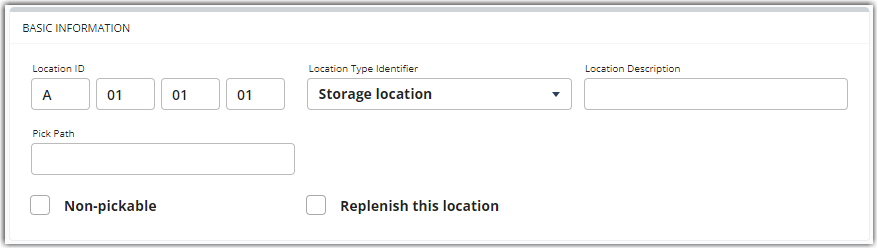
Basic Information
The 'Basic Information' section consists of three fields: Location ID, Location Type Identifier, and Location Description.
-
Location ID: the unique identifier for this location in the warehouse (identified via LocationField1, LocationField2, LocationField3, and LocationField4 on relevant templates)When using SmartScan, please note that you must include these hyphens when manually entering multi-field locations. If you plan on utilizing manual entry, we recommend only filling out the first location ID field.
The number of fields, or sub-sections, available is defined in the warehouse setup options. You can use one or all of the fields available to label the location. If you choose to use multiple fields, each one is automatically separated by a hyphen (-) when displayed throughout the system.
-
Location Type Identifier: specifies the type of location, which determines how this location holds inventory
- Storage location: used for storing full packaging quantities
-
Staging location: used as an interim storage location when inventory is being received
Our best practice workflow suggests to receive items into a staging location prior to moving them to Storage or PickLine locations.
- Put-away vehicle: used as a temporary storage location when inventory is moved within the warehouse (not fully supported with SmartScan currently)
-
Quarantine: used as a storage area for inventory that is on hold—may include damaged or expired inventory
Items in a quarantined location are not available for order allocation. If you have inventory that needs to be held for a specific order, we recommend placing those items on hold.
-
PickLine: used to store individual primary units in open bins—inventory is picked here any time a partial packaging quantity is ordered
For example, if an item has 12 eaches to a carton (12 primary units per packaging unit) and an order calls for less than 12 eaches, this is considered a partial packaging unit, so the items come from the PickLine location.
- Location Description: a brief description of the location
- Pick Path: If you want to include the location in the pick path process. For more information, please see our help article on Enabling Pick Paths.
- Non-Pickable: prevents orders from being automatically allocated and picked from this location as a function of our Replenishments feature.
- Replenishable: enables replenishment tracking for this location as part of our Replenishments feature.
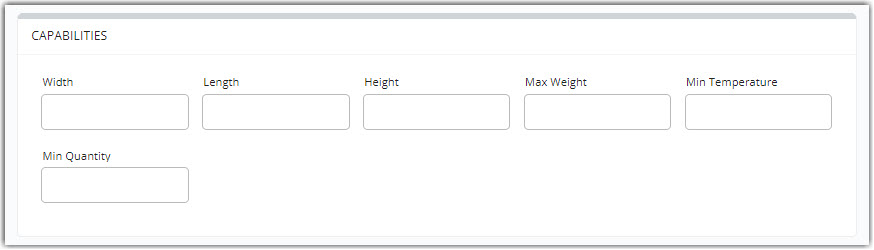
The 'Capabilities' section is used to identify the storage capacities of this location for Width, Length, Height, Max Weight, Min Temperature, and Min Quantity. While these fields are typically used for directed putaway purposes, we do recommend reviewing each field and completing them to the best of your ability.
Priorities
The 'Priorities' section contains one required field: Allocation Priority. This field determines how the system allocates items in this location. Location priorities ranges from ‘1’ (highest priority) to ‘99999’ (lowest priority).
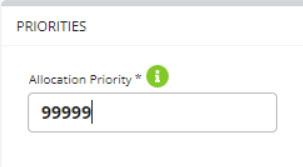
When it comes to allocation logic, the system first looks at the type of location needed (e.g., Storage vs PickLine) and then references the allocation priority. To learn more about inventory allocation, please see Understanding Allocation Logic.
Billing
The 'Billing' section allows you to specify a Billing Type to bill for recurring storage charges in this location.
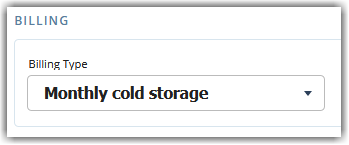
After a billing type is configured under Admin > Location Billing Type, you assign the Billing Type here in the location setup, then define the billing cost under Customers > Billing Wizard > System-Calculated Storage and Handling Charge Setup > Loc. Storage Rates.
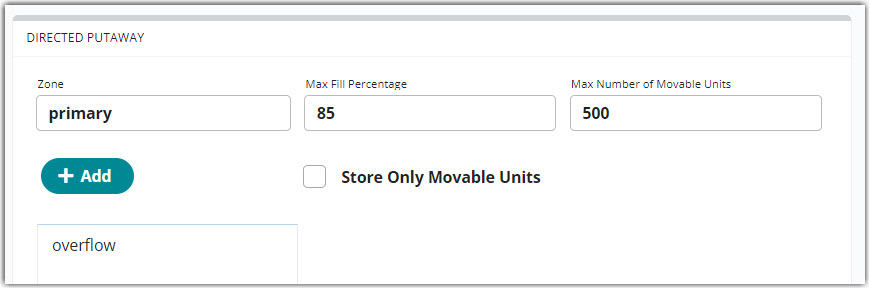
Directed Putaway
The 'Directed Putaway' section is used to configure this location for the directed putaway process. For more information, please see Getting Started with Directed Putaway.