Items Reports
3.1 min read
|This article reviews each report specific to items and how to generate these reports.
To learn which permissions are required to access any of the reports reviewed below, please see Understanding Reports.
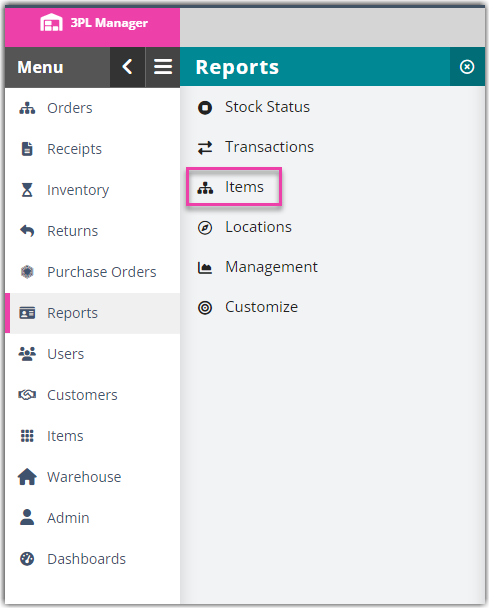
Navigate to Reports > Items, then proceed to the relevant guidelines below.
Item Activity
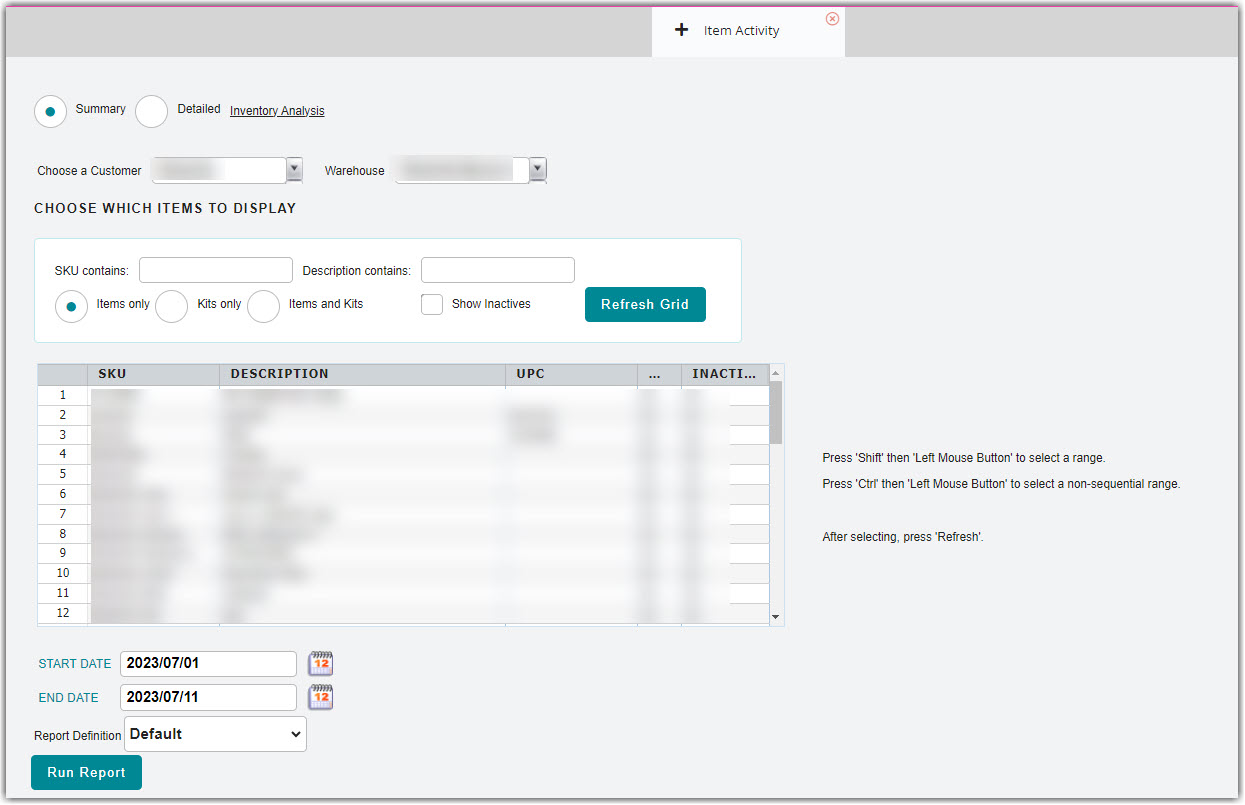
The Item Activity Report allows you to view the ins and outs of your items, such as the quantities going in and out of your warehouse and the lot numbers associated with your items. While both the Summary and Detailed reports are pictured in the images below, the written steps guide you through generating a summary report.
Please note that the Item Activity Report was created to show only activity in a given date range. This report is based on date range and does not report anything outside the entered parameters.
- Click Item Activity.
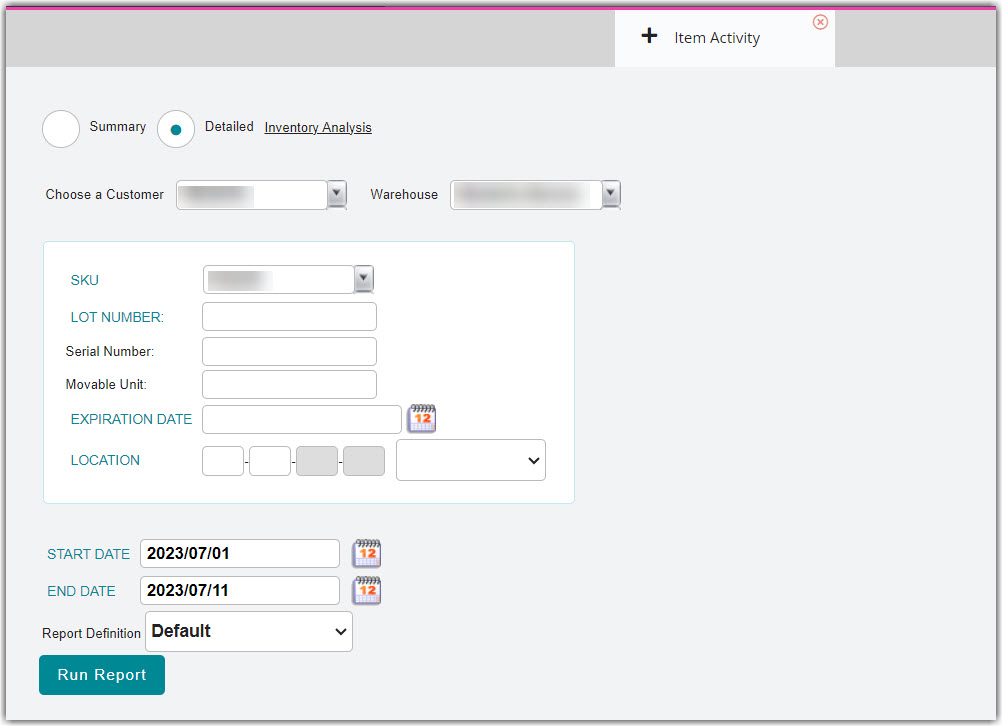
- Specify whether you want to generate a Summary or Detailed report.
The detailed report breaks down the Item Activity Report by identifying each SKU and individual qualifiers, whereas the summary report only displays values for the SKU as a whole.
- Select a relevant Customer and Warehouse from the respective drop-down menus.
- To narrow the SKU results, fill out the relevant SKU search filters, then click Refresh Grid.
- Select an item from the grid, then enter a relevant Start Date and End Date.
- Click Run Report.
The summary report generates with the following columns:
- SKU: Primary identifier of an item
- Qualifier: Relevant item qualifier
- Item Description: Description of an item
- Packed: Number of primary units that are packed for shipment
- Activity Date: Dates activities took place
- Trans #: Relevant transaction number
- Ref #: Reference number recorded on the transaction
- Qty in / Ctn: Number of primary units received into the warehouse / Packaging units received into the warehouse
- Qty out / Ctn: Number of primary units shipped out of the warehouse / Packaging units shipped out of the warehouse
- Balance: Number of primary units on the transaction
- Ctn Balance: Number of packaging units on the transaction
The detailed report generates with the following unique columns:
- Lot #: Lot number recorded on an item
- Serial #: Serial number recorded on an item
- Movable Unit: Unique MU license plate assigned to an item
- Expiration Date: Expiration date recorded on an item
- Location: Current warehouse location
Inventory Analysis
The Inventory Analysis report allows you to view the activity and depletion of items for a warehouse. 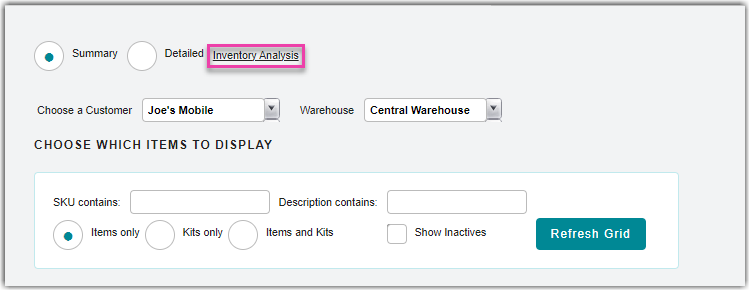
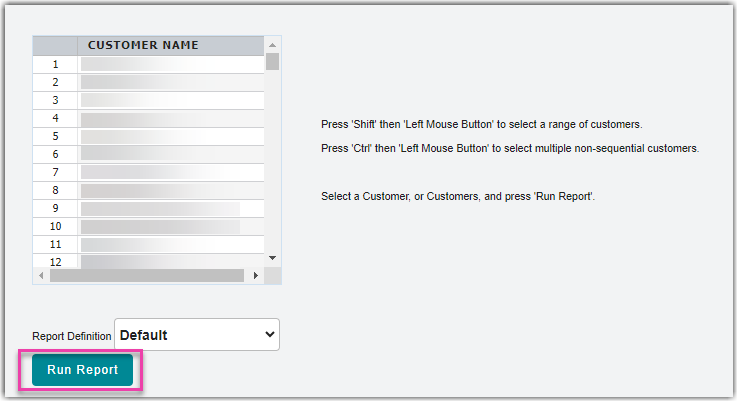
- Click the Inventory Analysis button on the Item Activity Report page to access this report.
- Select the customer or customers you want to run a report of from the grid. You can also click the ‘Filter by Items’ box to select items instead of customers.
- If you’re filtering by items, narrow the results by filling out the search filters and clicking Refresh Grid.
- Select the start and end dates for the report or set how many weeks back you want the report to run.
- Click Run Report.
The report generates a table with the following columns:
- SKU: Primary identifier of an item
- Qualifier: Relevant item qualifier
- Beginning Inventory: How much inventory the warehouse had at the starting date of the report
- Received: How much inventory was received during the range for the report
- Expected: How much inventory was expected to be received during the range for the report
- Shipments: How many SKUs total were shipped
- Allocated: How much of a SKU is currently allocated
- Ending Inventory: How much inventory the warehouse has at the end date of the report
- Avg Ship/Wk: How many SKUs are shipped per week
- Wks on Hand: How many weeks of inventory is in stock based on the item depletion in the report.
View Item
The View Item Report shows you the details of the items in your inventory, such as the dimensions and tracking information.
- Click View Item.
- Select the relevant Customer Name from the grid, then click Run Report.
The report generates with the following columns—note that each of these values are based on item setup.
- SKU: Primary identifier of an item
- Description: Description of item
- Inv UOM: Primary unit of measure
- Min: Minimum threshold
- Max: Maximum threshold
- Reorder Qty: Number of primary units the customer is expected to replenish once Min is reached
- Cycle Count: Number of days between recommended inventory counts
- Inv Method: Allocation method
- Cost: Product cost
- UPC: UPC value
- Temp: Storage temperature
Item Movement
The Item Movement Report allows you to see movements in the warehouse and the process used to move a specific item. It can show you the location of where an item was moved from and where it was moved to, as well as the SKU, the day it was moved, the user who moved it, the quantity that was moved, and the process in which it was moved (whether it was moved during the received process, moved by the mobile scan gun, moved manually in the system, or moved during any type of pick and pack or staging).
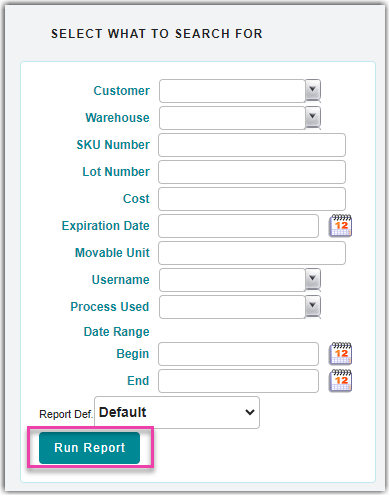
- Click Item Movement.
- Fill out the fields relevant to your search, then click Run Report.
The report generates with the following columns:
- SKU: Primary identifier of an item
- From Location: Item's previous warehouse location
- To Location: Item's current warehouse location
- Lot #: Lot number recorded on an item
- Serial #: Serial number recorded on an item
- MU Label: Unique MU license plate assigned to an item
- Cost: Product cost
- ExpDate: Expiration date recorded on an item
- Move Process: Identifies the process used to move the item
- UserName: Name of user who moved the item
- Qty Moved: Number of primary units moved
- When Moved: Date and time when the item was moved