Setting Up Shippo
0.5 min read
|Integration Specs:
Supported functions:
- Order Send
- Shipment Confirmation Pickup
Required parameters
- Shippo User Key
Step-by-step guide
- Launch Integration Management from Extensiv Hub.
- Click on WMS and click Change WMS next to the dropdown list. Notice that the Change WMS disappears after clicking it, allowing you to select from the list.
- Click Grant Us API Access.
If a new window does not pop up when the button is clicked, instructions for opening the new window will be displayed.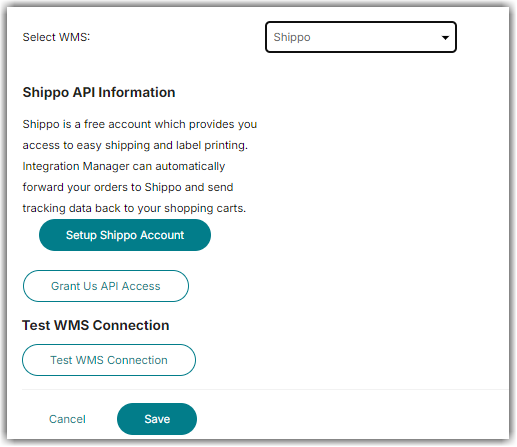
- If you have a Shippo account setup already, click Log in at the bottom. If not, fill out the form and click SIGN UP to create a new Shippo account.
- If setting up a new account, you will be prompted to add a credit card.
- After adding your credit card, you will be asked to connect with Integration Management. Click Yes.
- Click Test WMS Connection. Then click Save.