Setting up Logiwa
0.8 min read
|Integration specs:
Supported functions:
- Order Send
- Inventory Sync Pickup
- Shipment Confirmation Pickup - Detailed
Required parameters
- Extensiv Integration Management API User
- Integration Management API Key
Workflow

- Sales Order Download from Order Sources to Integration Management
- Sales Order Delivery from Integration Management to Logiwa
- Shipment Tracking from Logiwa to Integration Management
- Shipment Tracking from Integration Management to Order Source
Step-by-step guide – Merchant Account
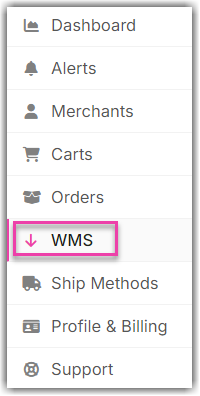
- Open Integration Management.
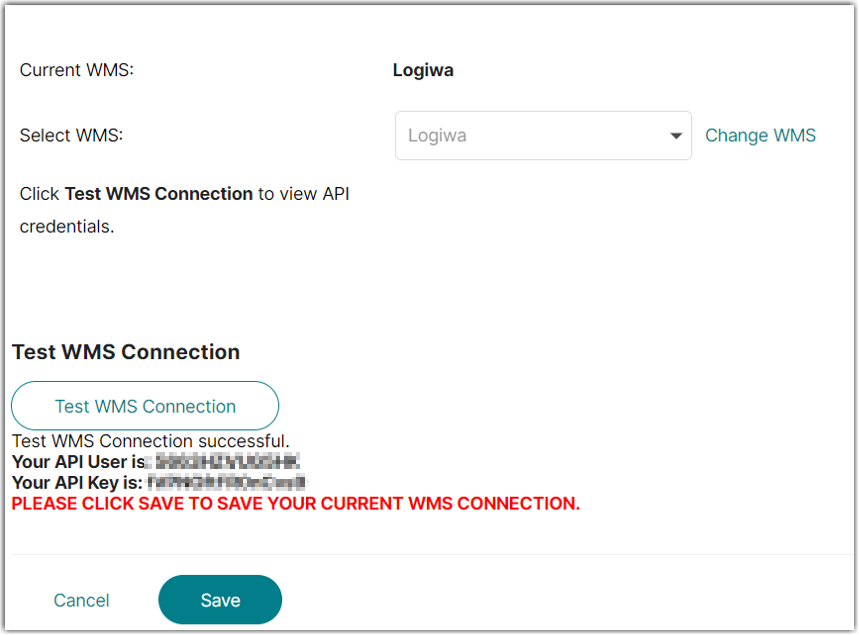
- Click on WMS and click Change WMS next to the dropdown list. Notice that the Change WMS disappears after clicking it, allowing you to select from the list.
- Select Logiwa from the dropdown list.

- Click Test WMS Connection to obtain the API User and Key
- Click Save to save the API keys to the Integration Manager account.
- In Logiwa, go to Entity > Store Management.
- Enter the API User as Client Id and the API Key as Client Secret into Logiwa.
Step-by-step guide – 3PL/Fulfillment Account
- Open Integration Management. Go to WMS tab. Select Logiwa from the dropdown list.
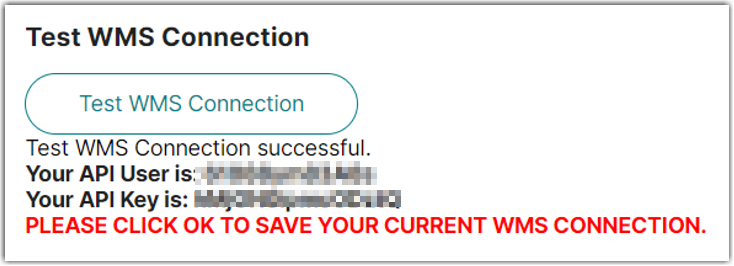
- For each Merchant, go to the Merchant’s Edit Setup page in Integration Manager and click the Test WMS Connection button.
- Click OK to save the API keys to the Integration Manager account.
- Open Logiwa > Entity > Store Management.
- Enter the API User as Client Id and the API Key as Client Secret into Logiwa.
Use the below template to upload inventory into Logiwa. Please note that Logiwa will only provide Integration Manager inventory for SKUs with a ‘channel id.’