Connecting Customers to QuickBooks Online
Once your QuickBooks Online account is connected, you can capture each of your customers' QuickBooks information within 3PL Warehouse Manager. This article reviews each customer setup field that maps over to QuickBooks.
First, navigate to Customers > Manage Customers in 3PL Warehouse Manager, then select the relevant customer's record and click Edit.

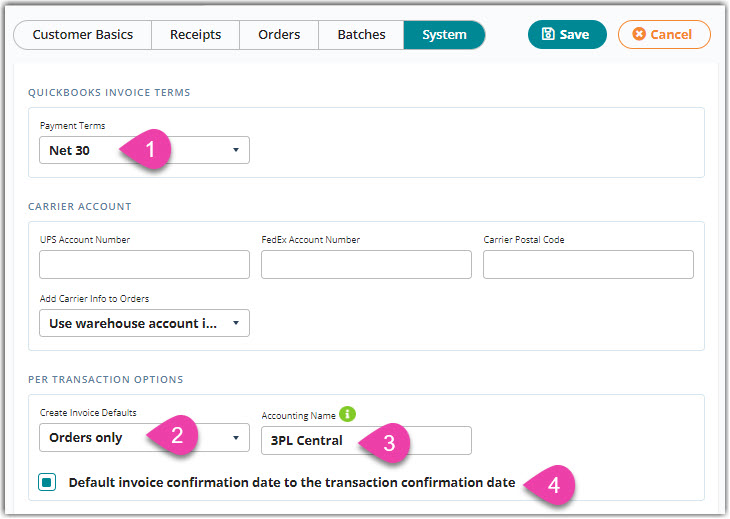
Then, select the System configuration section, then update the following accounting fields to connect your customer's QuickBooks information to the system.

-
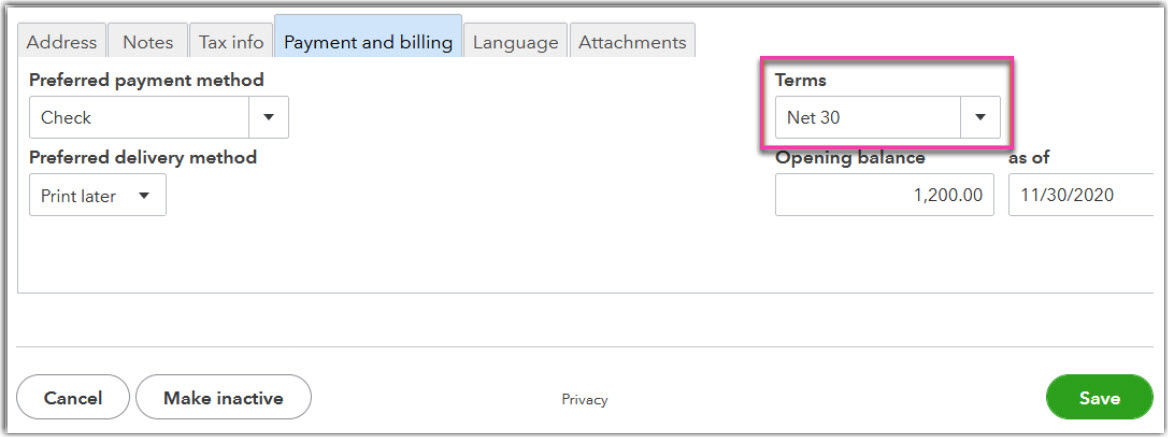
Payment Terms: Allows you to define the customer's payment terms—Net 15, Net 30, Net 60, or Due on receipt are supported (must match the value defined in the customer's QuickBooks record)

-
Create Invoice Defaults: Option to automatically toggle the checkbox that allows you to automatically generate invoices when closing a transaction—this sends the invoice directly to the QuickBooks Invoice Queue and removes the need to export from the Manage Invoices page
-
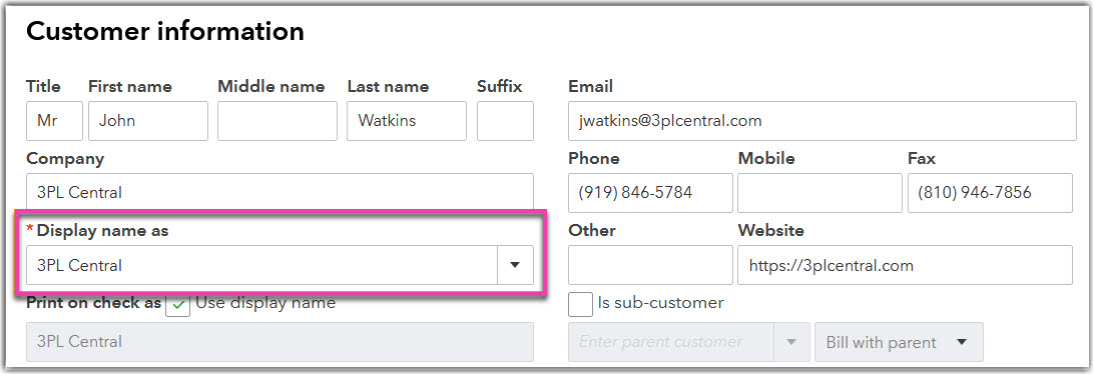
Accounting Name (required): Customer's name on your QuickBooks account
- This value can only contain alphanumeric characters and must match the 'Display name as' field exactly as it appears in the customer's QuickBooks record.

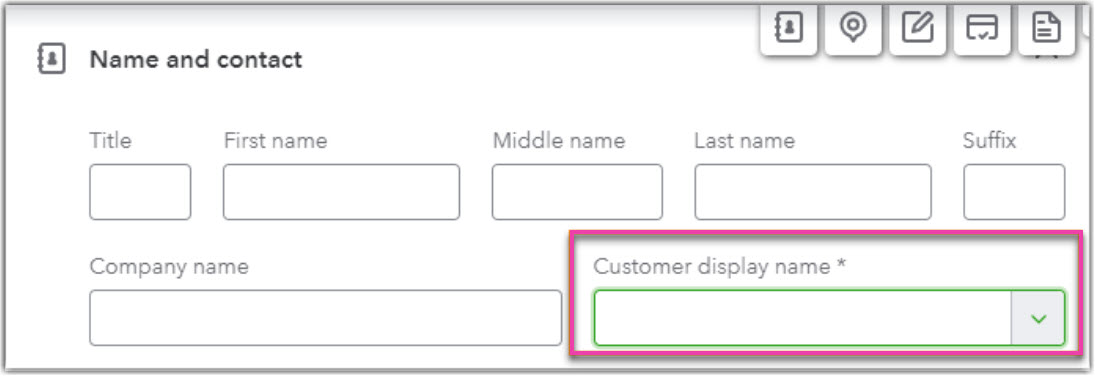
- In Quickbooks Plus, this field is displayed as 'Customer display name'.

We recommend you specify a unique 'Accounting Name' for each of your customers, including those which are inactive. Duplicate accounting names will result in an error, including null values.
- This value can only contain alphanumeric characters and must match the 'Display name as' field exactly as it appears in the customer's QuickBooks record.
4. Default invoice confirmation date to the transaction confirmation date: When checked, automatically populates the date a transaction was closed as the invoice confirmation date
Repeat these steps for each customer as needed.
