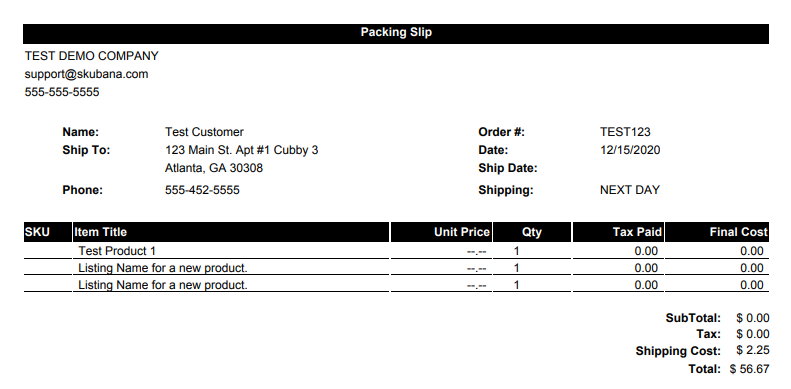
Setting up Packing Slip Templates
Users can customize the Packing Slip that gets printed from the order(s) received for in-house fulfillment.
To begin, go to the Settings module and click on “Packing Slip Templates” in the left-hand side menu. Every account comes pre-loaded with a default template that cannot be edited or deleted. These defaults can be copied and saved as a new template to edit from there. Templates can also be built from scratch. To do so, click on “+ New Template” to start fresh.
Remember that packing slip print size and additional details about how content is printed on a packing slip are determined in Document Print Settings, which you can read more about here.
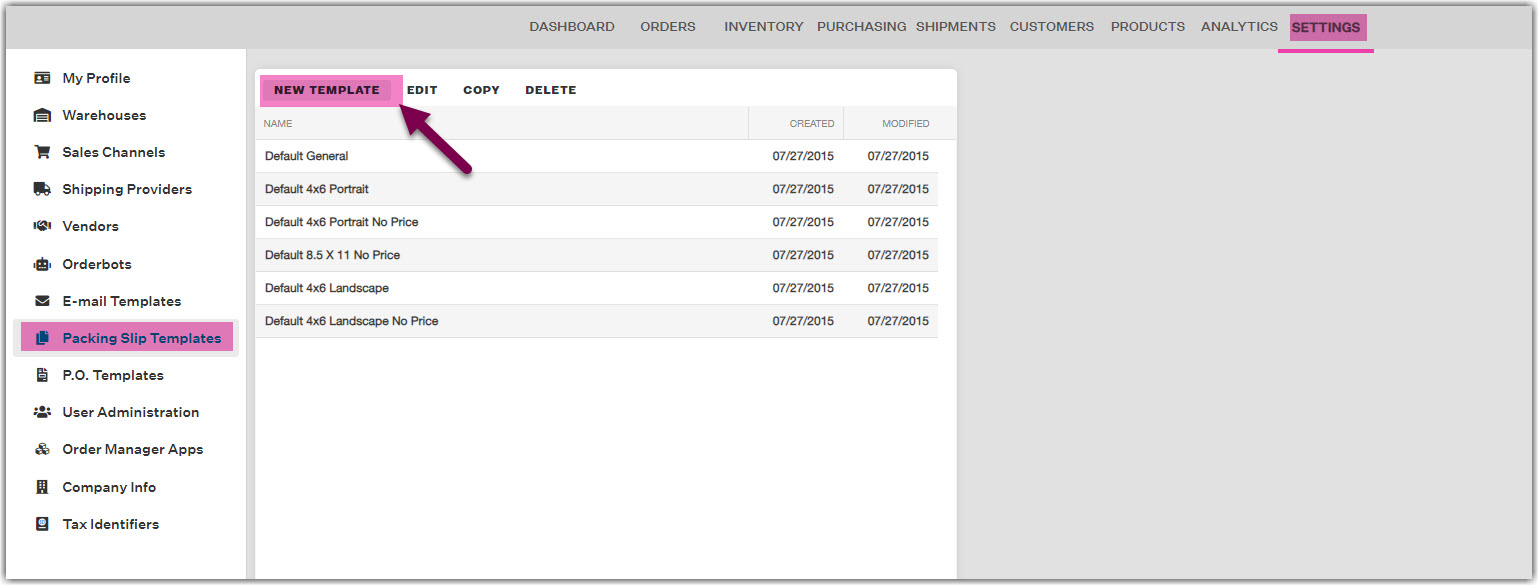
Unlike the email templates section, the packing slip templates come preloaded with six different templates to accommodate for the different sizes of packing slips. As a reminder, these can be set up as in your Document Print Settings in the warehouse settings section. These are:
- Default 4” x 6” Portrait: for one packing slip at a time in portrait. Best for use with a thermal printer.
- Default 4” x 6” Portrait No Price: the same as 4” x 6” Portrait just without the price included.
- Default 4” x 6” Landscape: for one packing slip at a time in landscape. Best for use with a thermal printer.
- Default 4” x 6” Landscape No Price: the same as 4” x 6” Landscape just without the price included.
- Default 8.5” x 11” No Price: for use with 8.5” x 11” full sheet paper. Can use with any printer.
Similar to email templates, within the packing slip template edit window, users can format the template by re-typing the messages and inserting any of the desired Field Replacements on the right. The information will be filled in once the packing slip is generated by pulling the data indicated in the WYSISWYG (what you see is what you get) box.
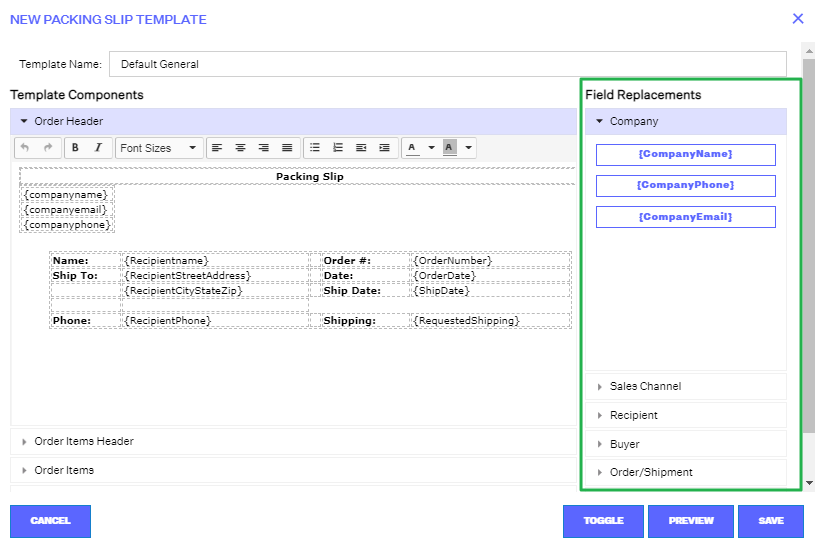
The Field Replacements options here are split into seven sections:
- Company
- Sales Channel
- Recipient
- Buyer
- Order/Shipment
- Order Items
- Barcode Image
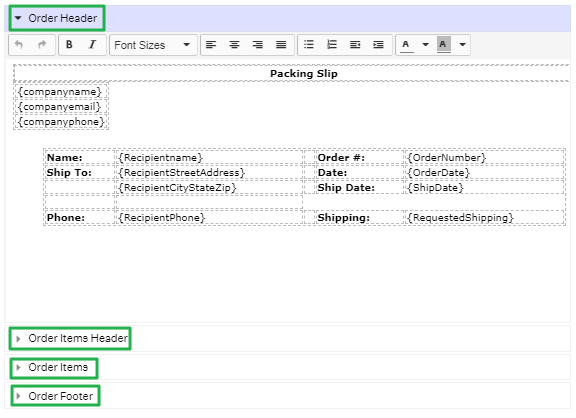
The Packing Slip Template itself is also broken up into four portions:
- Order Headers
- Order Items Headers
- Order Items
- Order Footer (which can also be pre-populated by adding in the communication settings under the Settings- Sales Channels section)
For more advanced users, the templates support editing using HTML by clicking the “<> Toggle” button on the bottom of the window. Field replacements will insert using the {curly brace} syntax into this view as well.
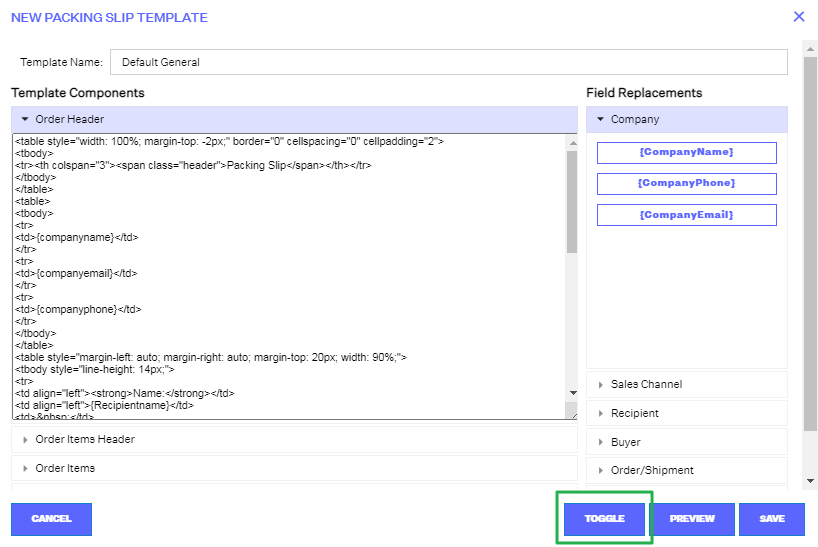
These templates can be previewed by clicking on the “Preview” button in the bottom menu bar.
Please note
not all the fields will populate in the preview such as the image as it must be connected to an actual order for it to pull the image.
