Understanding Multi-Tier Packing in Process Packages
Multi-pier packing is not enabled by default. Please reach out to your CSM to have this feature turned on for your account if you are interested. See our Processing Packages article for information on how to navigate our default Process Packages page.
The Process Packages page lets you manually indicate our package and pallet contents in 3PL Warehouse Manager for individual orders and print labels for them.
If you need to view the package contents after you've processed packages for an order, you can do so through the View Transaction Report with the 'Show packages' option enabled.
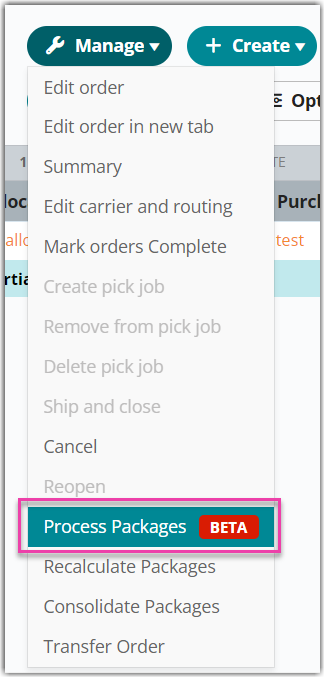
Access the Process Packages page by navigating the Find Orders grid from Orders > Find Orders in 3PL Warehouse Manager. Select the order you want to package then click Manage > Process Packages.
The Process Packages page is divided into three sections:
- Order Details: shows the customer, transaction ID, and warehouse for the order.
- Pallets: a grid showing pallets and their contents. This grid can be filtered by ID using the ‘Filter by’ drop-down menu.
- Package List: a grid where you can create, edit, delete, consolidate packages, and create pallets from packages. This grid can be filtered by ID, or SKU using the ‘Filter by’ drop-down menu. This grid will also be populated by packages created using Small Parcel Suite.
This page can be reset at any time by clicking the Reset button at the top of the screen.
Creating a package
- Click the New Package button to begin creating a package.
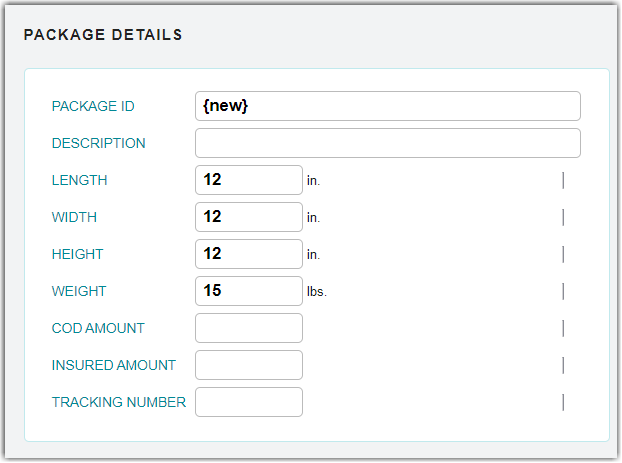
- Fill out the relevant fields in the Package window.
- PackageID: Represents a unique identifier that the system automatically populates once saved.
- Description: Used to quickly reference the package details in the Process Packages grid.
- Dimensions fields: Carriers require these fields to be complete and accurate for the system to reference when generating shipping labels.
- COD Amount: Specifies payment amount for the carrier if using 'collect on delivery'.
- Insured Amount: Specifies the dollar amount for which the package is covered by insurance.
-
Tracking Number: The tracking number associated with the individual package—this value is not tied to the Tracking Number field on the 'Carrier and Routing' section of an order.
- Select the appropriate SKU from the ‘SKU’ drop-down menu under the Contents grid and add the corresponding Quantity for the SKU.
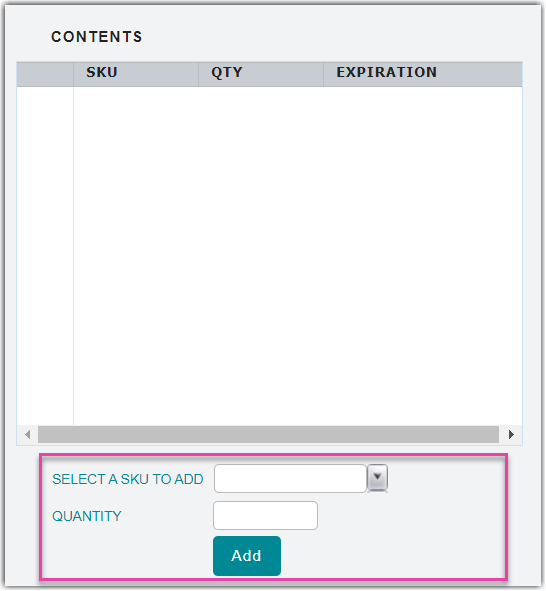
- Click Add.
- Click Save to save your progress and return to the main Process Packages screen.
Creating a pallet
- Select the packages you want to create a pallet with from the Package List grid.
- Click Create a Pallet.
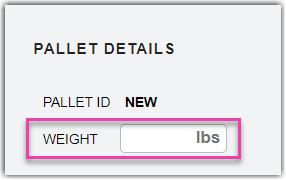
- Manually enter the weight of the pallet. Note: The weight field isn’t necessary to create a pallet.
- Click Save.
The new pallet will show in the Pallets grid and the related packages will be given a Pallet ID in the Package List grid.
Consolidating packages
- Use < Ctrl > or < Shift > on your keyboard to multi-select the relevant packages in the Package Detail grid.
- Click Consolidate Packages.
- Enter the new information in the Package window like when creating a new package based on the contents of the consolidated packages.
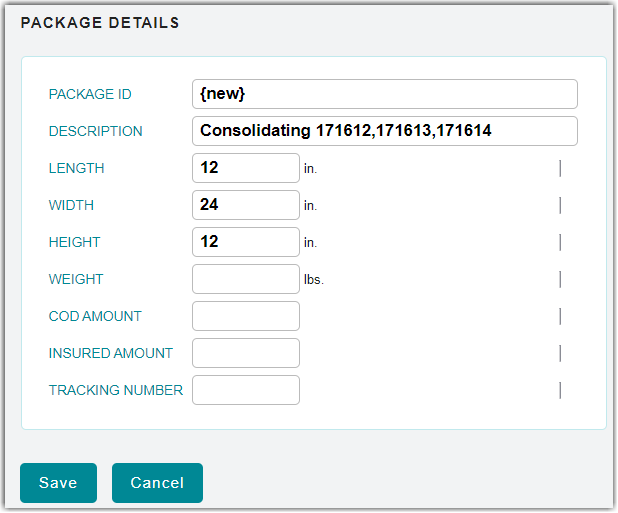
- Click Save.
Deleting a package or pallet
You can delete a package or pallet by selecting a package or pallet from their respective grid and clicking Delete. If you delete a package, a note will be created at the bottom of the page reminding you that there are some items remaining to be packed.


Printing labels
See our article on Printing UCC Labels to learn how to generate EDI labels and UCC-128 labels for your packages and pallets.

Generating files for a flat-file carrier integration
Click Carrier Export to generate files for a flat-file carrier integration. For more information, please see Using a Flat File Carrier Integration.

