Managing Packing Materials
3.3 min read
|Before you can use specific package types when packing an order, you must first define them in 3PL Warehouse Manager. This article reviews how to set up package types using the Manage Packing Materials page, as well as how to set up automatic packaging material fees based on the packages defined here.
Packing Materials also allows the inclusion of inserts and inventory alerts for both packaging and inserts. See our article Understanding Packing Materials to learn more about these features, and Using Packing Materials to learn about setting up inventory alerts.
To define packaging materials, you must have the following permission assigned to your user role: Orders Module > Edit Orders > Process Packages.
Once you have defined your package types here, you can find them on the Find Orders page under Manage > Consolidate Packages, as well as while utilizing SmartPack and SmartScan.
Step 1: Define packaging types
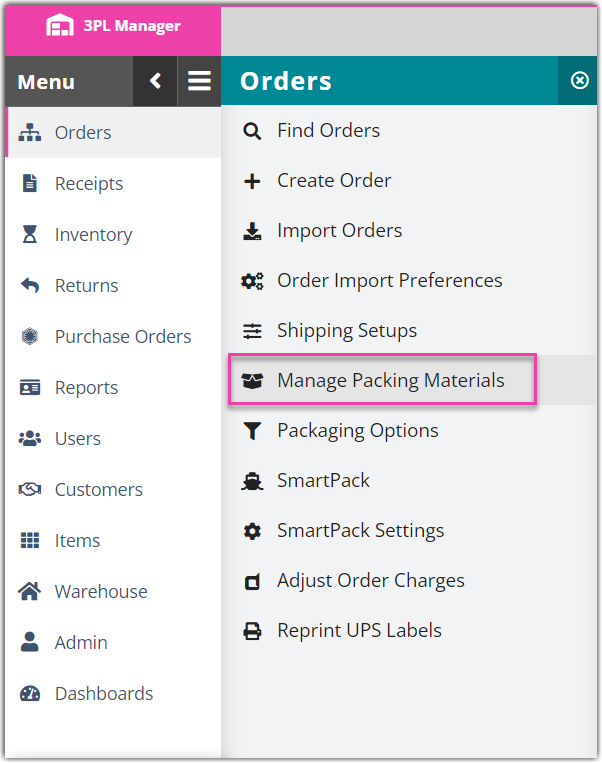
- Navigate to Orders > Manage Packing Materials in 3PL Warehouse Manager.
-
Optional: Refine the grid results as needed.
- In the left pane, select whether you wish to view package types that are available for use with 'All Customers' or for a specific customer.
- Select Options > Columns to add or remove grid columns as needed.
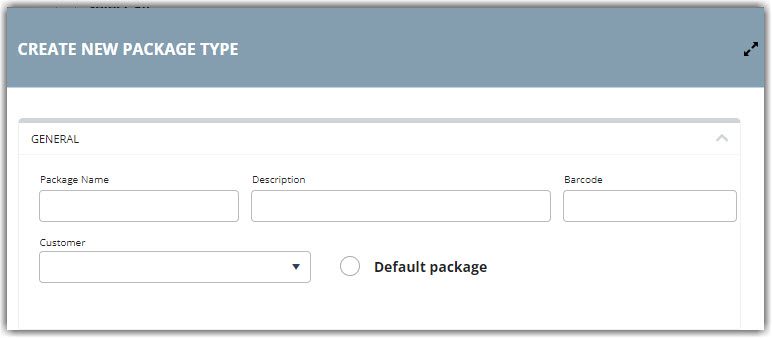
- Click Create to open the Create New Package Type dialog.

- Select whether your packaging type is packaging or an insert. Learn more about inserts and packing materials in our Understanding Packing Materials and Using Packing Materials articles.
- Complete each field under General.
- Package Name: Unique identifier for the new package type
- Description: Value used to quickly reference the package details on the Manage Packaging page
- Barcode: Unique value users can scan during the packing process to identify the package type
- Customer: Specifies the customer for which this package type is available—if no customer is selected, the package type is available for use with all customers
-
Default package: When checked, this package type is located at the top of the package list when shipping with SmartPack in the Small Parcel space—note only one default package type is supported
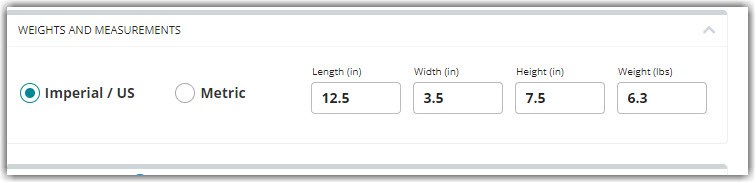
- Enter the dimensions of the package under Weights and Measurements.
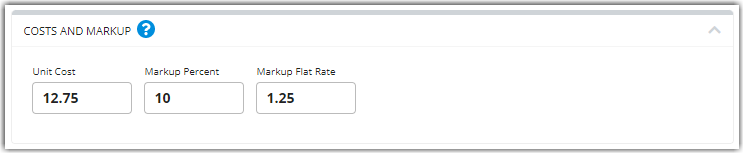
- Specify the cost and mark-up rates under Costs and Mark Up. If you specify both a percentage and flat rate for markup costs, both of these fees are calculated and accounted for in transactional package fees.
- Unit Cost: Cost associated with package type
- Mark Up Percent: Default markup percentage used to charge customers for package materials
-
Mark Up Flat Rate: Default markup rate used to charge customers for package materials
- Click Save to add this as an available package type.
If you need to edit an existing package definition, select the package from the grid, click Edit, make your changes, then click Save. If you need to delete an existing package definition, select the package from the grid, click Delete, then click Confirm. Please note that you cannot delete a package definition if it has been used to pack an order.
Step 2: Configure package material fees
If you defined a unit and markup cost for a package definition, you can use this information to configure a transactional shipping charge, which assigns a specific packaging cost to an order based on the number of packages used to pack an order.
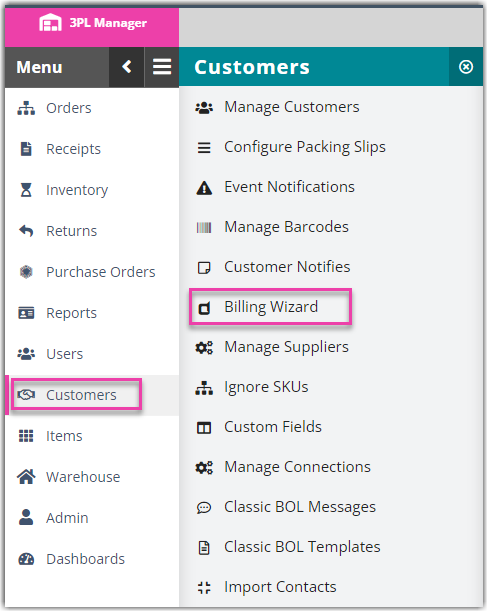
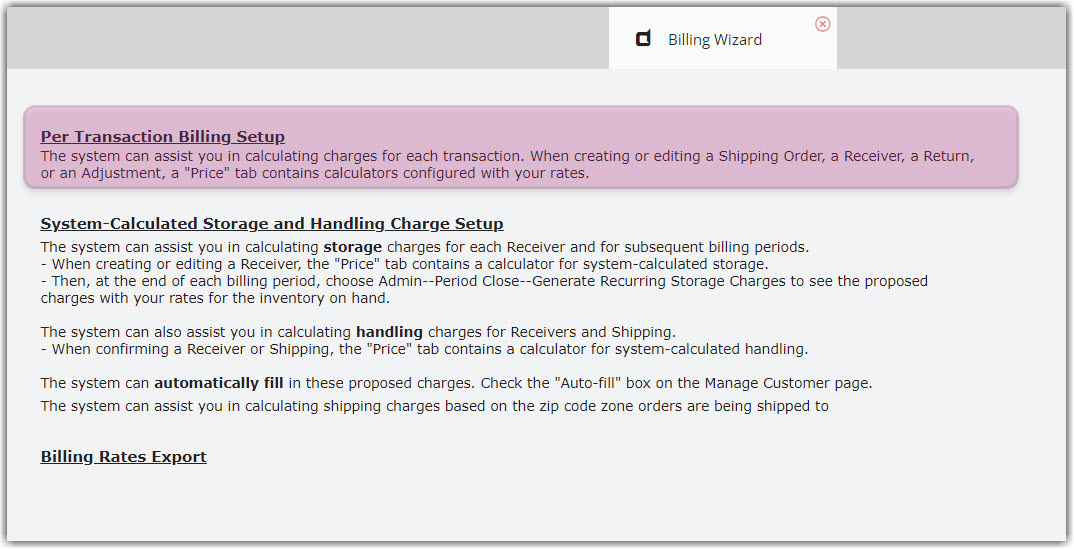
- Navigate to Customers > Billing Wizard > Per Transaction Billing Setup, then select a customer.
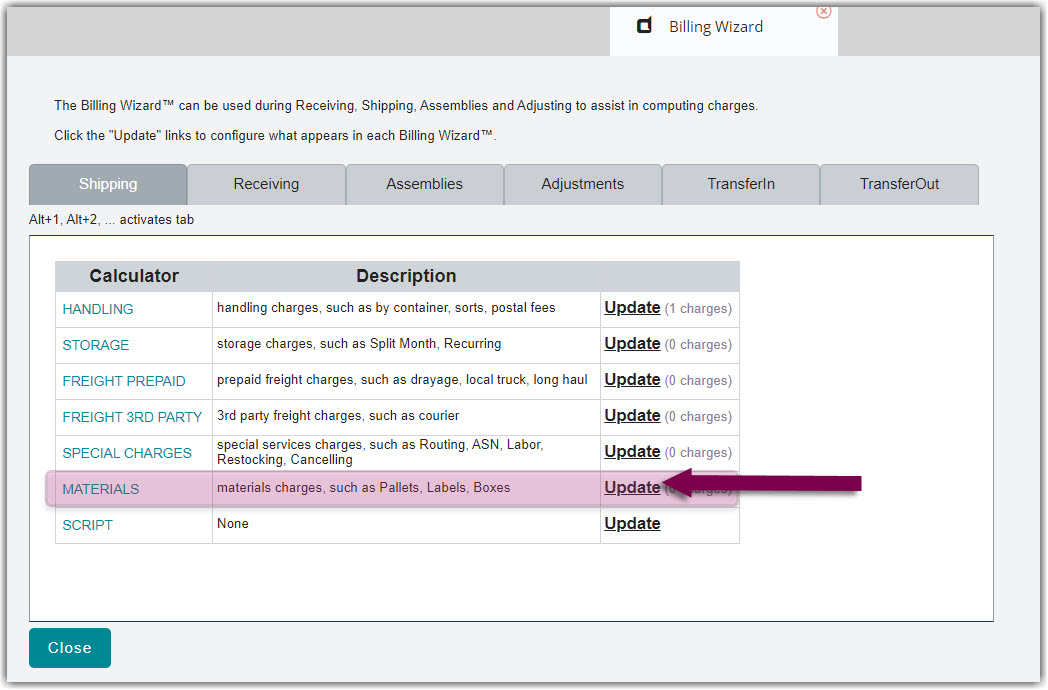
- Next to 'Materials' in the grid, click Update.
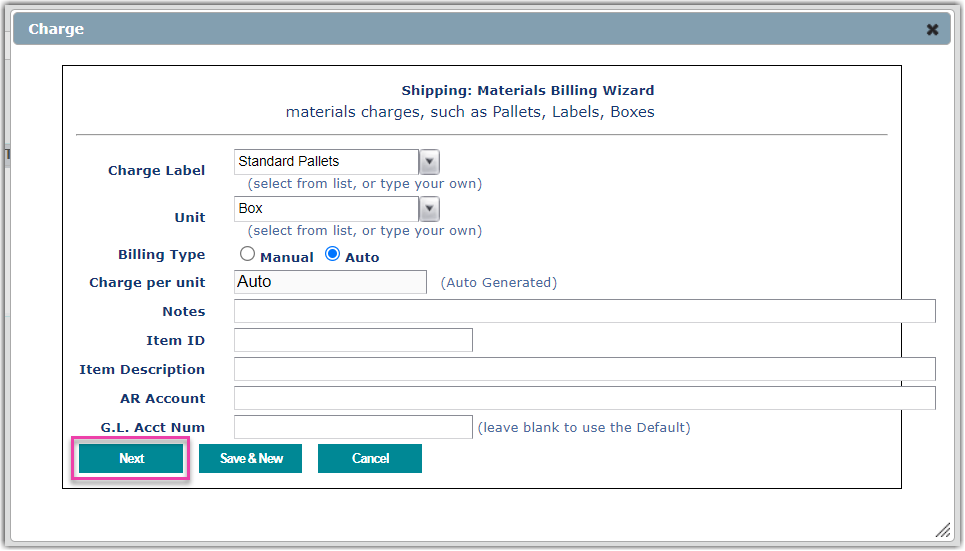
- Select Add to open the Charge dialog. Enter a relevant Charge Label and Unit, select Auto, and then click Next.
- At the bottom of the grid, select the script named Package Material Fee, then click Select.
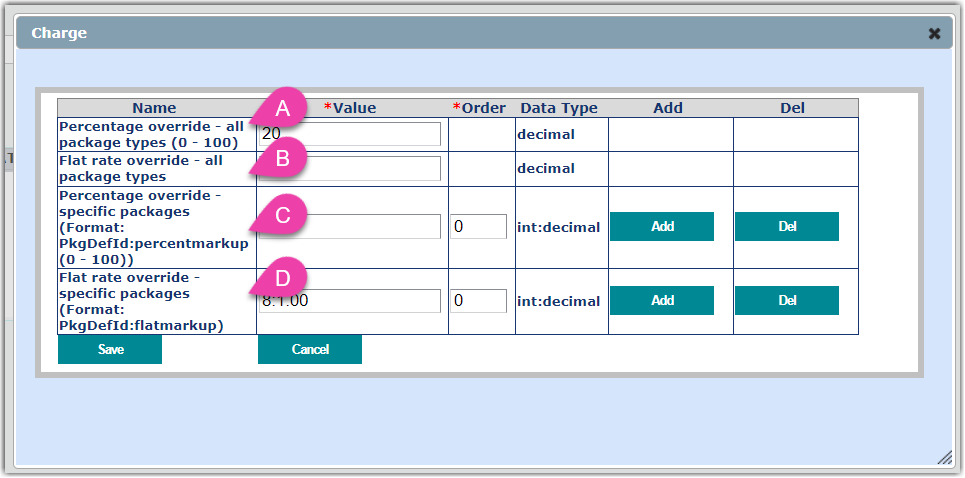
- Review each field below.
-
Percentage override – all package types ( 0 – 100 ): Specify the percentage markup to charge the selected customer, overriding the 'Mark Up Percent' value defined on a package type
You must enter a value in this field. To use the default markup value specified in the package definition, enter 0.
-
Flat rate override – all package types: Specify the flat-rate markup to charge the selected customer, overriding the 'Mark Up Flat Rate' value defined on a package type
You must enter a value in this field. To use the default markup value specified in the package definition, enter 0.
-
Percentage override – specific packages: Specify the markup amount you wish to charge the selected customer for a specific package type, overriding the 'Mark Up Percent' value defined for that package
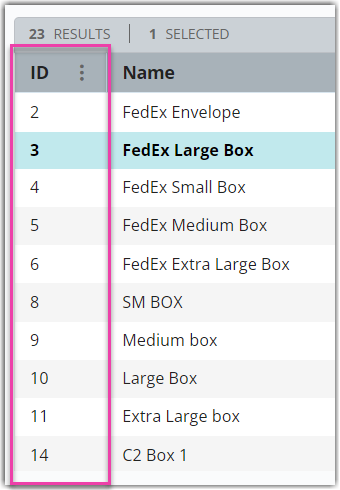
You must locate a package definition's ID in the 'Manage Packing Materials' grid and use the following format for this field: PackageDefinitionID:MarkUpPercentage.
- Click Add to specify a percentage override for an additional package using the same format.
-
Flat rate override – specific packages: Specify the markup amount you wish to charge the selected customer for a specific package type, overriding the 'Mark Up Flat Rate' value defined for that package
- You must locate a package definition's ID in the Manage Packaging grid and use the following format for this field—PackageDefinitionID:MarkUpPercentage.
- Click Add to specify a flat rate override for an additional package using the same format.
-
Percentage override – all package types ( 0 – 100 ): Specify the percentage markup to charge the selected customer, overriding the 'Mark Up Percent' value defined on a package type
- Click Save to create the billing script. Repeat these steps for each customer as needed.
Deactivating and activating packing materials
You can deactivate unneeded packing materials using the Manage menu. This is useful for seasonal or promotional packing materials that you don't need all the time, but will reuse and don't want to delete. Deactivated packing materials won't show up in packaging menus throughout the system, and deactivated inserts can't be allocated to orders. You can reactivate a packing material at any time.
Deactivating packing material definitions
- Select the packing material definitions you want to deactivate in the Manage Packing Materials grid.
- Select Manage > Deactivate to deactivate the selected packing material definitions.
Activating packing material definitions
- Select the deactivated packing material definitions you want to activate in the Manage Packing Materials grid.
- Select Manage > Activate to activate the selected packing material definitions.