
Item-Based Handling Fees
Item-based handling fees are used to bill your customers for outbound unit handling based on your desired unit of measure (UOM). This article reviews a few common examples of how you can bill your customers for picking fees based on the volume of inventory handled in your warehouse.
Please note that you should first review each shipping script and only configure those that make sense based on your contract with each customer.
Guidelines
Each of the common item-based handling fees listed below are automatic charges that are configured in the Billing Wizard for each desired customer.
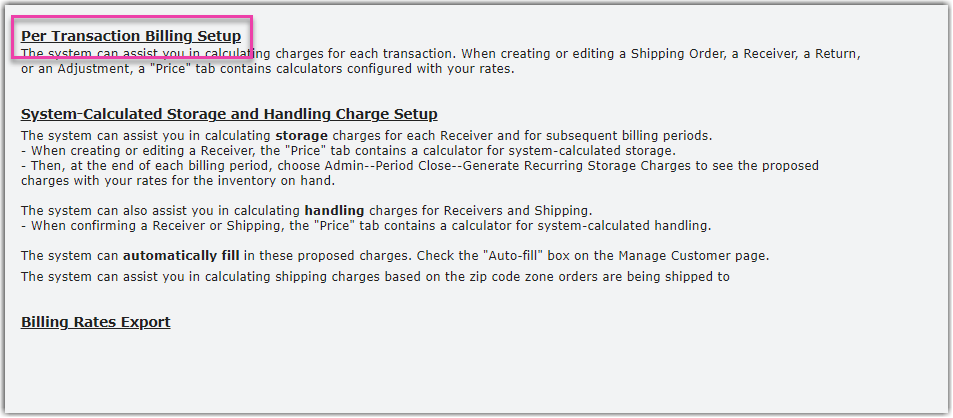
- Navigate to Customers > Billing Wizard > Per Transaction Billing Setup.

- Select a customer from the drop-down menu, then click Select.
- In the Shipping tab, click Update in the 'Handling' charges row.

- Click Add.
- For Charge Label, name the charge appropriately. For example, you could title the charge "Handling Fee" and include the particular UOM—whatever makes the most sense for your operations.
- Select the appropriate Unit from the drop-down menu.
- Specify the Billing Type as Auto, then click Next.
- Continue reading below for instructions on how to configure each fee.
Primary Quantity Shipping Fee
The Primary Quantity Shipping Fee is used any time you want to charge your customer for each primary unit shipped out of your facility.
- Select the Primary Quantity Shipping Fee from the grid, then click Select.
- For the Charge, enter the price to charge for each primary unit shipped in the order, then click Save.

The new fee will populate in the grid, and your customer will be automatically charged the specified rate for each order shipped.
Primary vs Packaging UOM Fee
The Primary vs Packaging UOM Fee is used any time you want to charge different rates for picking individual items and full packages. For example, if a customer ships both ecommerce and B2B, you can charge a different rate for an "each pick" versus a "carton pick".
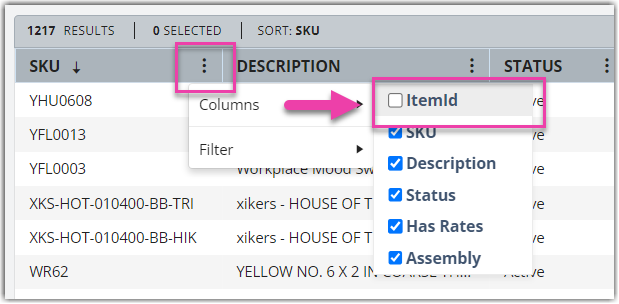
Please note that the first two rates associated with this fee reflect standard rates that apply to all SKUs, and the last two rates only apply to a specified SKU—these specific rates are used any time you need to charge a different rate for a specific item. To properly configure rates for a specified SKU, you must know the item's ID number, which can be found under Items > Manage Items. If the 'ItemID' column does not display in the Manage Items grid, you must manually add the column:
- Select the Primary vs Packaging UOM Fee from the grid, then click Select.
- For Rate per Primary Unit, enter the price to charge for each primary unit being shipped.
- For Rate per Packaging Unit, enter the price to charge for each packaging unit being shipped.
- Optional: For Rate per Primary Unit of a specified SKU, enter the price to charge for each primary unit of a specified SKU using the following format: Item ID:Rate. Click Add and repeat this step for each SKU that requires a specific rate. To delete a specified rate, click Del.
-
Optional: For Rate per Packaging Unit of a specified SKU, enter the price to charge for each packaging unit of a specified SKU using the following format: Item ID:Rate. Click Add and repeat this step for each SKU that requires a specific rate. To delete a specified rate, click Del.
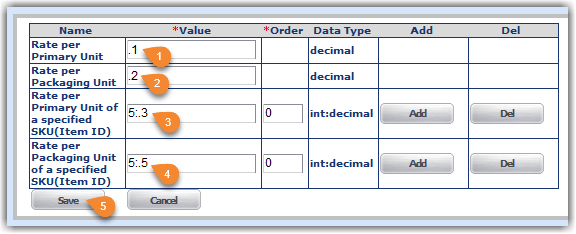
- Click Save.
The new fee will populate in the grid, and your customer will be automatically charged the specified rates for each SKU shipped.
Tiered Pick Fee
The Tiered Pick Fee is used any time you want to charge a specific rate for each item that is picked for an order. The 'TieredCharges' depict the cost to charge for the specified number of items picked, while the 'Default' charges depict the cost for each additional item picked thereafter.
- Select the Tiered Pick Fee from the grid, then click Select.
- For Default, enter the price to charge for each additional item following the tiered charges.
- For TieredCharges, enter the price to charge for the number of primary units in each tier specified in the following format: TotalPrimaryUnits:Fee. Click Add and repeat this step for each additional tiered charge. To delete a tiered charge, click Del.
- Ensure each tier has a value specified in the Order column—this value determines which units are billed which rates.
- Click Save.
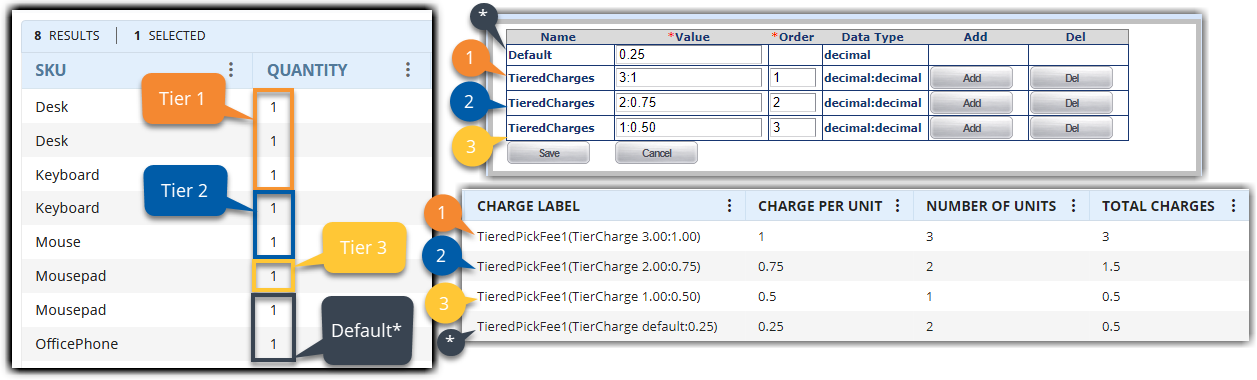
 Using the example shown in the images below, the charges would calculate as follows:
- Tier 1: Units 1–3 are charged $1 each
- Tier 2: Units 4–5 are charged $0.75 each
- Tier 3: Unit 6 is charged $0.50
- Default: Units 7+ are charged $0.25 each
- Total Charges: 3 + 1.50 + .50 + .50 = $5.50
The new fee will populate in the grid, and your customer will be automatically charged the specified rates for each pick associated with an order.
Physical Pick Fee
The Physical Pick Fee is used any time you want to charge for the number of physical locations a picker stops at to complete a pick for an order. These charges are determined by the locations from which the product is being allocated.
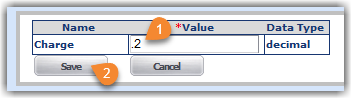
- Select the Physical Pick Fee from the grid, then click Select.
- For the Charge, enter the price to charge for each individual location necessary to complete a pick, then click Save.
The new fee will populate in the grid, and your customer will be automatically charged the specified rate for each location visited to pick all items on an order.
Rate per Cubic Foot Fee
The Rate per Cubic Foot Fee is used to charge your customer for the physical volume of the product shipped out of your facility. Before this charge can be applied to an order, your items must have accurate dimensions configured.
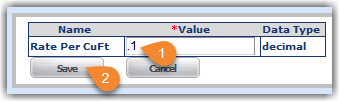
- Select the Rate per Cubic Foot Fee from the grid, then click Select.
- For the Rate Per CuFt, enter the price to charge for each cubic foot of the total package volume, then click Save.
The new fee will populate in the grid, and your customer will be automatically charged the specified rate for each cubic foot in the package volume of an order.
Per Pallet Fee
The Per Pallet Fee is used to charge your customer for each unique movable unit (MU) shipped out of your facility. Please note that your customer will still be charged for the full pallet if a pallet is only partially allocated.
- Select the Per Pallet Fee from the grid, then click Select.
- For the Charge, enter the price to charge for each unique MU shipped in an order, then click Save.

The new fee will populate in the grid, and your customer will be automatically charged the specified rate for each relevant order shipped.