Understanding Charges
This article is about the Billing Manager app, not the Billing Wizard in 3PL Warehouse Manager. To learn about the Billing Wizard, please refer to the articles in the Billing Setup.
This article covers details about charges, provides steps on how to add and update charges, export charge, and approve charges for invoicing.
The Charge List displays all charges generated for all customers. You can filter the view by warehouse, date range, or status. Additionally, you can search by invoice number, customer name, or transaction ID.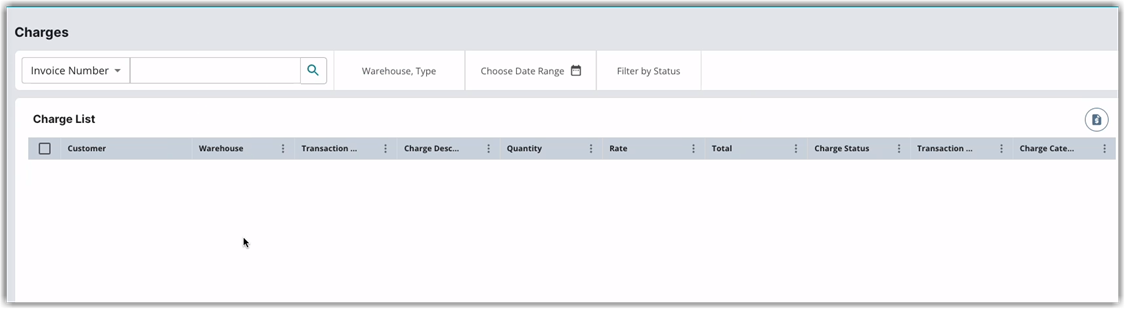
Please note that the search functionality in Charges is case-sensitive.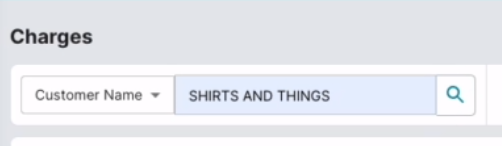
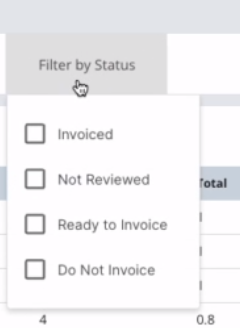
Filter by status
- Not Reviewed: the default status once a transaction is placed.
- Ready to Invoice
- Do Not Invoice: if you place a transaction to this status, it will not generate an invoice number.
-
Invoiced
Updating charges
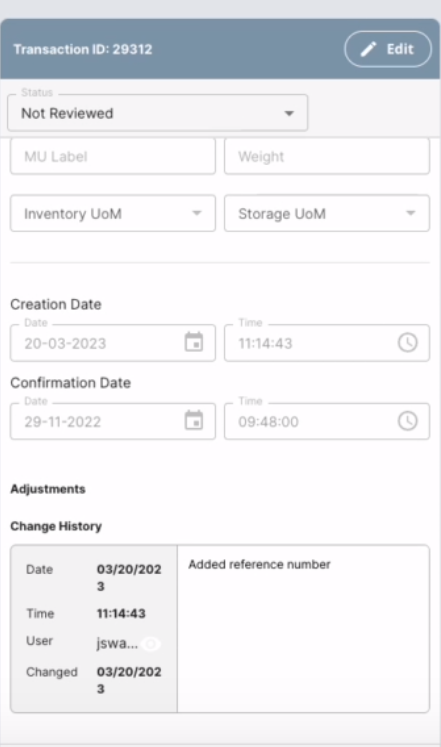
To make changes to a specific charge, click Edit and update the necessary fields. You will be prompted to add a reason for the change, where you can briefly state what changes were made. Then, click Save.
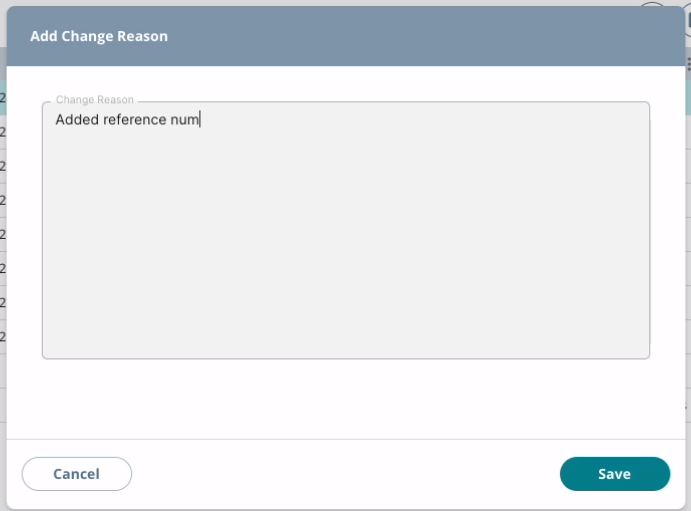
Whenever you edit a charge, a change history is kept, showing the date and time of the change, who made the change, and the reason for the change.
Adjustments
Whenever you edit a charge that affects the quantity of a certain field, an adjustment history will also be kept apart from change history.
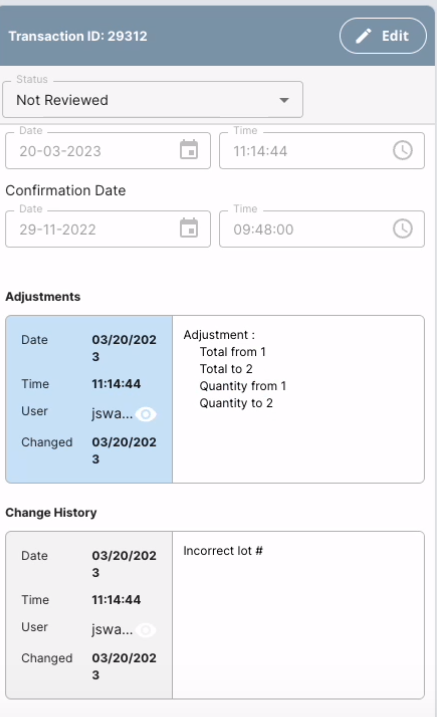
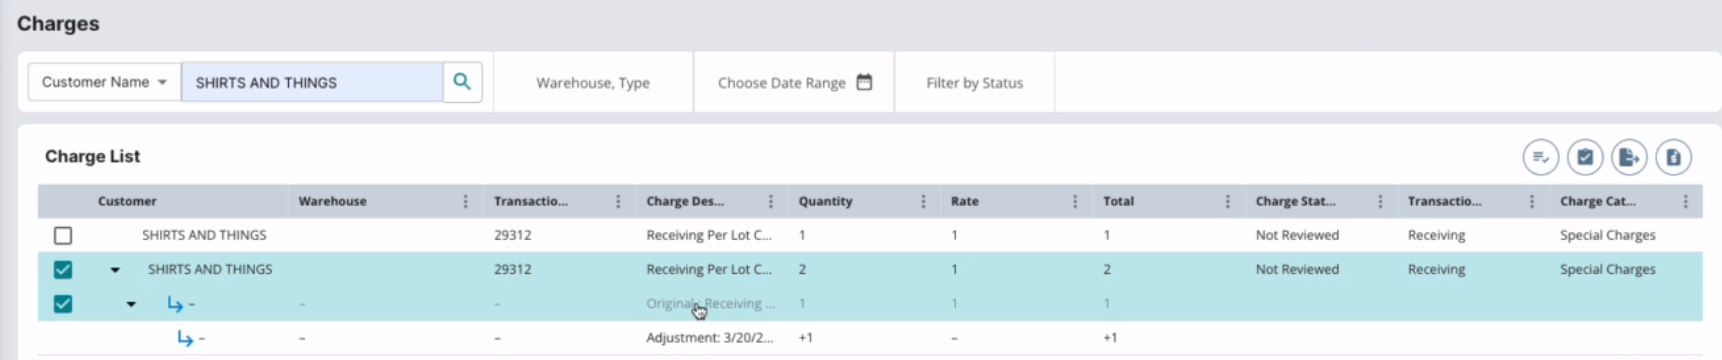
From the Charge List view, you will notice that a charge with an adjustment will become expandable, as shown below. There's a line item indicating the original quantity, and another line item specifically labeled as an Adjustment that includes the date of the change. As you make adjustments to the quantity, the system will add another line item reflecting the changes made.
Add manual charges
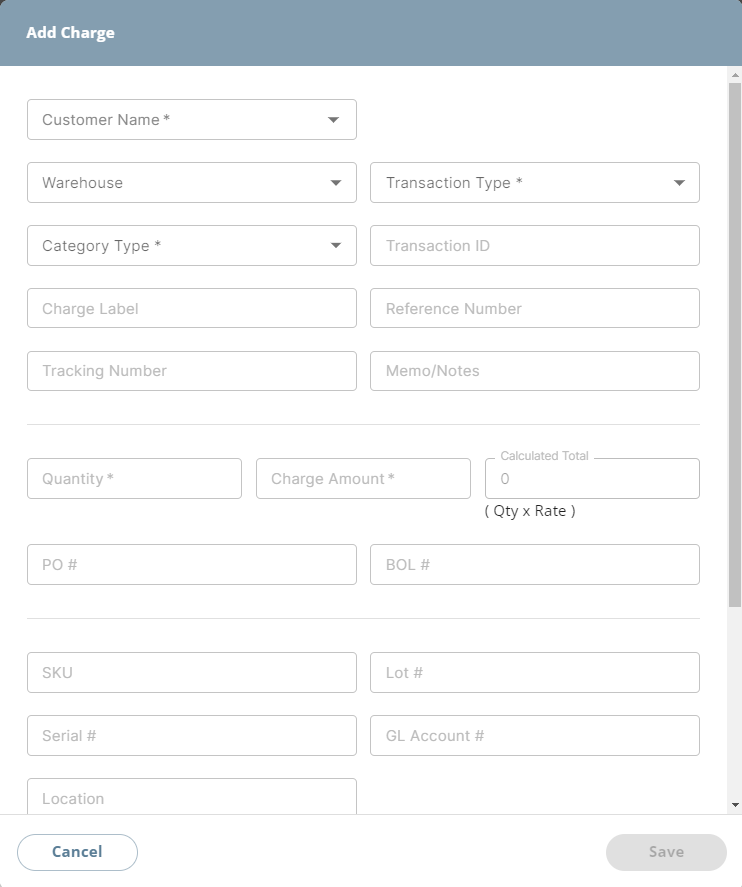
To create a manual charge, click the Create Charge icon as shown below. This will open the Add Charge window.

Fill in the following fields before you can click Save:
- Customer Name
- Transaction Type
- Category Type
- Quantity
- Charge Amount
Export charges
You can make an export of the charges you want. Either you Export All or Export Selected charges. 
Click the Export Charges icon as shown above. This will download a CSV file.
Approve charges / Generate an Invoice
21 Alphanumeric Character Limit for Invoice Numbers
An invoice number has a limit length of 21 characters, up to 11 alphabet characters and 10 numeric characters.
- You can approve all charges by clicking the icon as shown below.

Also, you have an option to approve selected charges for invoicing by clicking the icon below.
- Next, select the action you want to apply to the selected charges. Then, click Proceed.
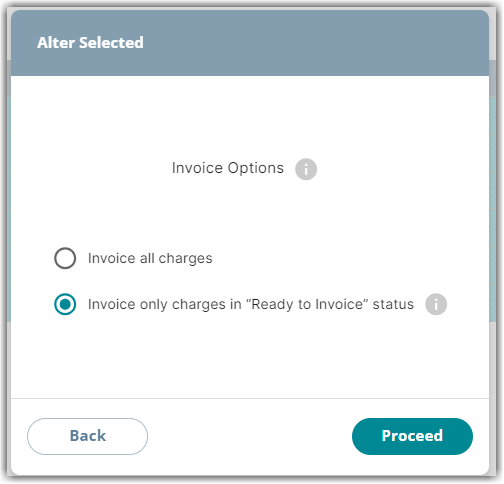
If you initially selected to Approve all charges, choose between ‘Invoice all charges’ or ‘Invoice only charges in Ready to Invoice status.’
- Invoice all charges: Updates all transactions from Not Reviewed status to Ready to Invoice.
-
Invoice only charges in “Ready to Invoice” status: Only charges in Ready to Invoice status will be included in the invoice creation.
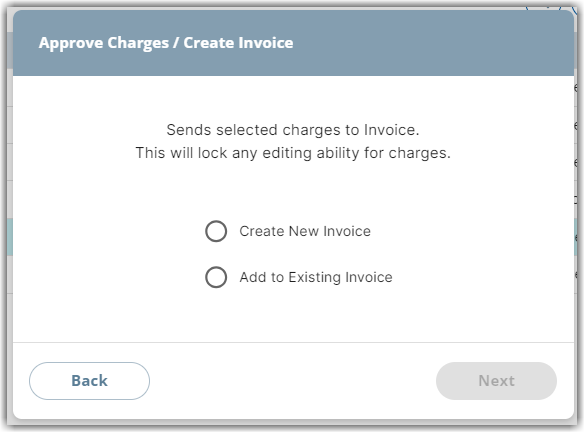
- Select between Create New Invoice or Add to Existing Invoice and click Next. This will lock any editing ability for charges.
Billing Manager will automatically separate charges by Customer when generating an invoice. Additional options will be applied on top of customers.
- Select the preferred invoice option. Afterwards, click Proceed.
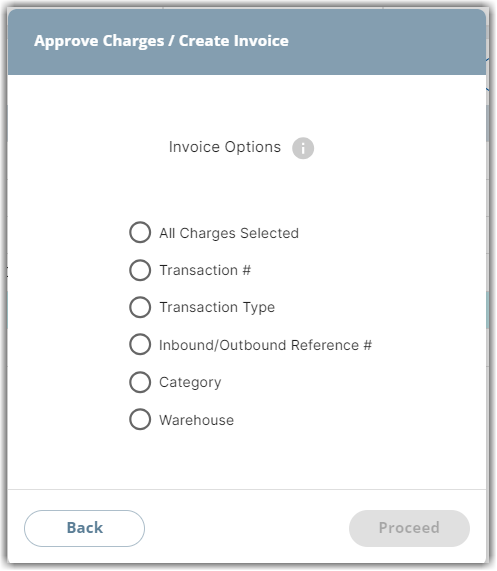
Selecting any other options in Step 4 results in multiple invoices being generated.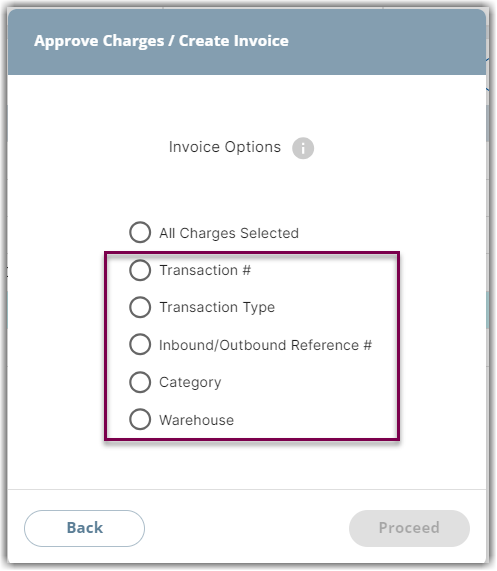
- Transaction # - creates a separate invoice for each unique transaction number.
- Transaction Type - creates a separate invoice for each transaction type: Shipping, Receiving, Adjustments, Assemblies, Returns. Up to six invoices can be generated as a result.
- Inbound/Outbound Reference # - creates a separate invoice for each unique reference number.
- Category - creates a separate invoice for each category: Handling, Storage, Freight prepaid, Freight third-party, Special charges, Materials.
- Warehouse - creates a separate invoice for each warehouse from which the selected charges originated.
- A message appears stating that the invoice was created successfully.
To learn how to view, publish, and unpublish invoices, read our article on Understanding Invoices.
If you have any rate changes and require a manual re-run to update your charges, please reach out to our Support Team for further assistance.