Creating a Custom Rate for a Return Process of a Specific Customer
This article is about the Billing Manager app, not the Billing Wizard in 3PL Warehouse Manager. To learn about the Billing Wizard, please refer to the articles in the Billing Setup.
This article offers a step-by-step guide to creating a custom rate that allows you to charge for return process for a specific customer. You can also watch the instructional video for guidance.
Sample scenario: Create a charge for a particular type of SKU during receipt for a specific customer.
- Navigate to Customers on the left navigation menu.
- Next, select a customer from the list. This will open the Settings windows for this particular customer as shown below.

- Then, click + Create Rate in the upper right corner.
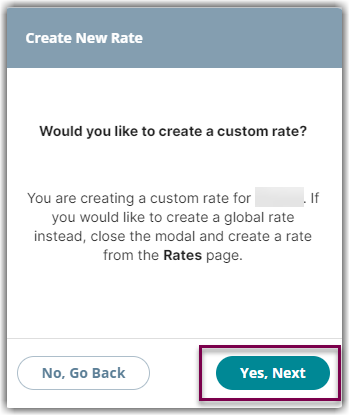
- A new window will pop up to confirm your action of creating a custom rate specifically applicable to the selected customer. Click Yes, Next to proceed.

- On the Create New Rate window, select the following options as shown below. Then, click Continue.
Automated rate > Smart Rate > Flat Rate
- Provide basic details such as Rate Name, Rate Description, and Charge Label. You have an option to not add a GL Account # at this point.
- Select Returns for the Transaction Type and Handling for the Charge Category. Then, click Continue.

Returns
By selecting returns, the system will only apply the charge if we are using the Returns module in 3PL Warehouse Manager.
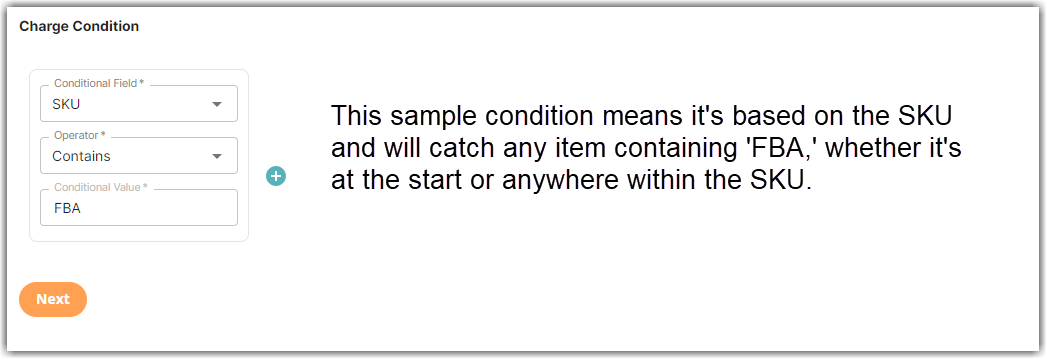
- On the Charge Condition section, select the following for each field:
Conditional Field: SKU
Operator: Contains
Conditional Value: (Enter desired value i.e., ‘FBA’)
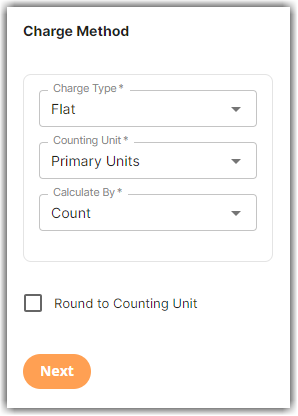
- On the Charge Method section, select the following for each field:
Charge Type: Flat
Counting Unit: Primary Units
Calculate By: Count
- Click Next.
- On the Charge Amount section, enter the desired return label application fee. Then, click Next.
- A new window will pop up asking if you would like to add another condition, you can click No if you don't need to add another condition.
- On the Rate-Level Rules section, you can click Skip.
- Click Yes, Save to save this rate.
- (Optional) Select Yes as desired to add to a rate sheet.
