Add New User with Billing Manager Permissions
1.4 min read
|This article is about the Billing Manager app, not the Billing Wizard in 3PL Warehouse Manager. To learn about the Billing Wizard, please refer to the articles in the Billing Setup.
Overview
This article provides a step-by-step guide on creating a user account in Extensiv Hub and granting Billing Manager permissions.
Step 1 - Create a user account in Extensiv Hub
Only the owner or a user with the "create users" permission can create new accounts in Hub. To add another user to your account, follow the instructions below.
- Log in to Extensiv.
- Click Users on the left navigation menu.
If you have multiple organizations in Hub, make sure to select first the organization you want to add the new user to. See the below image for guidance. - Click Create. This action will open the Invite Users window.
- Fill in the new user details. Enter the first name, last name, email, and job title.
- Select the appropriate role for this account.
The user role defines the permissions of the access in Extensiv Hub. The permissions assigned to this role do not necessarily relate to the permissions they need to have for each product. You still need to manage the product permissions on the product itself.
If you want to learn how to create user roles, see our article on Creating User Roles in Hub. - Select Billing Manager from the list of product access.
- Review and confirm the details are accurate. Then, click Invite. You should see the recently created account added to the User List column. Click Done if you’re finished creating user accounts.
If you have 2 or more organizations, and the user also needs to be part of that org, make sure to create an account for that organization too. To do this, just open the organization menu next to the Extensiv logo, select the appropriate organization and follow Steps 1-7.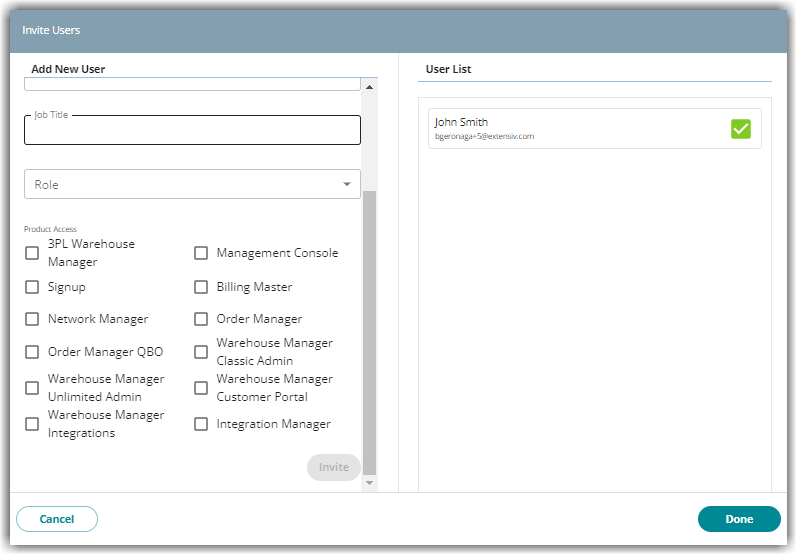
8. Inform the user that they will receive an email to join Extensiv Hub. On the User Accounts page, you will find the status of the account as Pending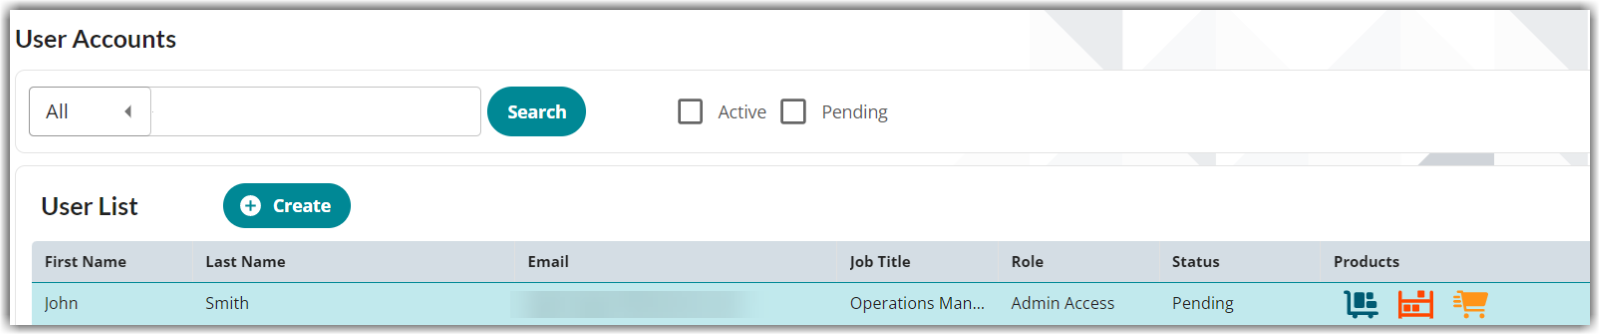
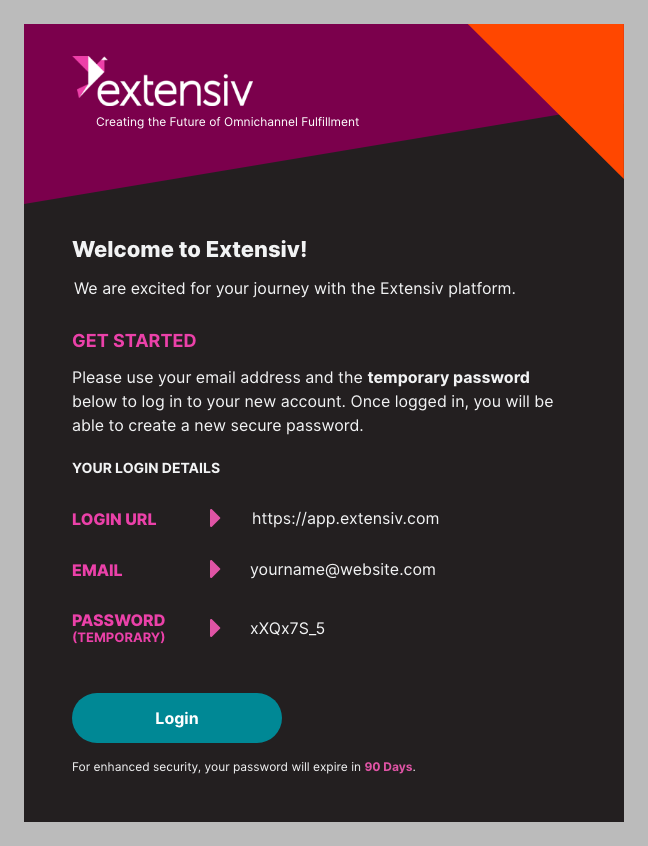
For steps on how to log in to Extensiv Hub for the first time, see this article Logging in to Extensiv Hub for the First Time.
Step 2 - Manage User Permissions in Billing Manager
Add Billing Manager permissions by following the instructions in this article: 'Add Billing Permissions to a Role.'

Extensiv University
Gain deeper insights and learn more about Extensiv Hub with our online course at Extensiv University.