Pick Path
1.4 min read
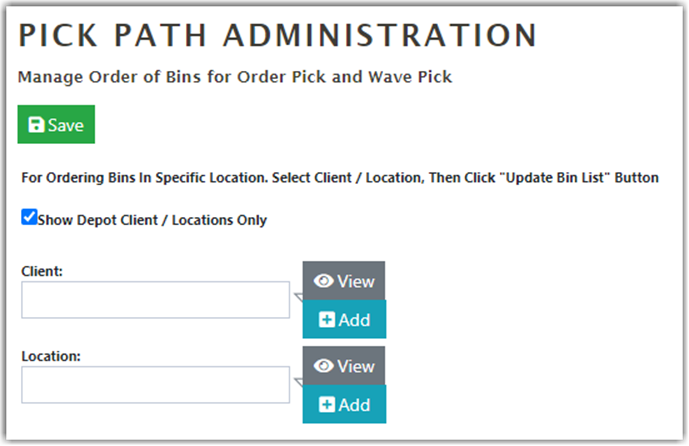
|Pick Path is how Bins are ordered in a specific location for optimal movement through the warehouse. The Bins created within in a warehouse will be ordered alphanumerically by default for picking, cycle counting, etc. You also have the option to customize your pick path. The set Pick Path will be utilized for picking Single Orders or Waves, as well as during Cycle Counts. To access the Pick Path settings, go to Settings > Pick Path.
Customizing the Pick Path
To customize a Pick Path,
- Choose the Client and Location that the Pick Path will be adjusted for, if applicable. By default, the Pick Path is ordered alphanumerically.
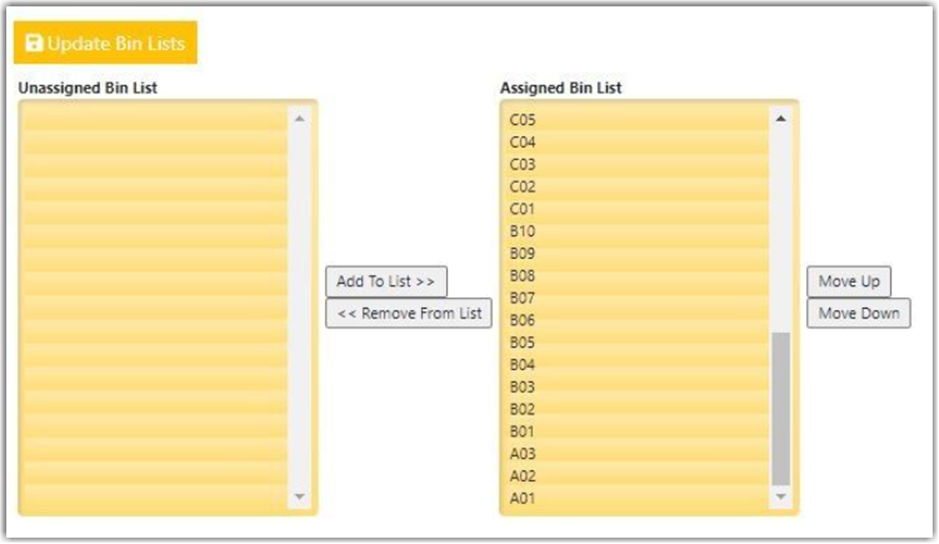
- To update the Bin List,
- Select a Bin from the Unassigned Bin List then click Add to List to move the Bin to the Assigned Bin List.
- Select a Bin from the Assigned Bin List then click Remove From List to move the Bin to the Unassigned Bin List.
- To customize the arrangement of the Assigned Bin List, select a Bin then click Move Up or Move Down.
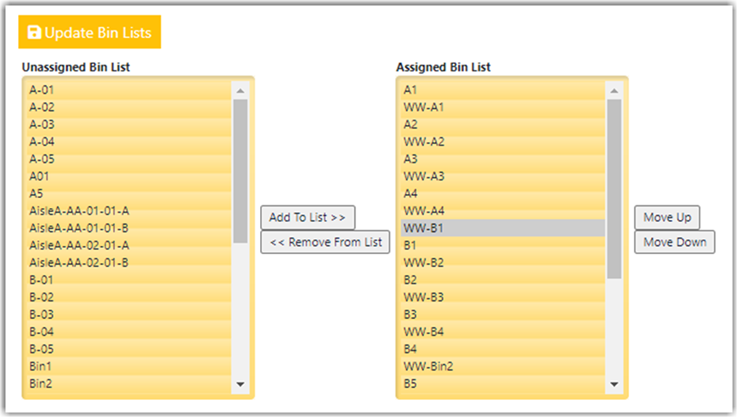
- Click Update Bin Lists to save your Bin updates.
Unassigned Bins are still pickable if inventory exists in them but will be considered after all Bins in the Assigned Bin List. If there is only one warehouse, the Pick Path will show on the Pick Path Administration screen.
Using SNAP Upload for Pick Path
Pick Path can be also imported via SNAP. This is done using import using the column WavePickOrderNumber. For more information, please visit our help article on Import/Export.
To add Pick Path from SNAP:
- Open SNAP, go to the Jobs tab, click Add.
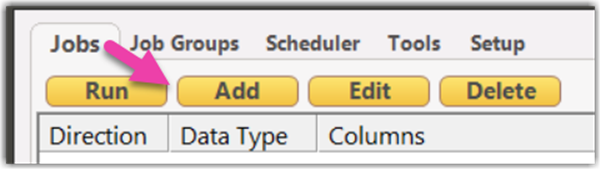
- Select Import, then Bins for Datatype.

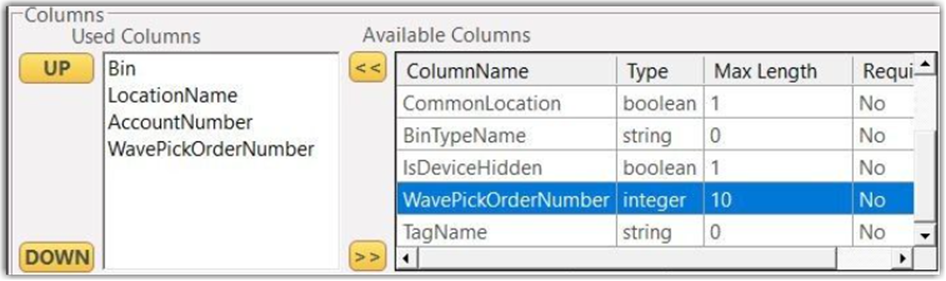
- Set the required fields, which include
- 'Bin', 'LocationName' (typically the warehouse name),
- 'AccountNumber' (can be found in Warehouses > Company) for the Bin import.
- For Pick Path import, you will want to add the 'WavePickOrderNumber' from the Available Columns section.
- Select the box for My CSV has headers, then click Match Headers.

- Select the CSVfile for import by clicking Browse. Choose the file to import and click OK. Then you will need to Run this job that was created.
Pick Path SNAP Example
In this example, the CSVfile created shows the Bin list and Pick Path is setup to be in reverse alphanumeric order.
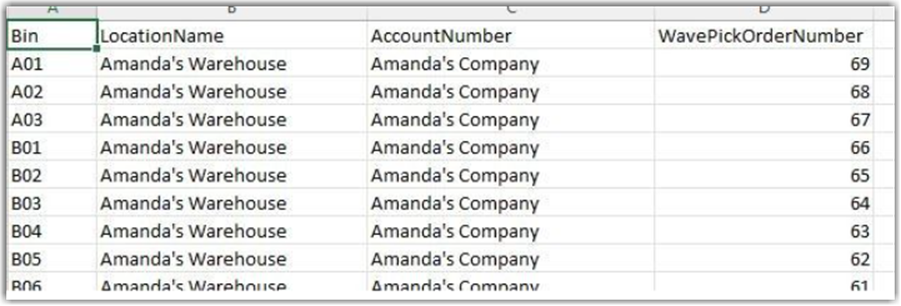
When you upload this CSVfile, it will show that the Pick Path has been updated when viewed in the Pick Path settings screen.
From here, you can adjust assign/unassign Bins or arrange Bins.